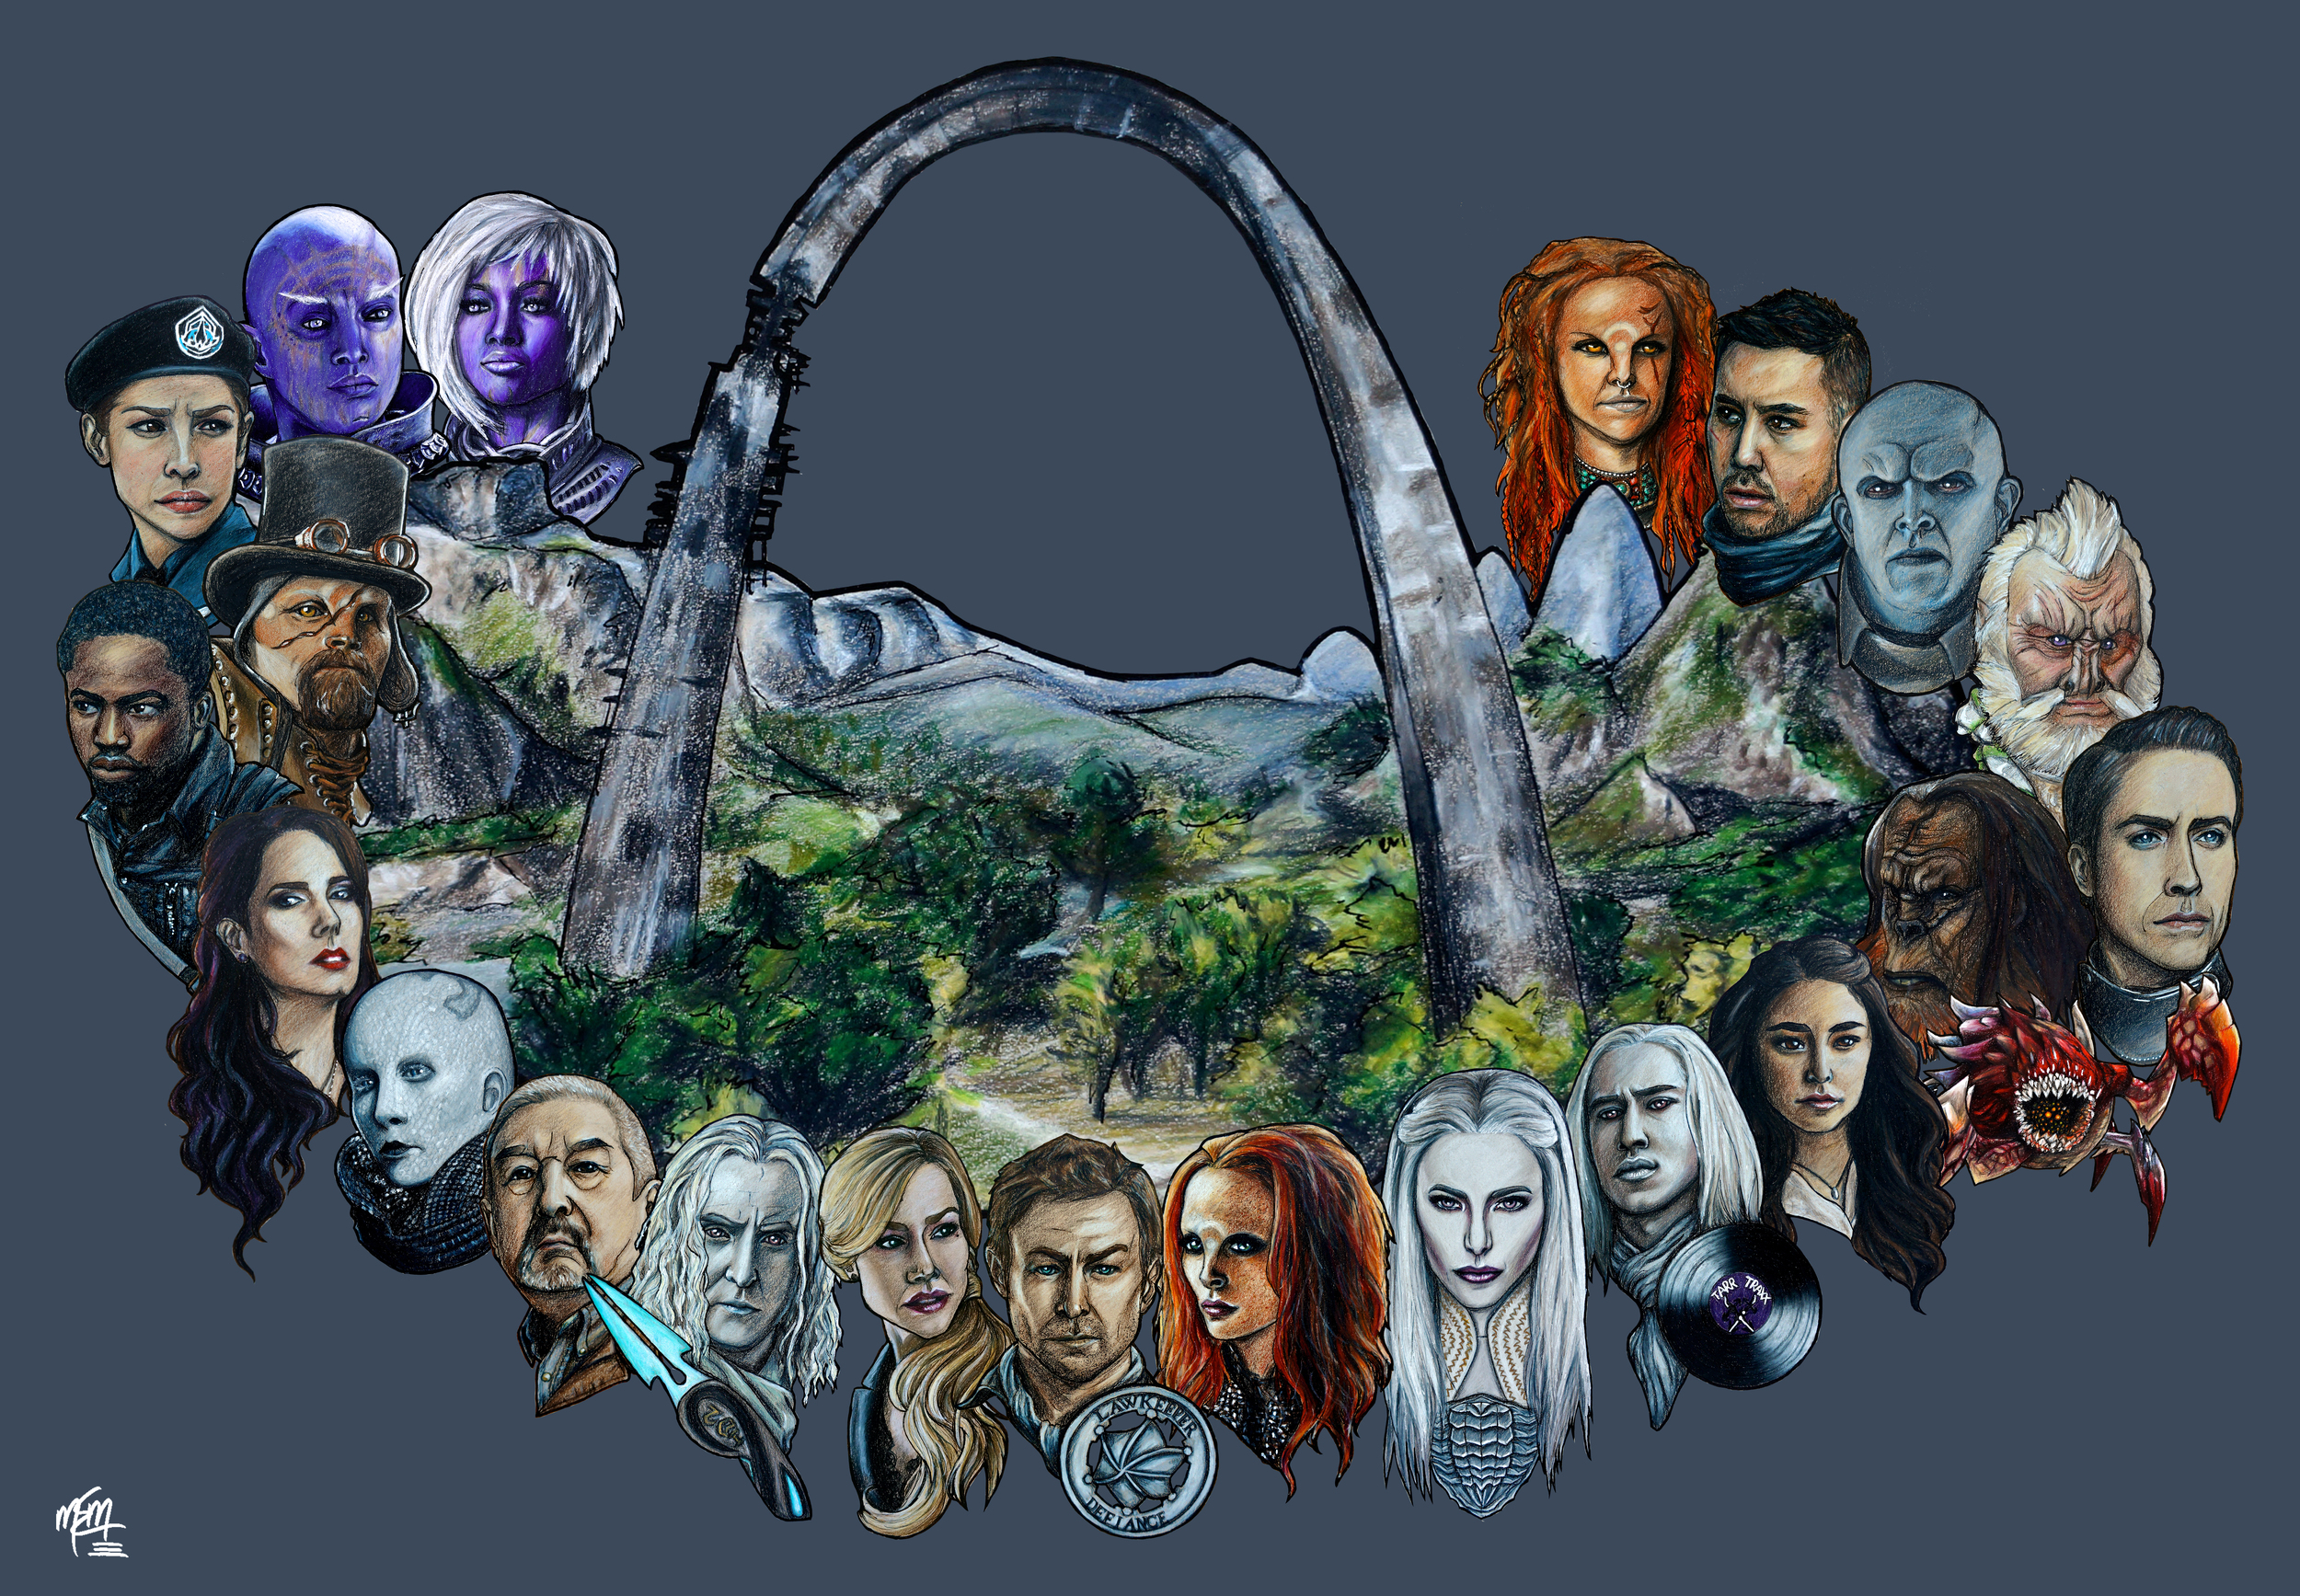
What originally started out as testing out a particular type of drawing style, somehow turned into a full blown, 22 part illustration series.
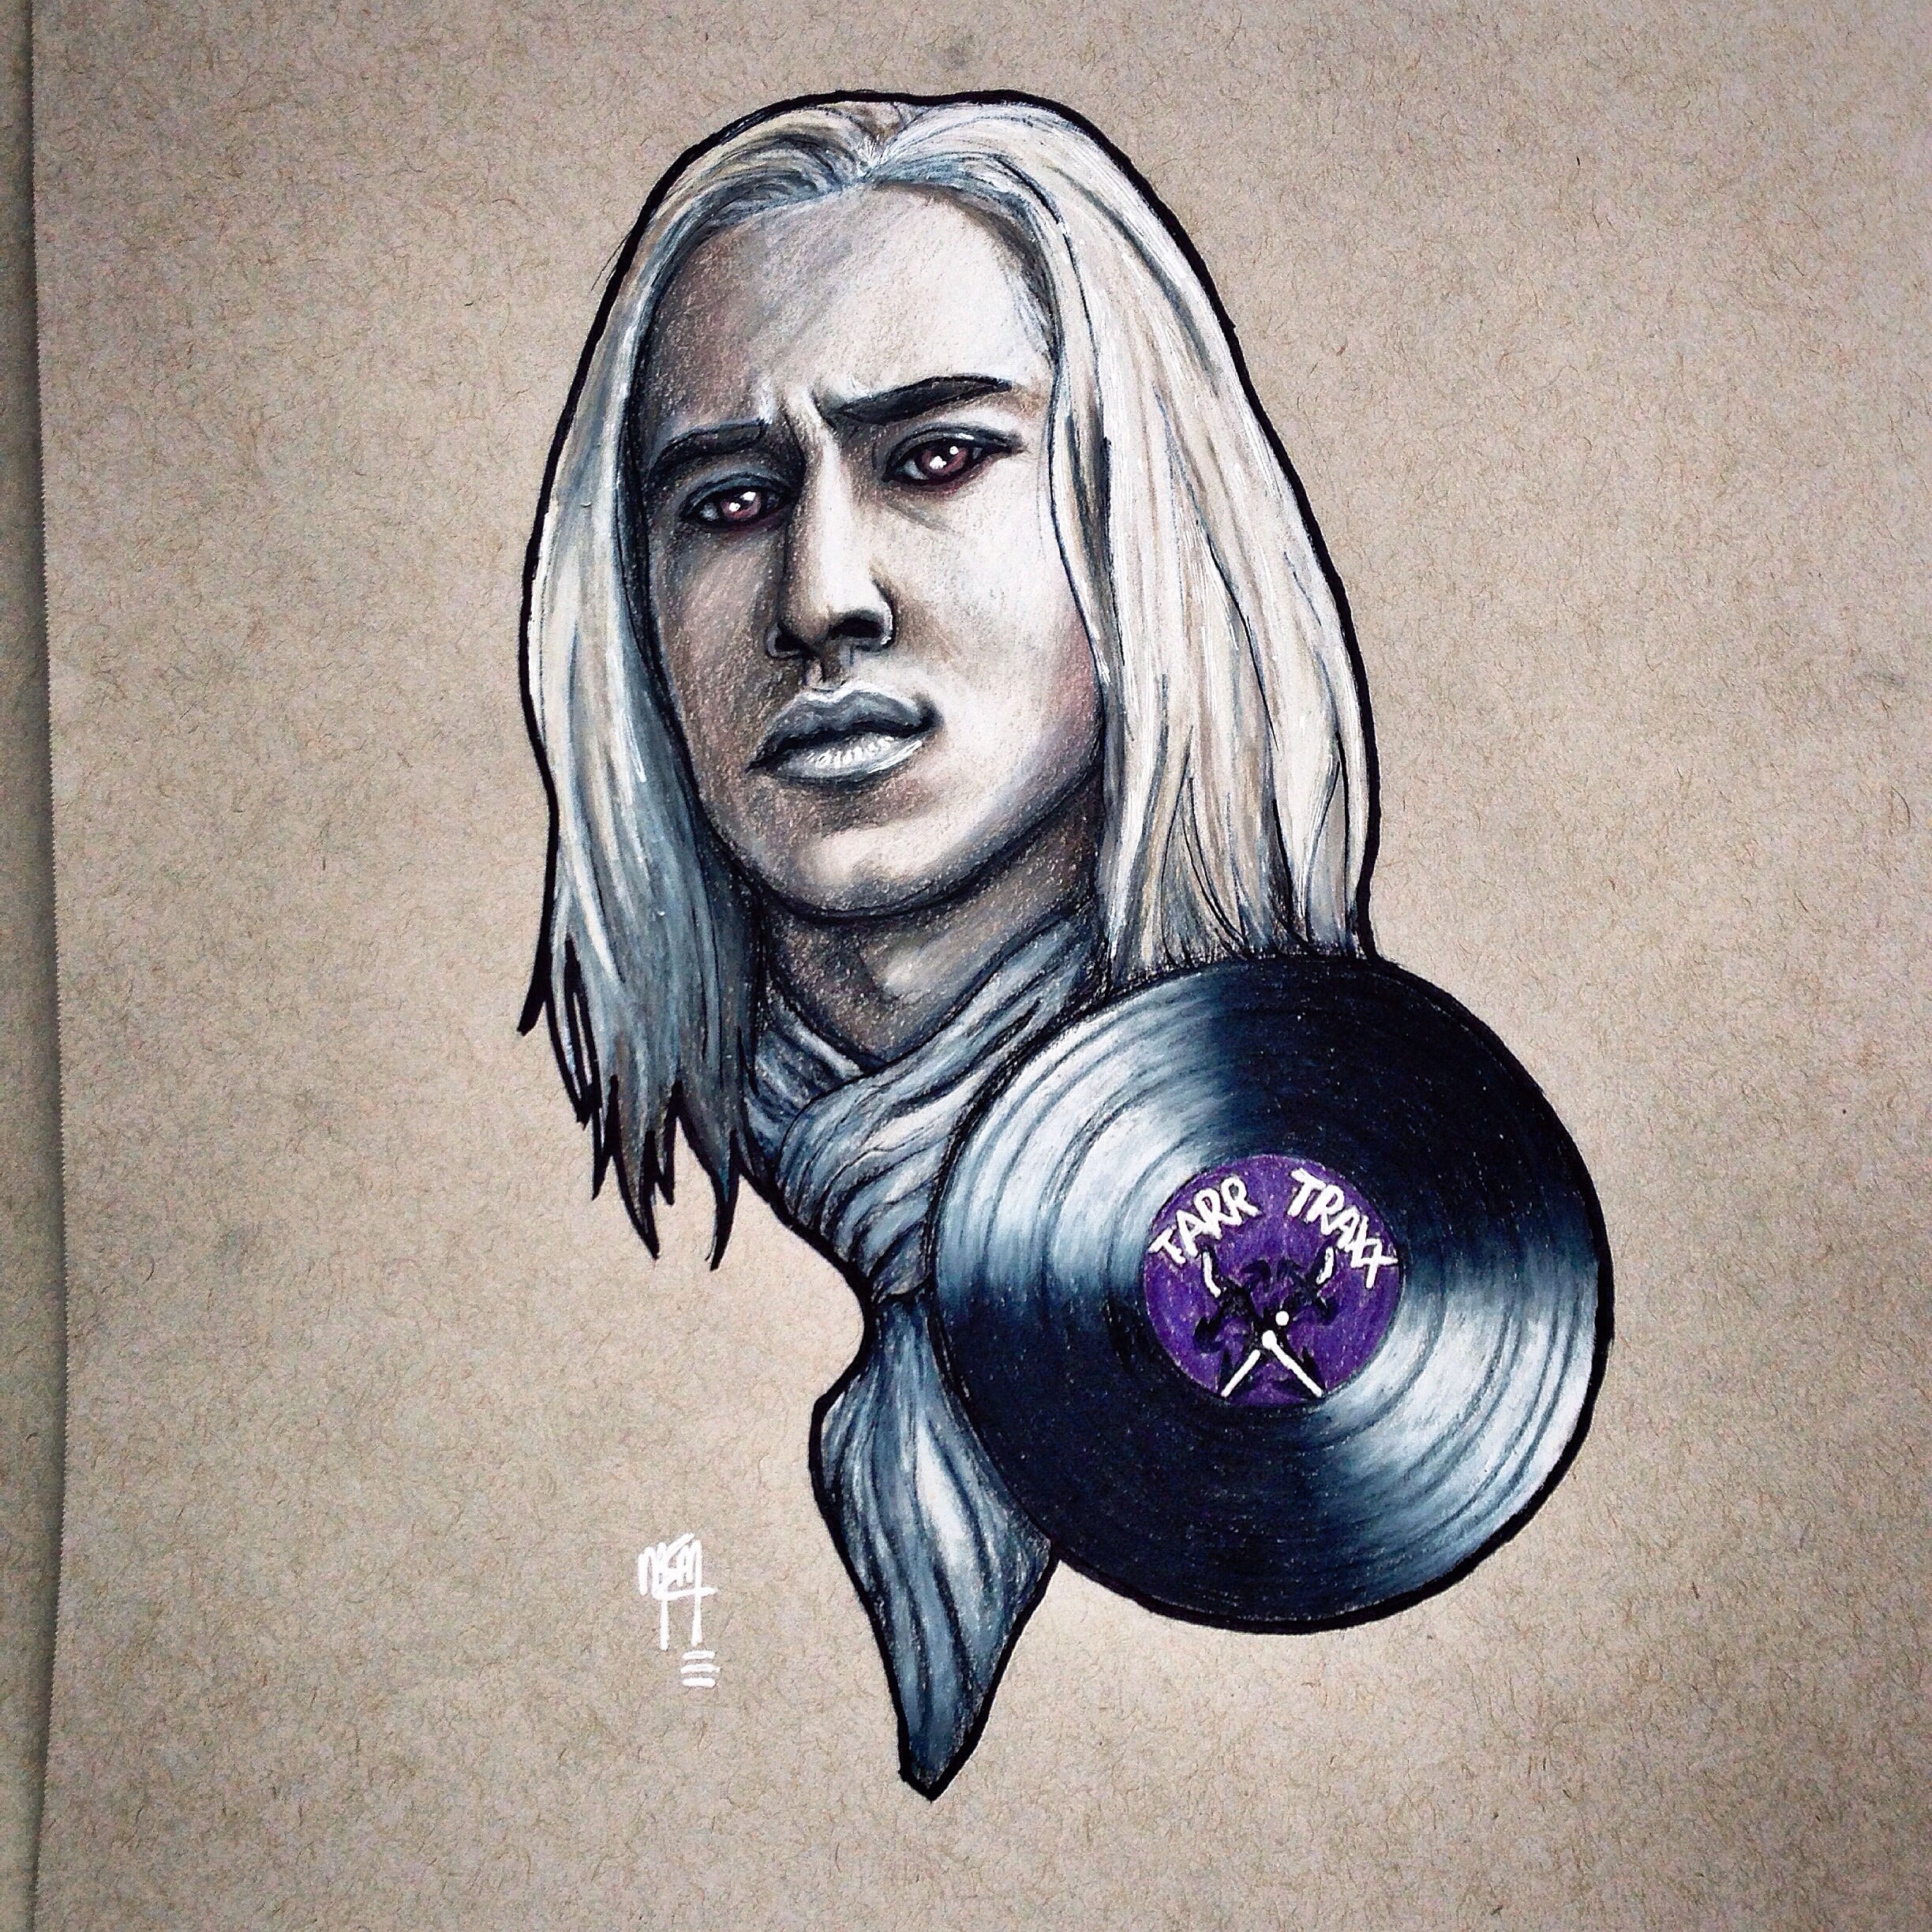
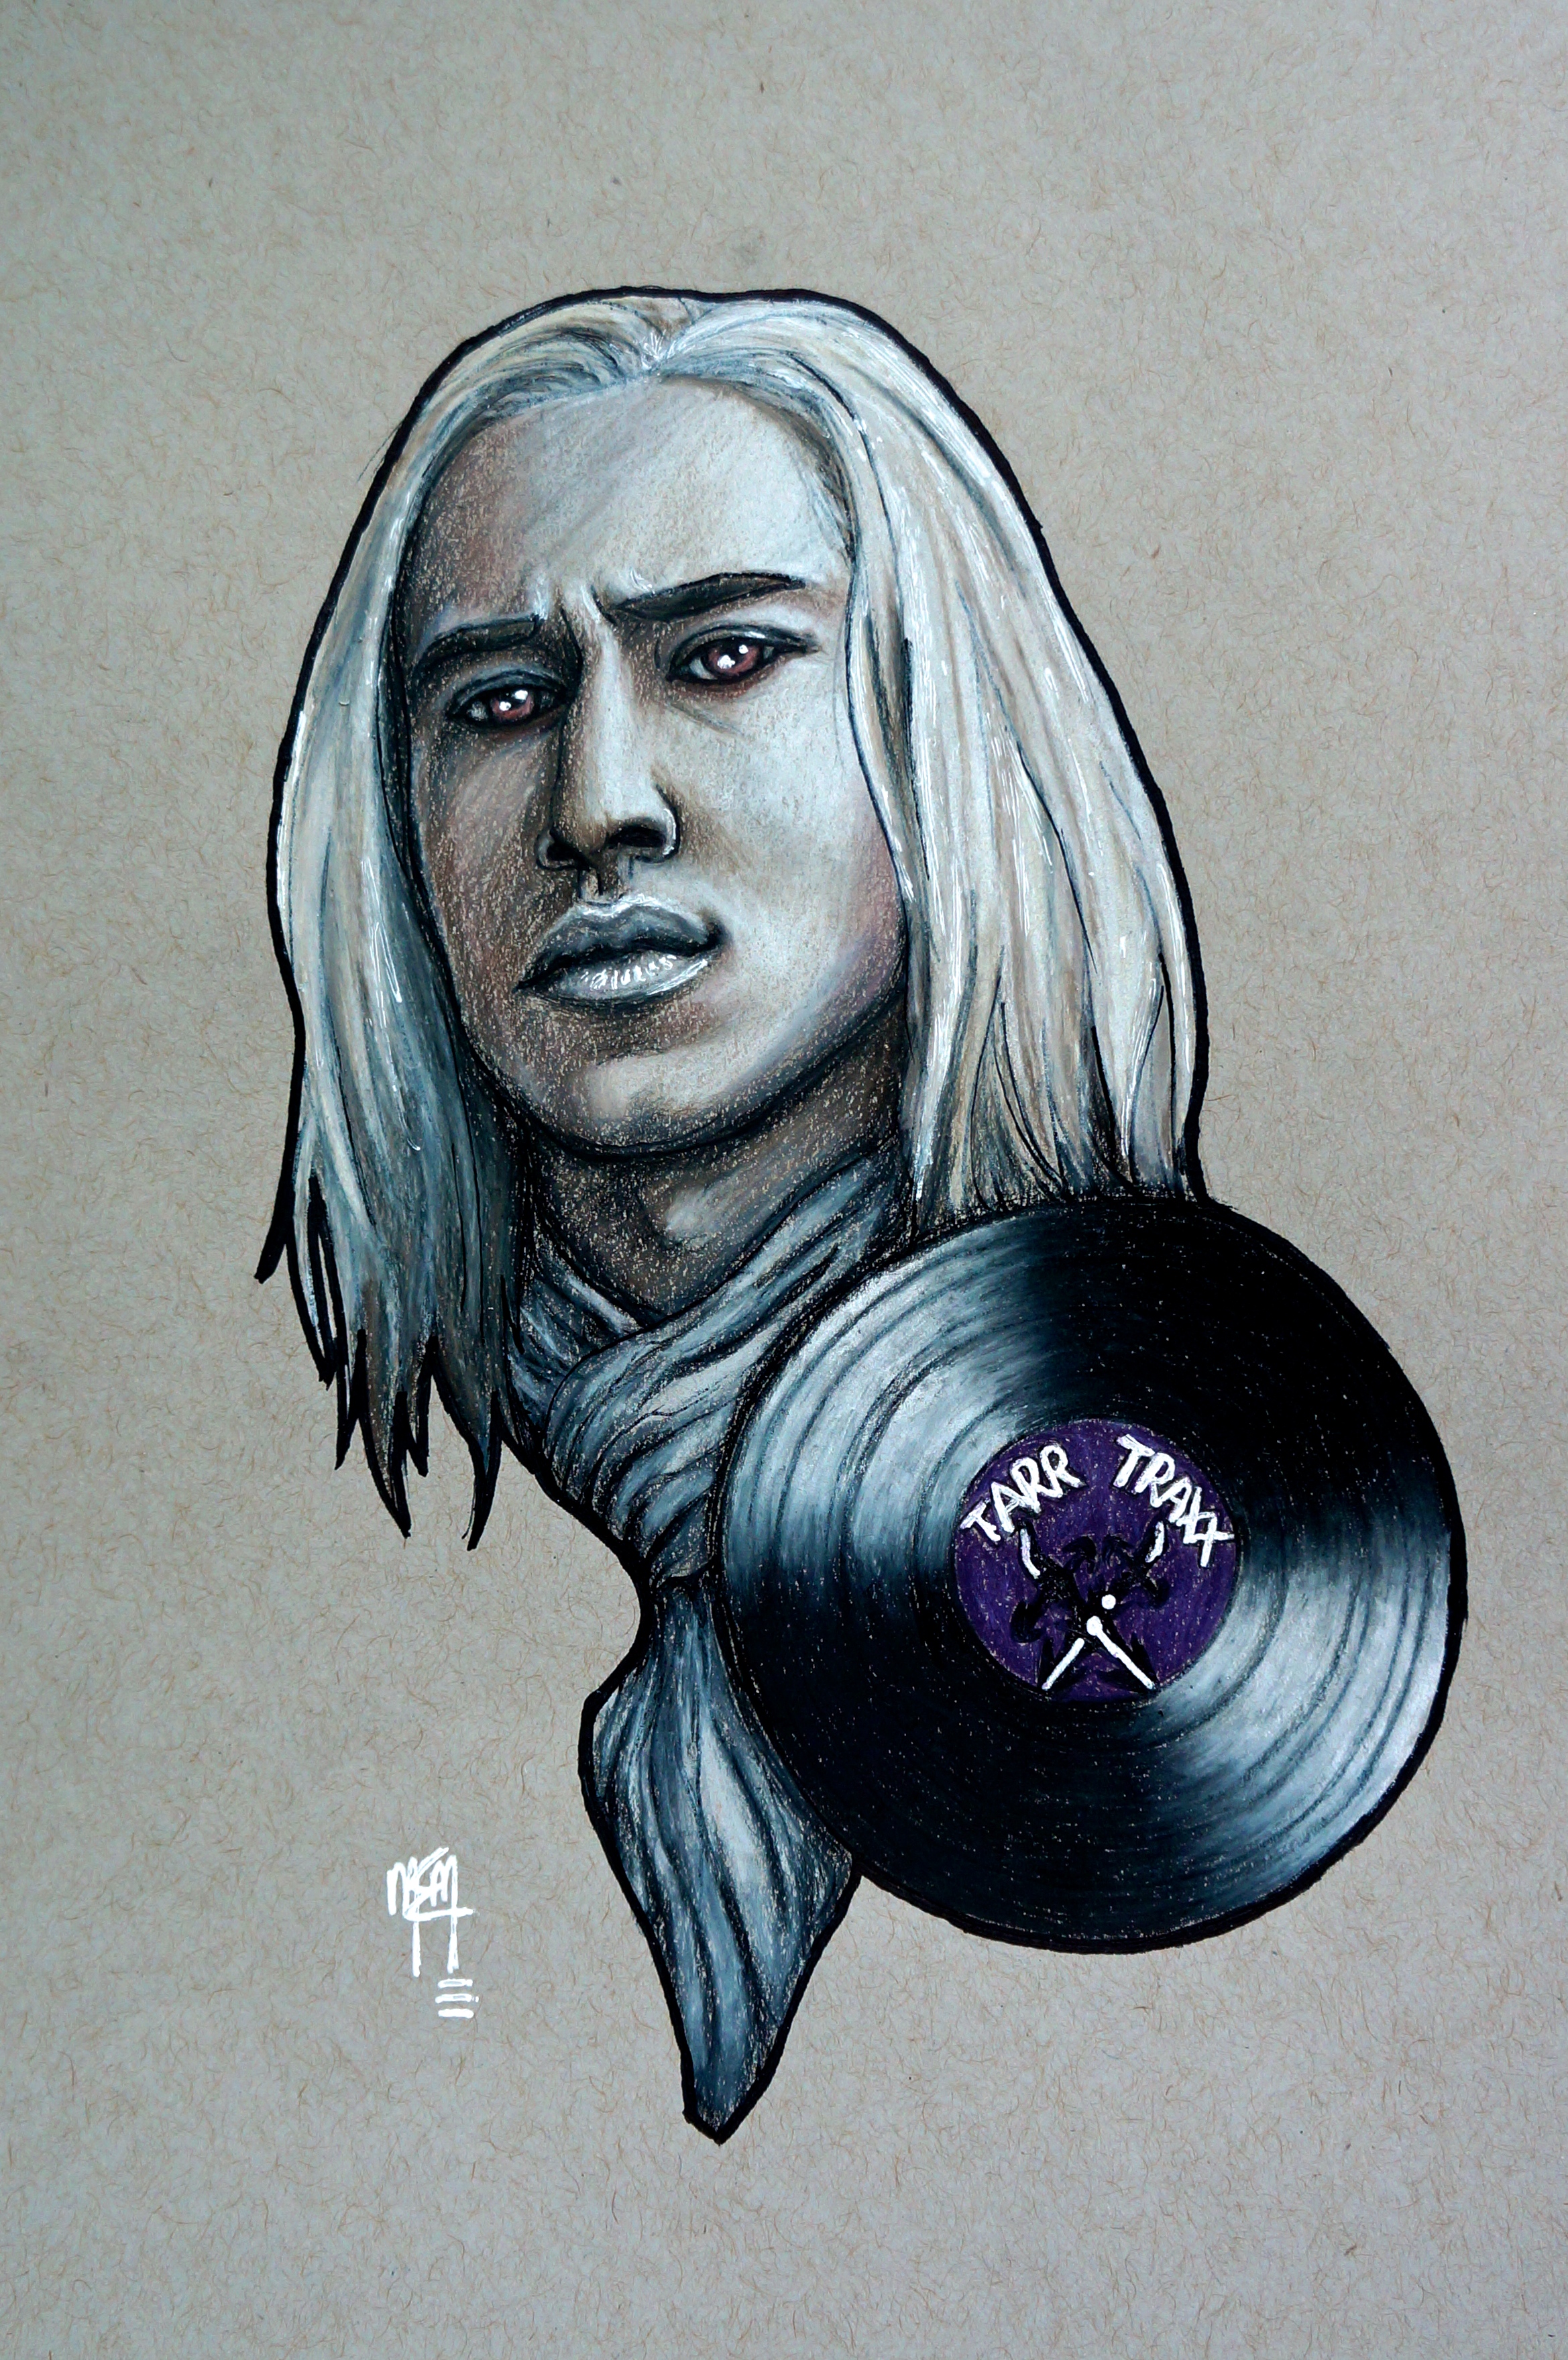
When I started creating the series I was planning on only doing maybe 5 of 6 of the most prominent characters. I started off doing 1 illustration a week, releasing it in time for the newest season 2 episode, but as cast members started to see the drawings they somewhat started fighting over who I was going to draw next, haha. One illustration a week soon became themed weeks with multiple illustrations (Tarr Week, McCawley week, etc.). By the fourth or fifth week in to creating the illustrations I outlined a way to have every main character drawn; to have at least 1 new art piece a week for the rest of the season 2 episodes.
The positive reaction to the series far exceeded anything I was expecting. The main series soon had bonus series members, then additional illustrations added of new characters from season 3 the following year.
This illustration series will always be special to me, as well - I'm sure - as many of you. Enjoy this look into what went into creating The Defiance Illustration Series.
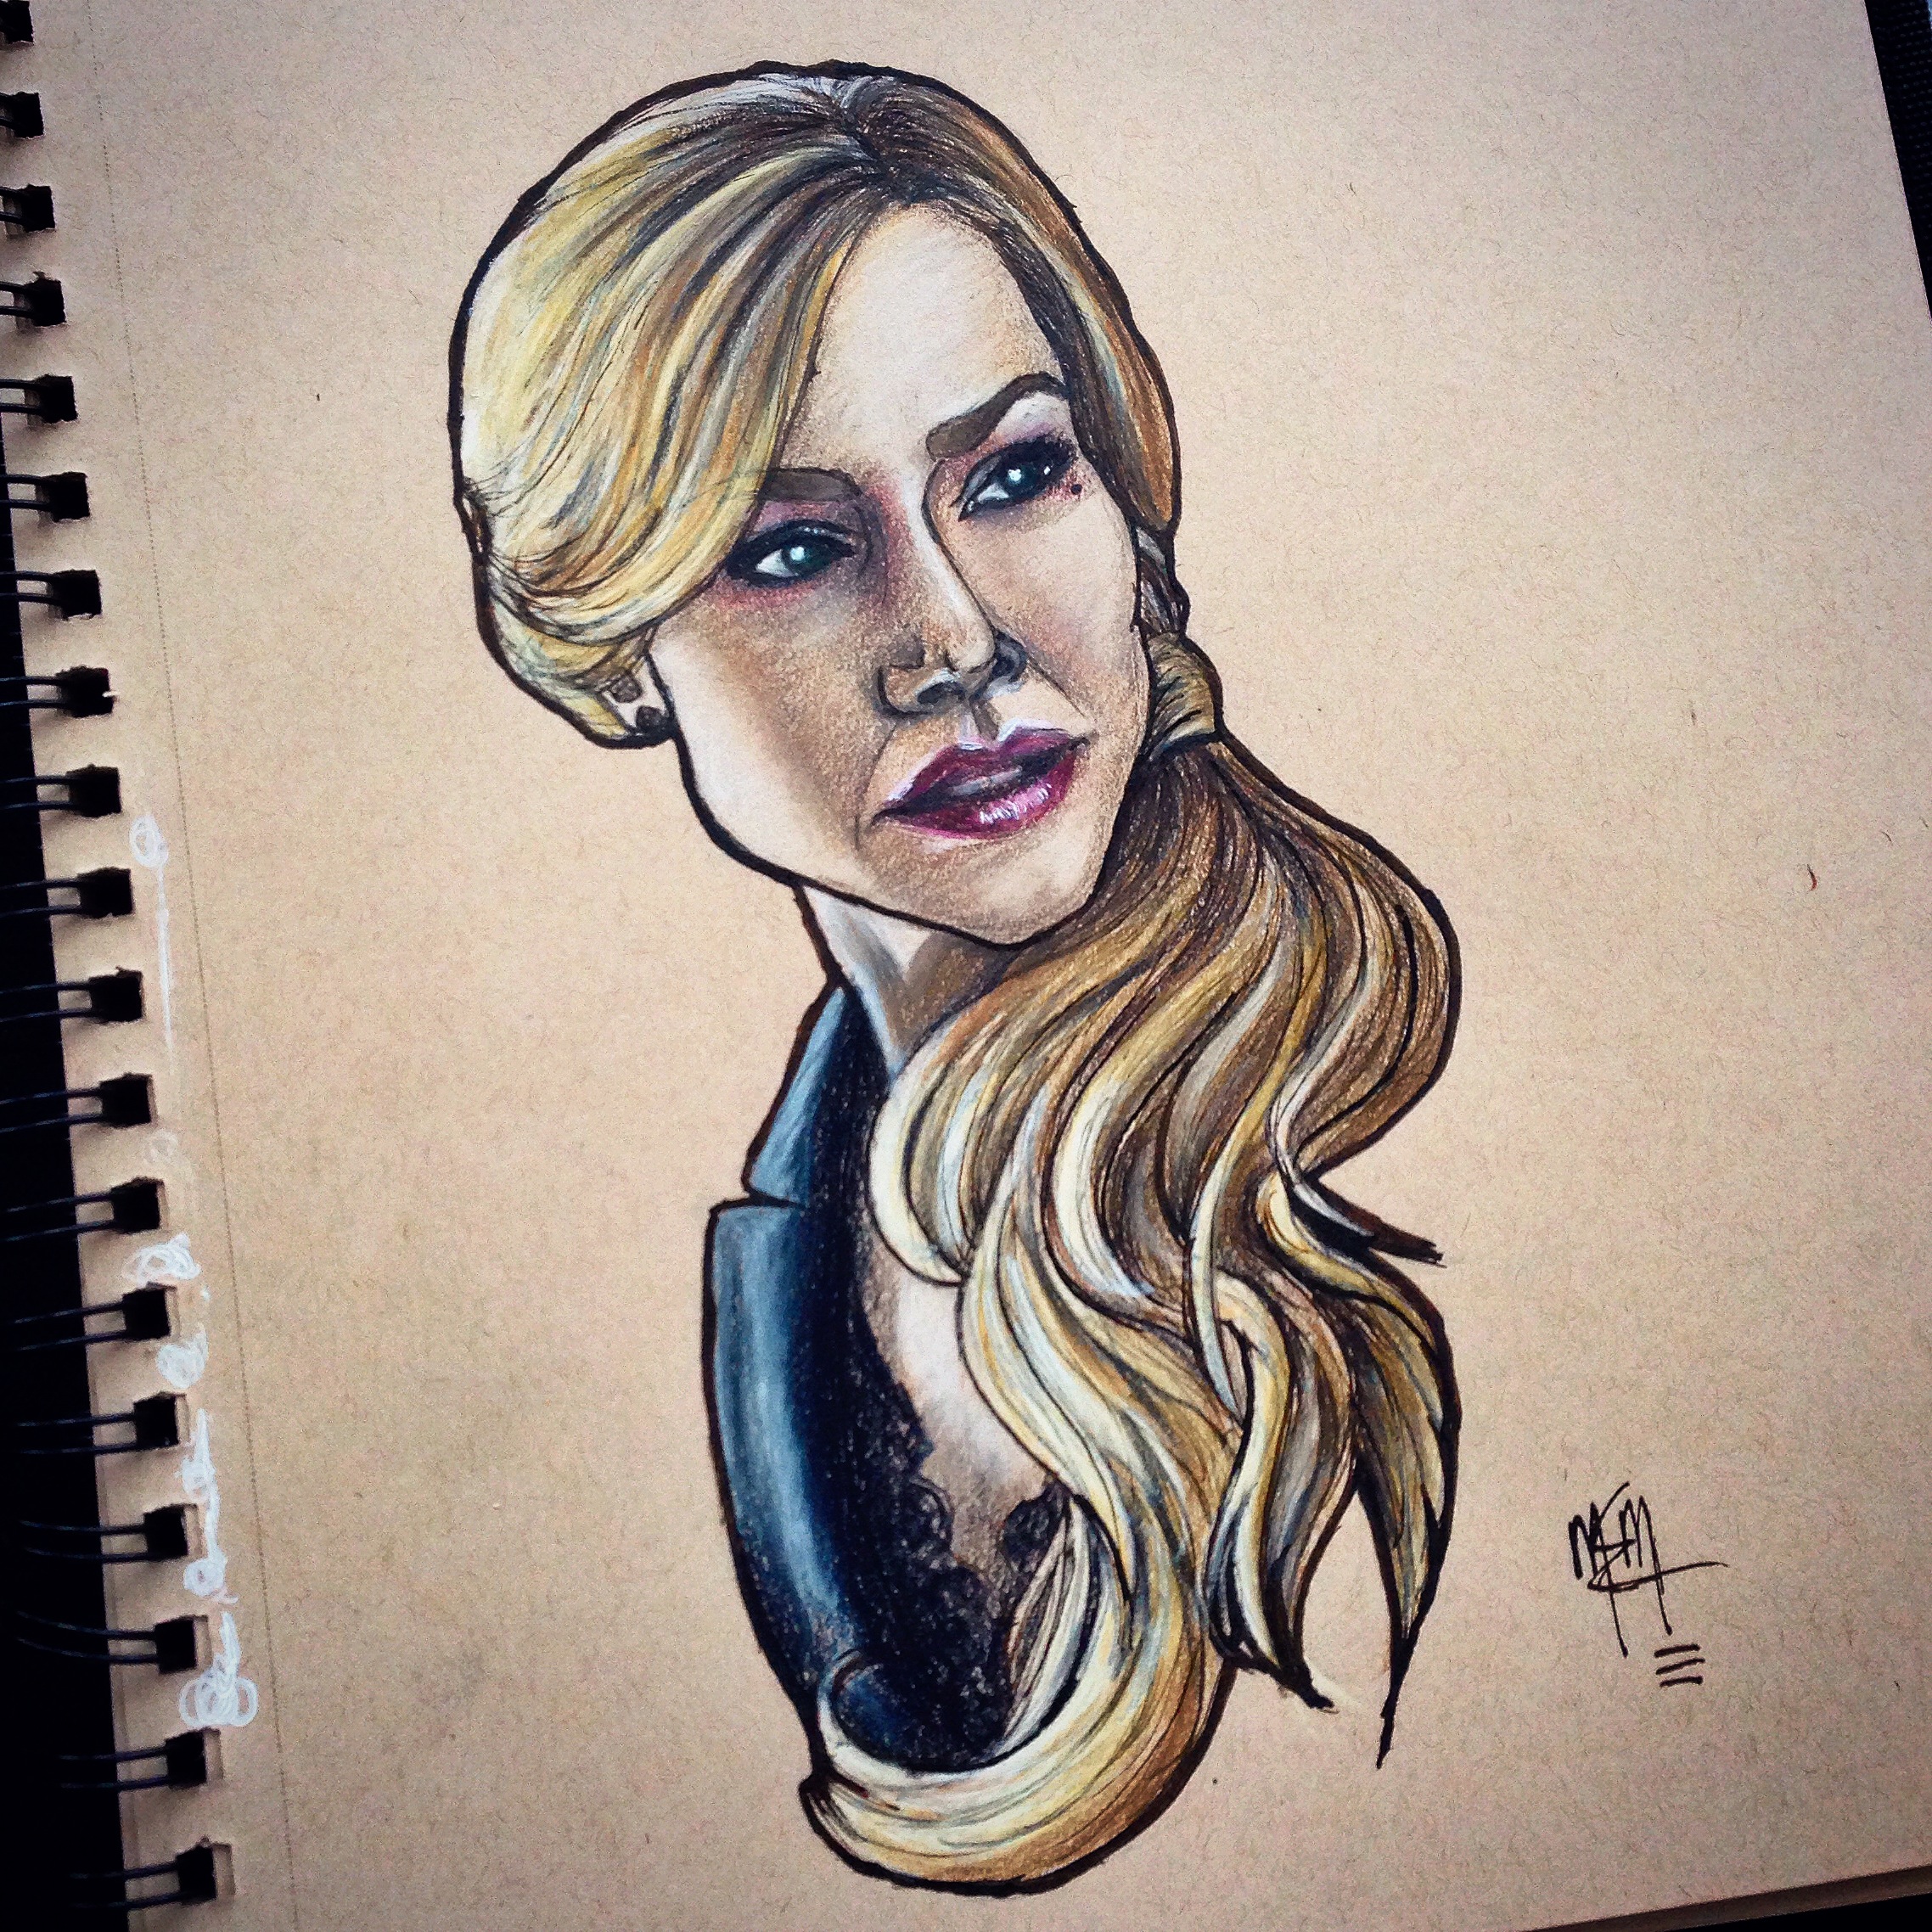
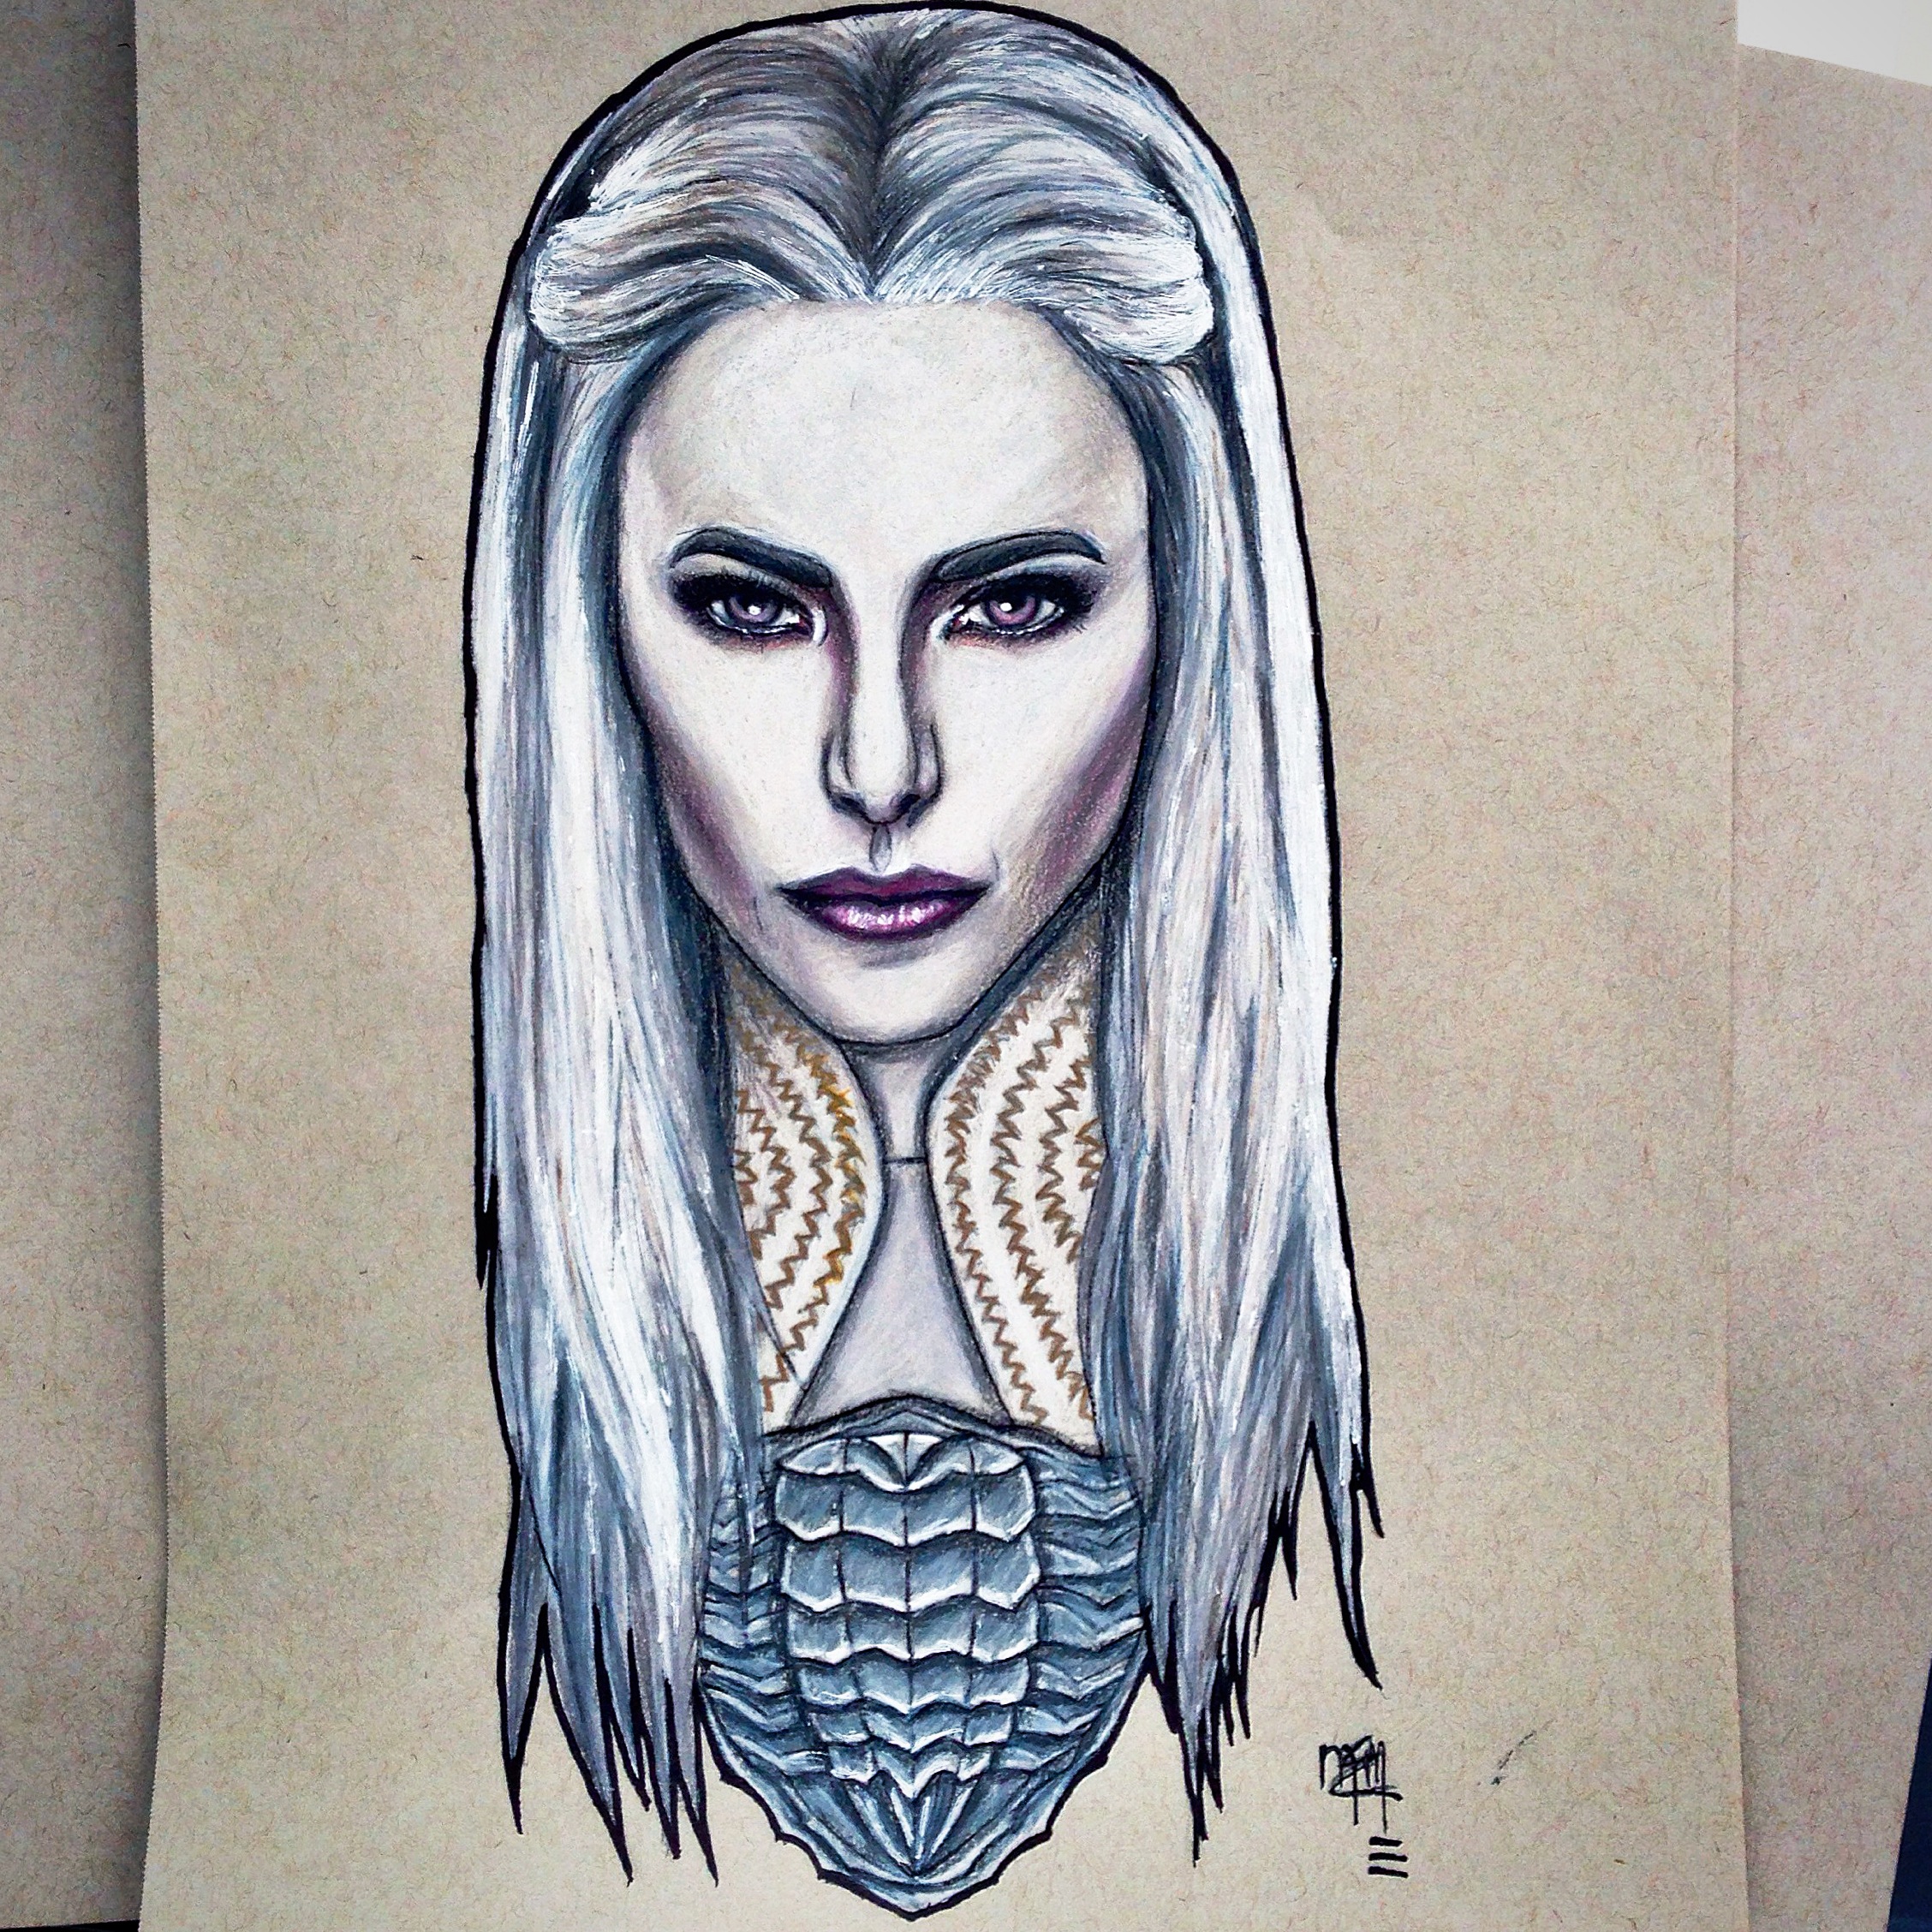
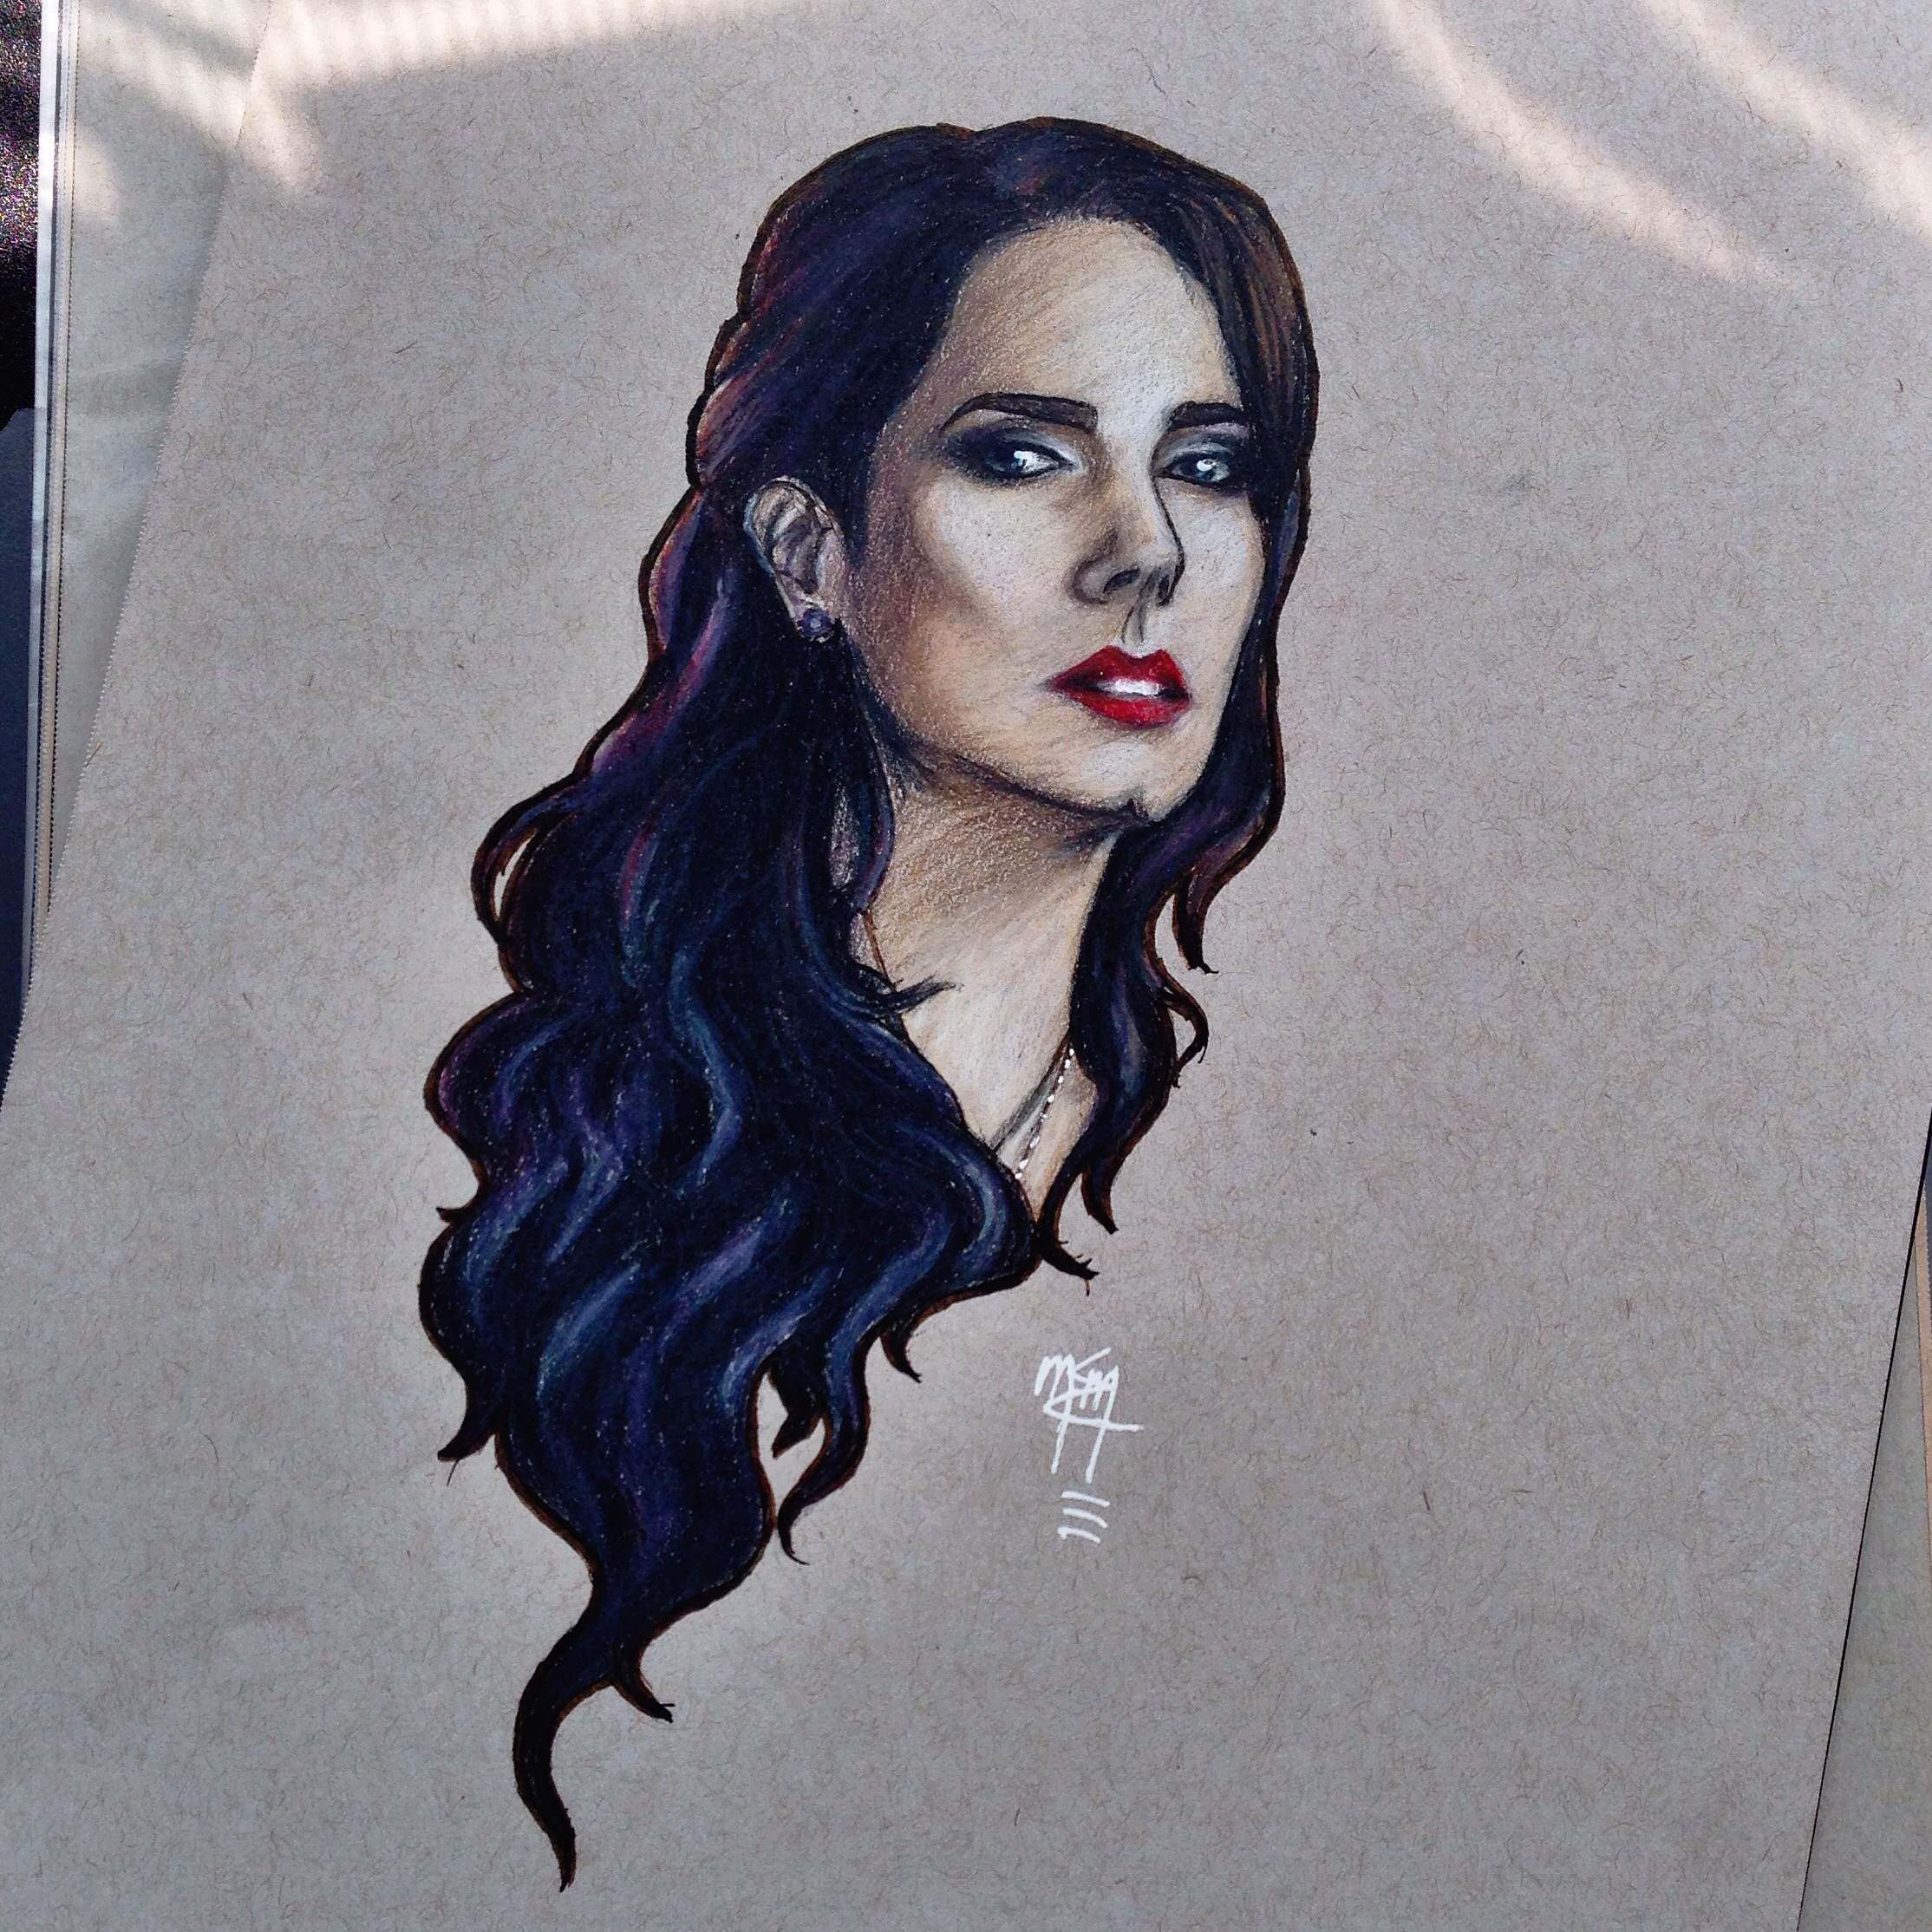
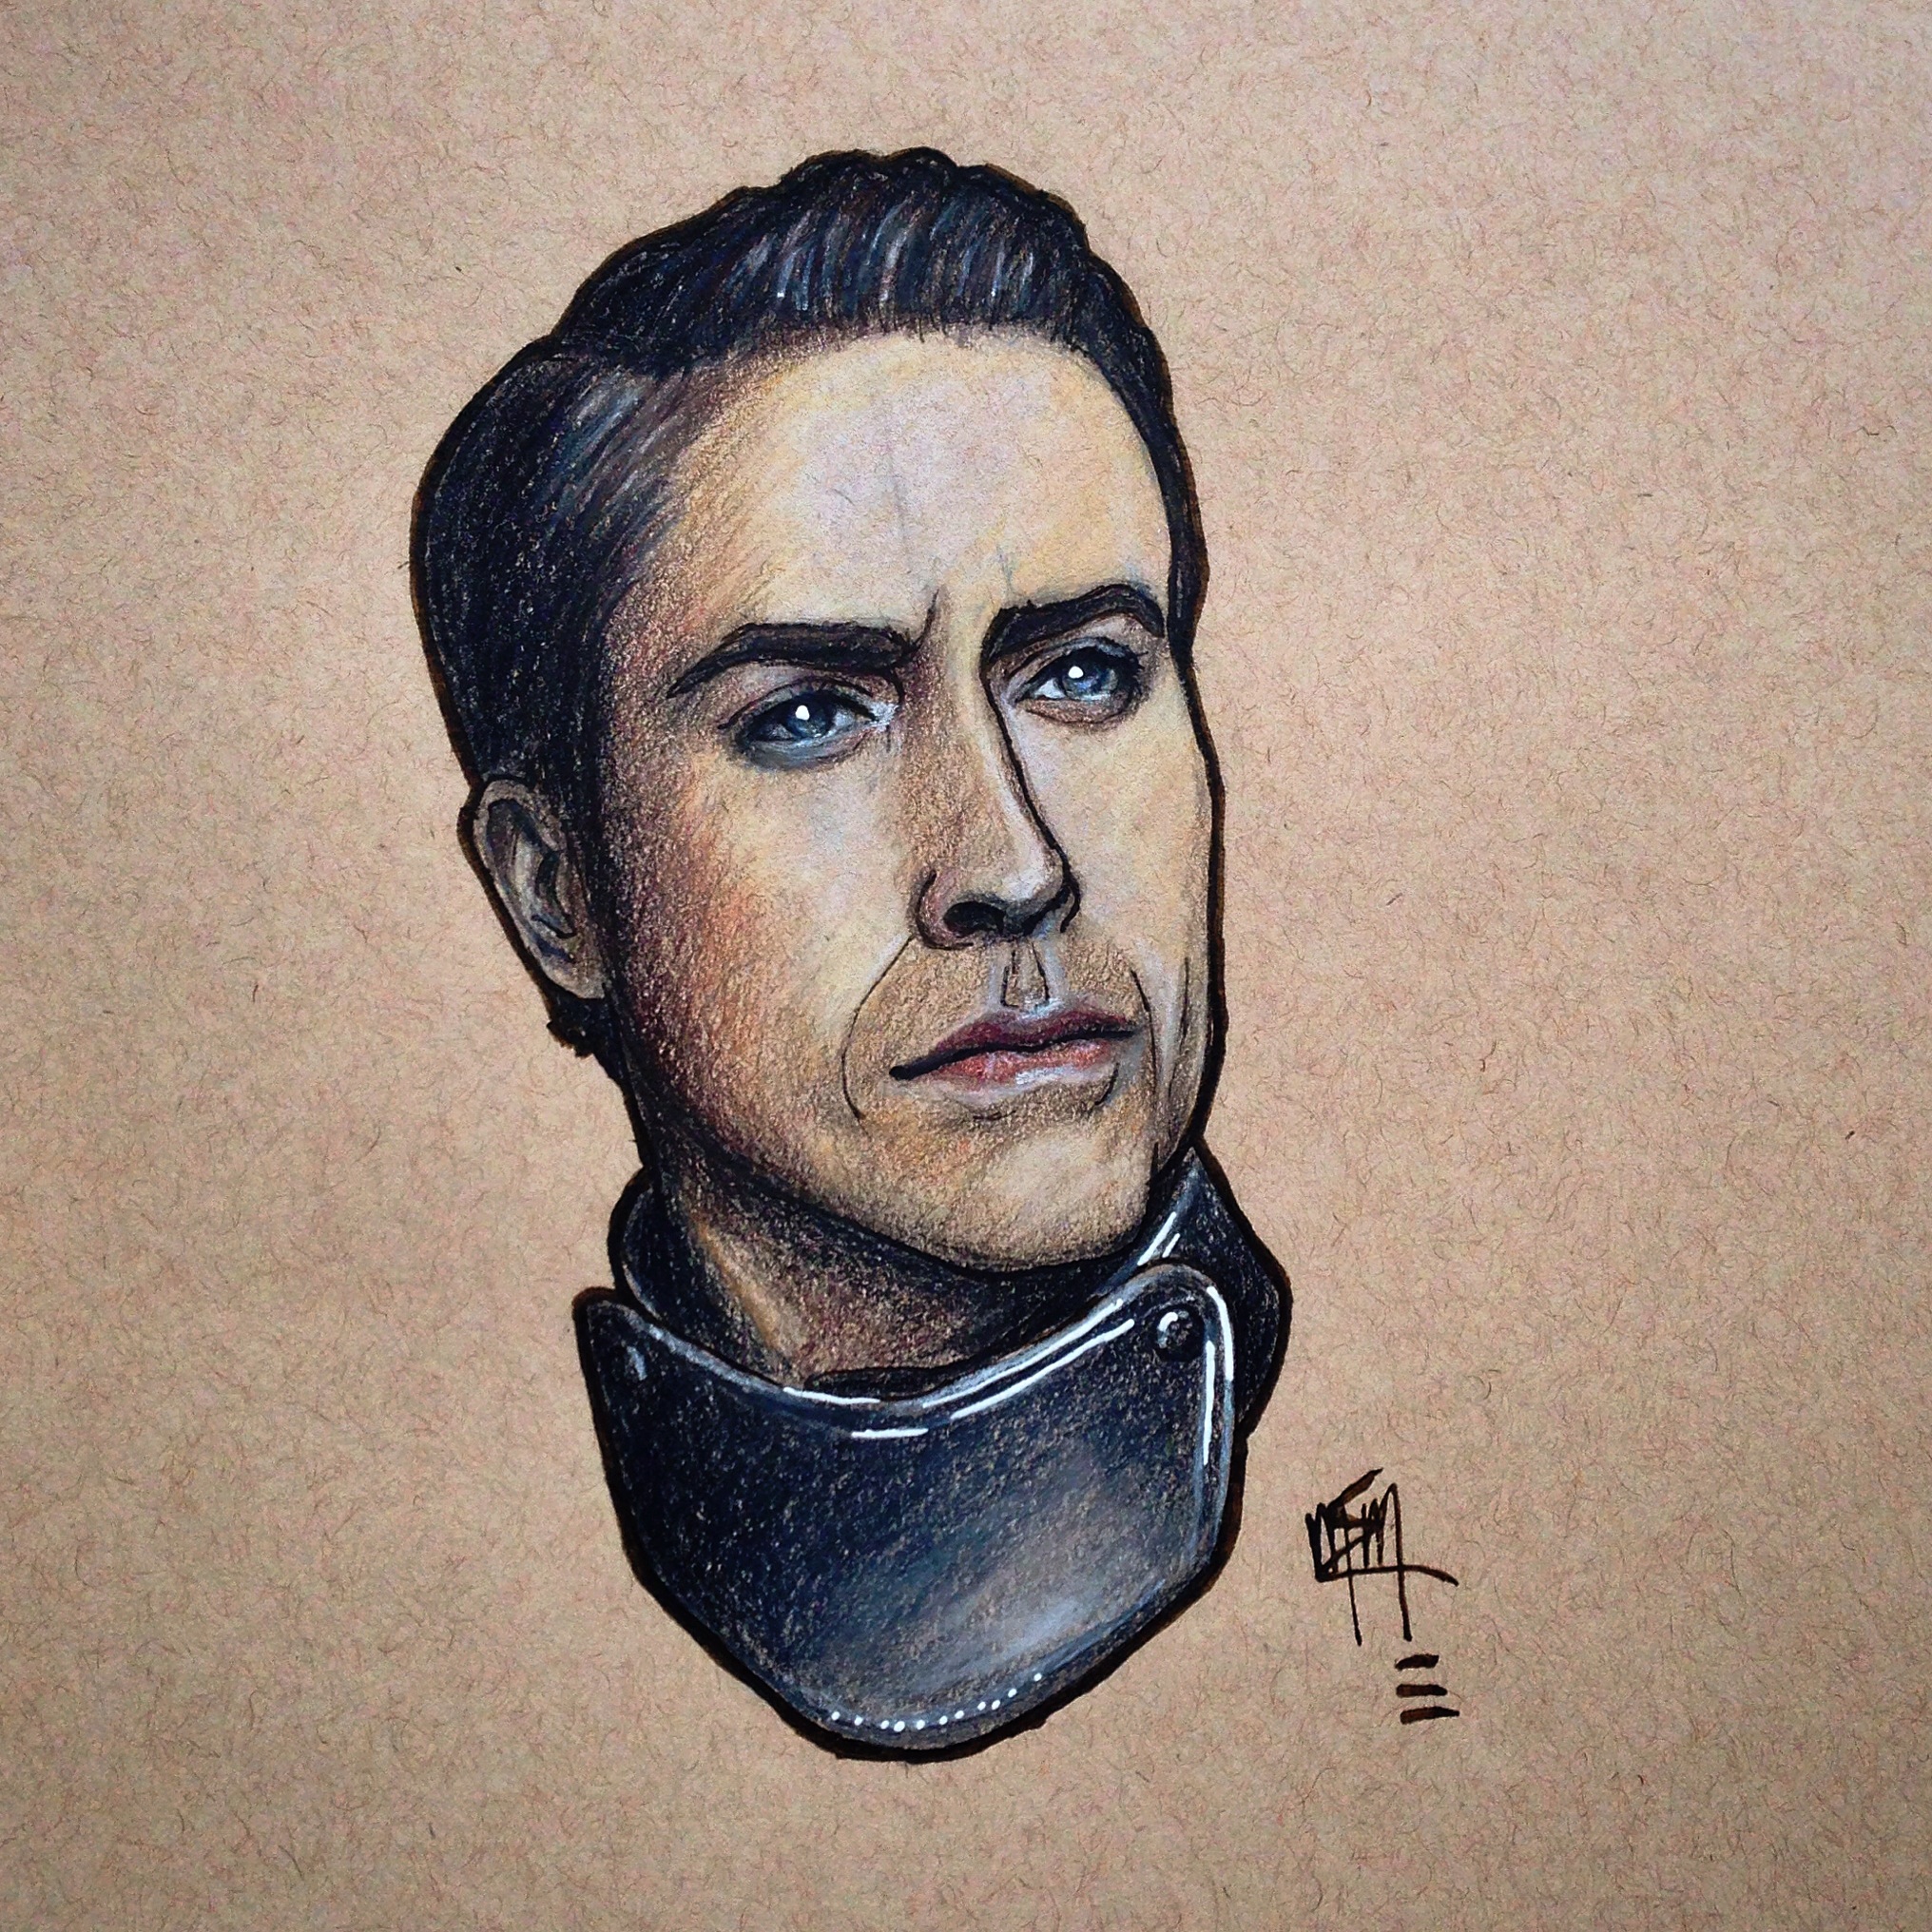
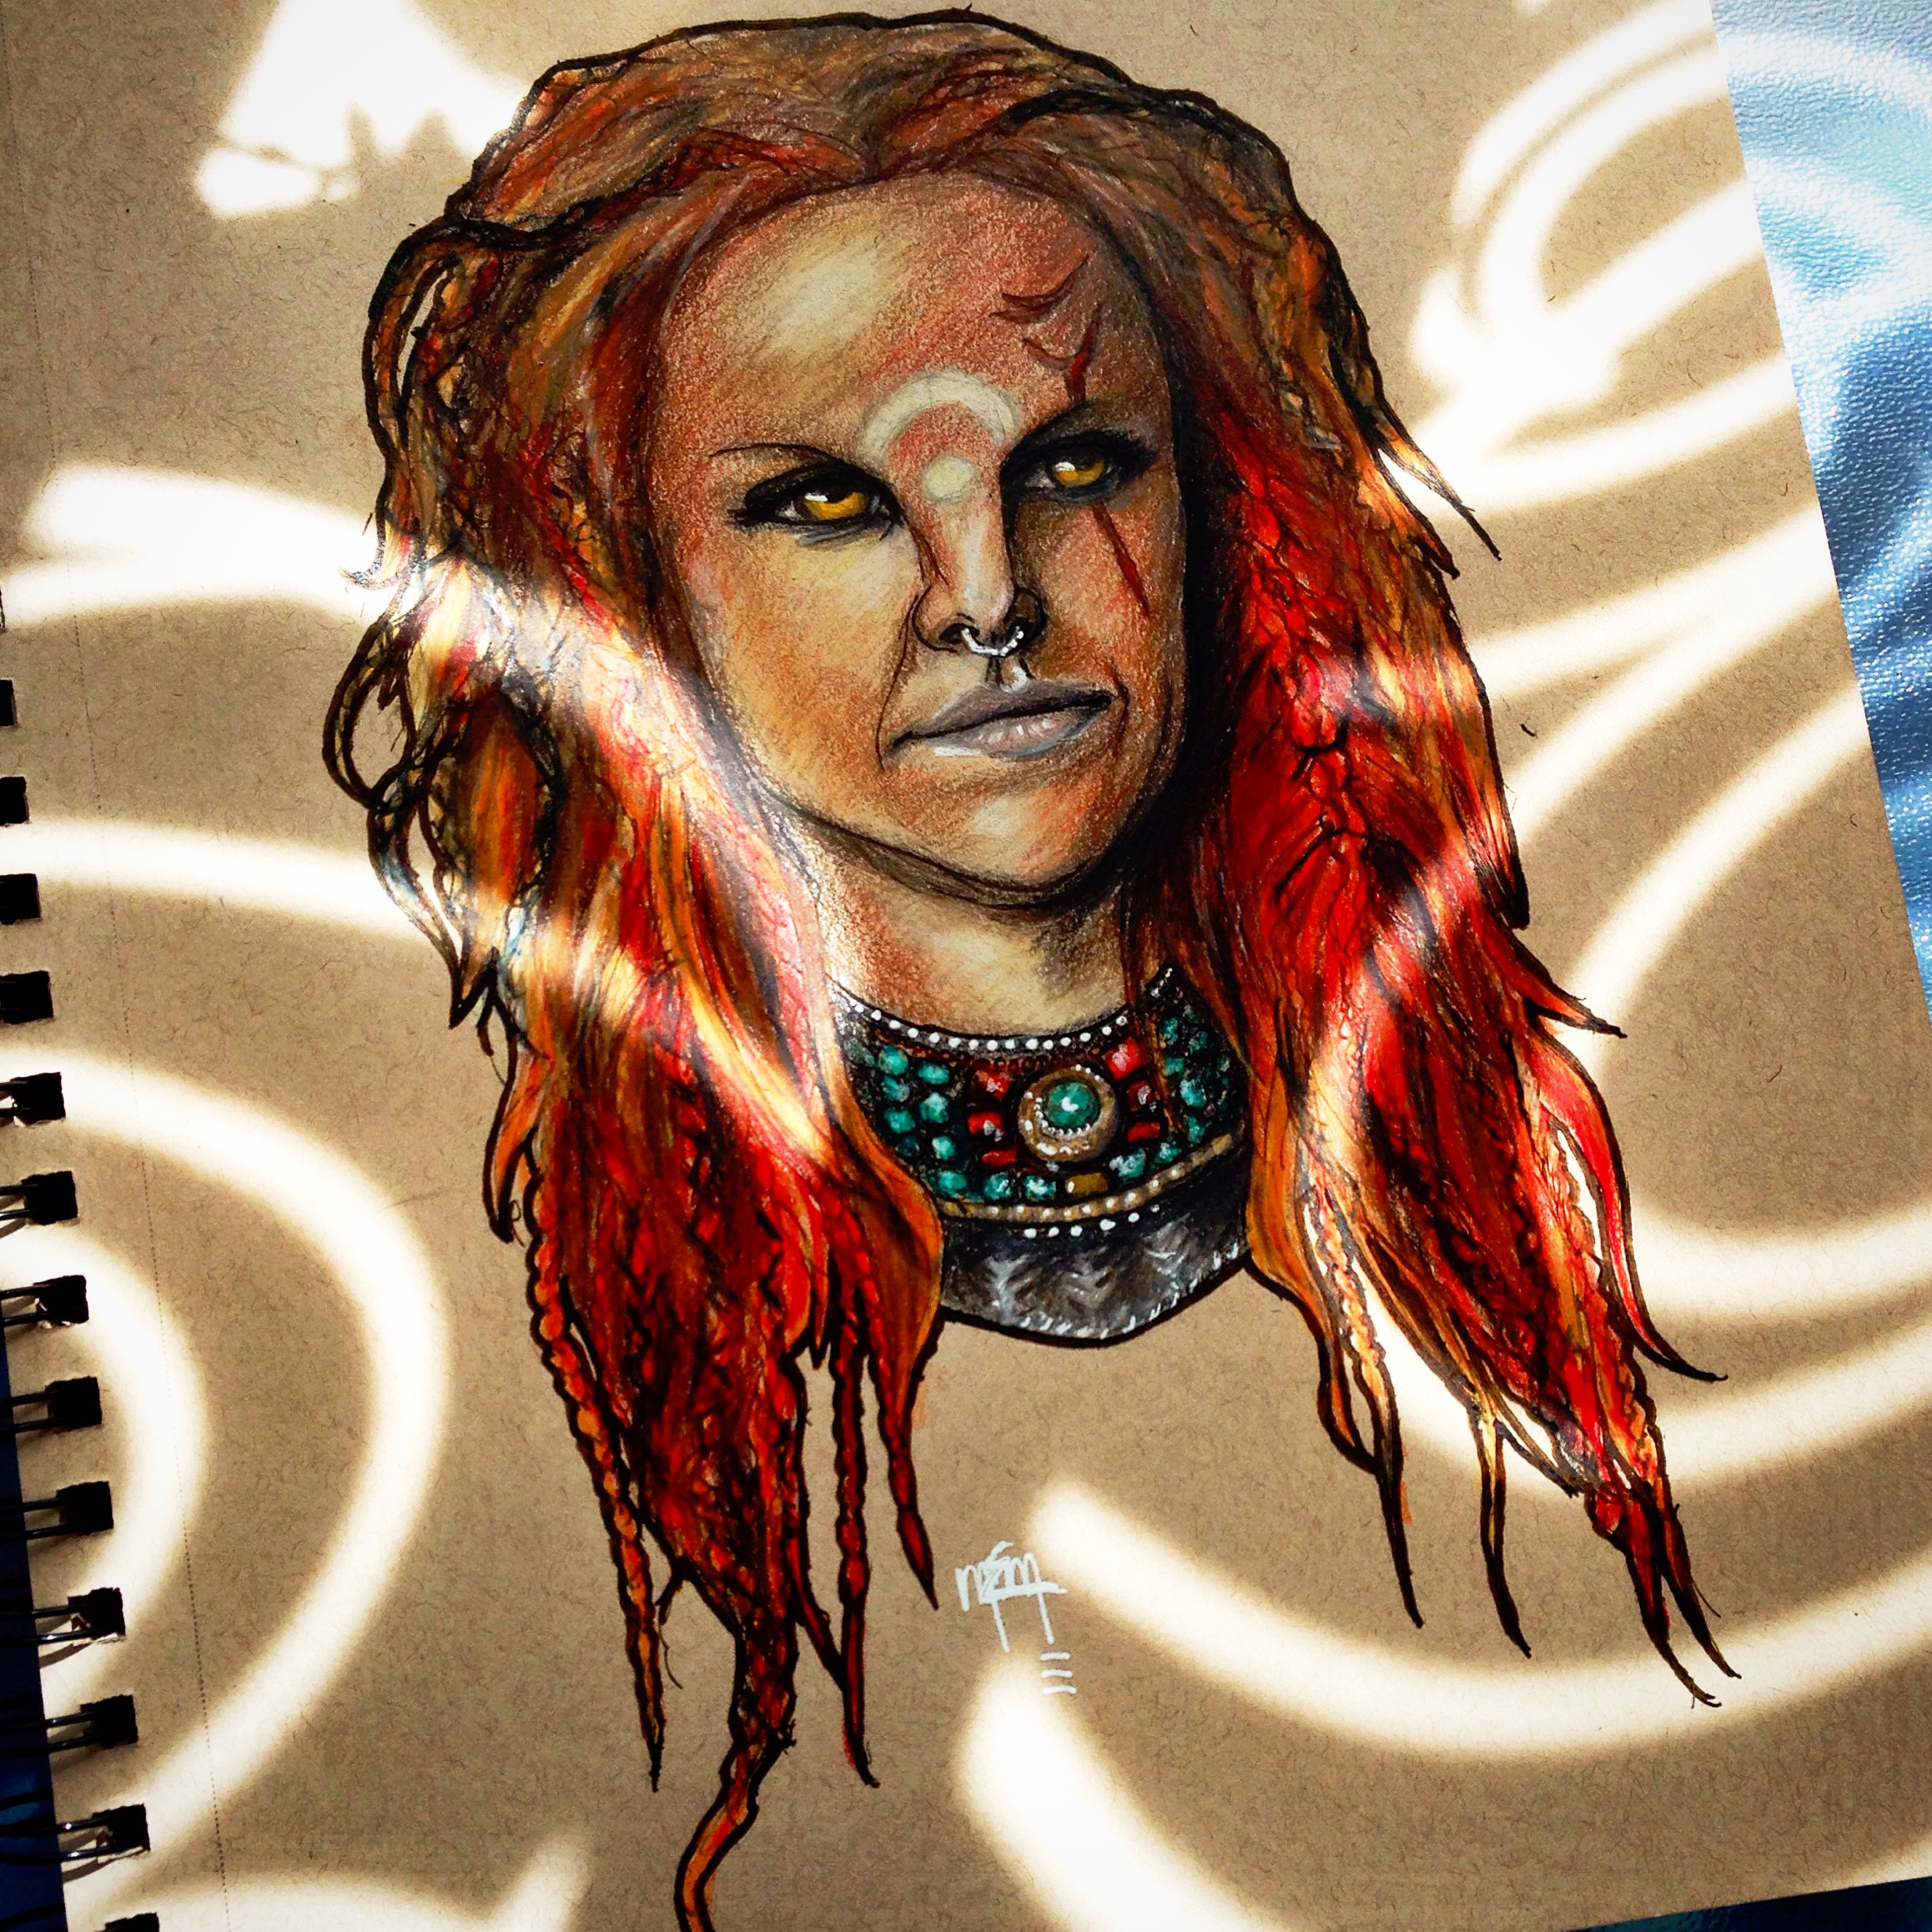
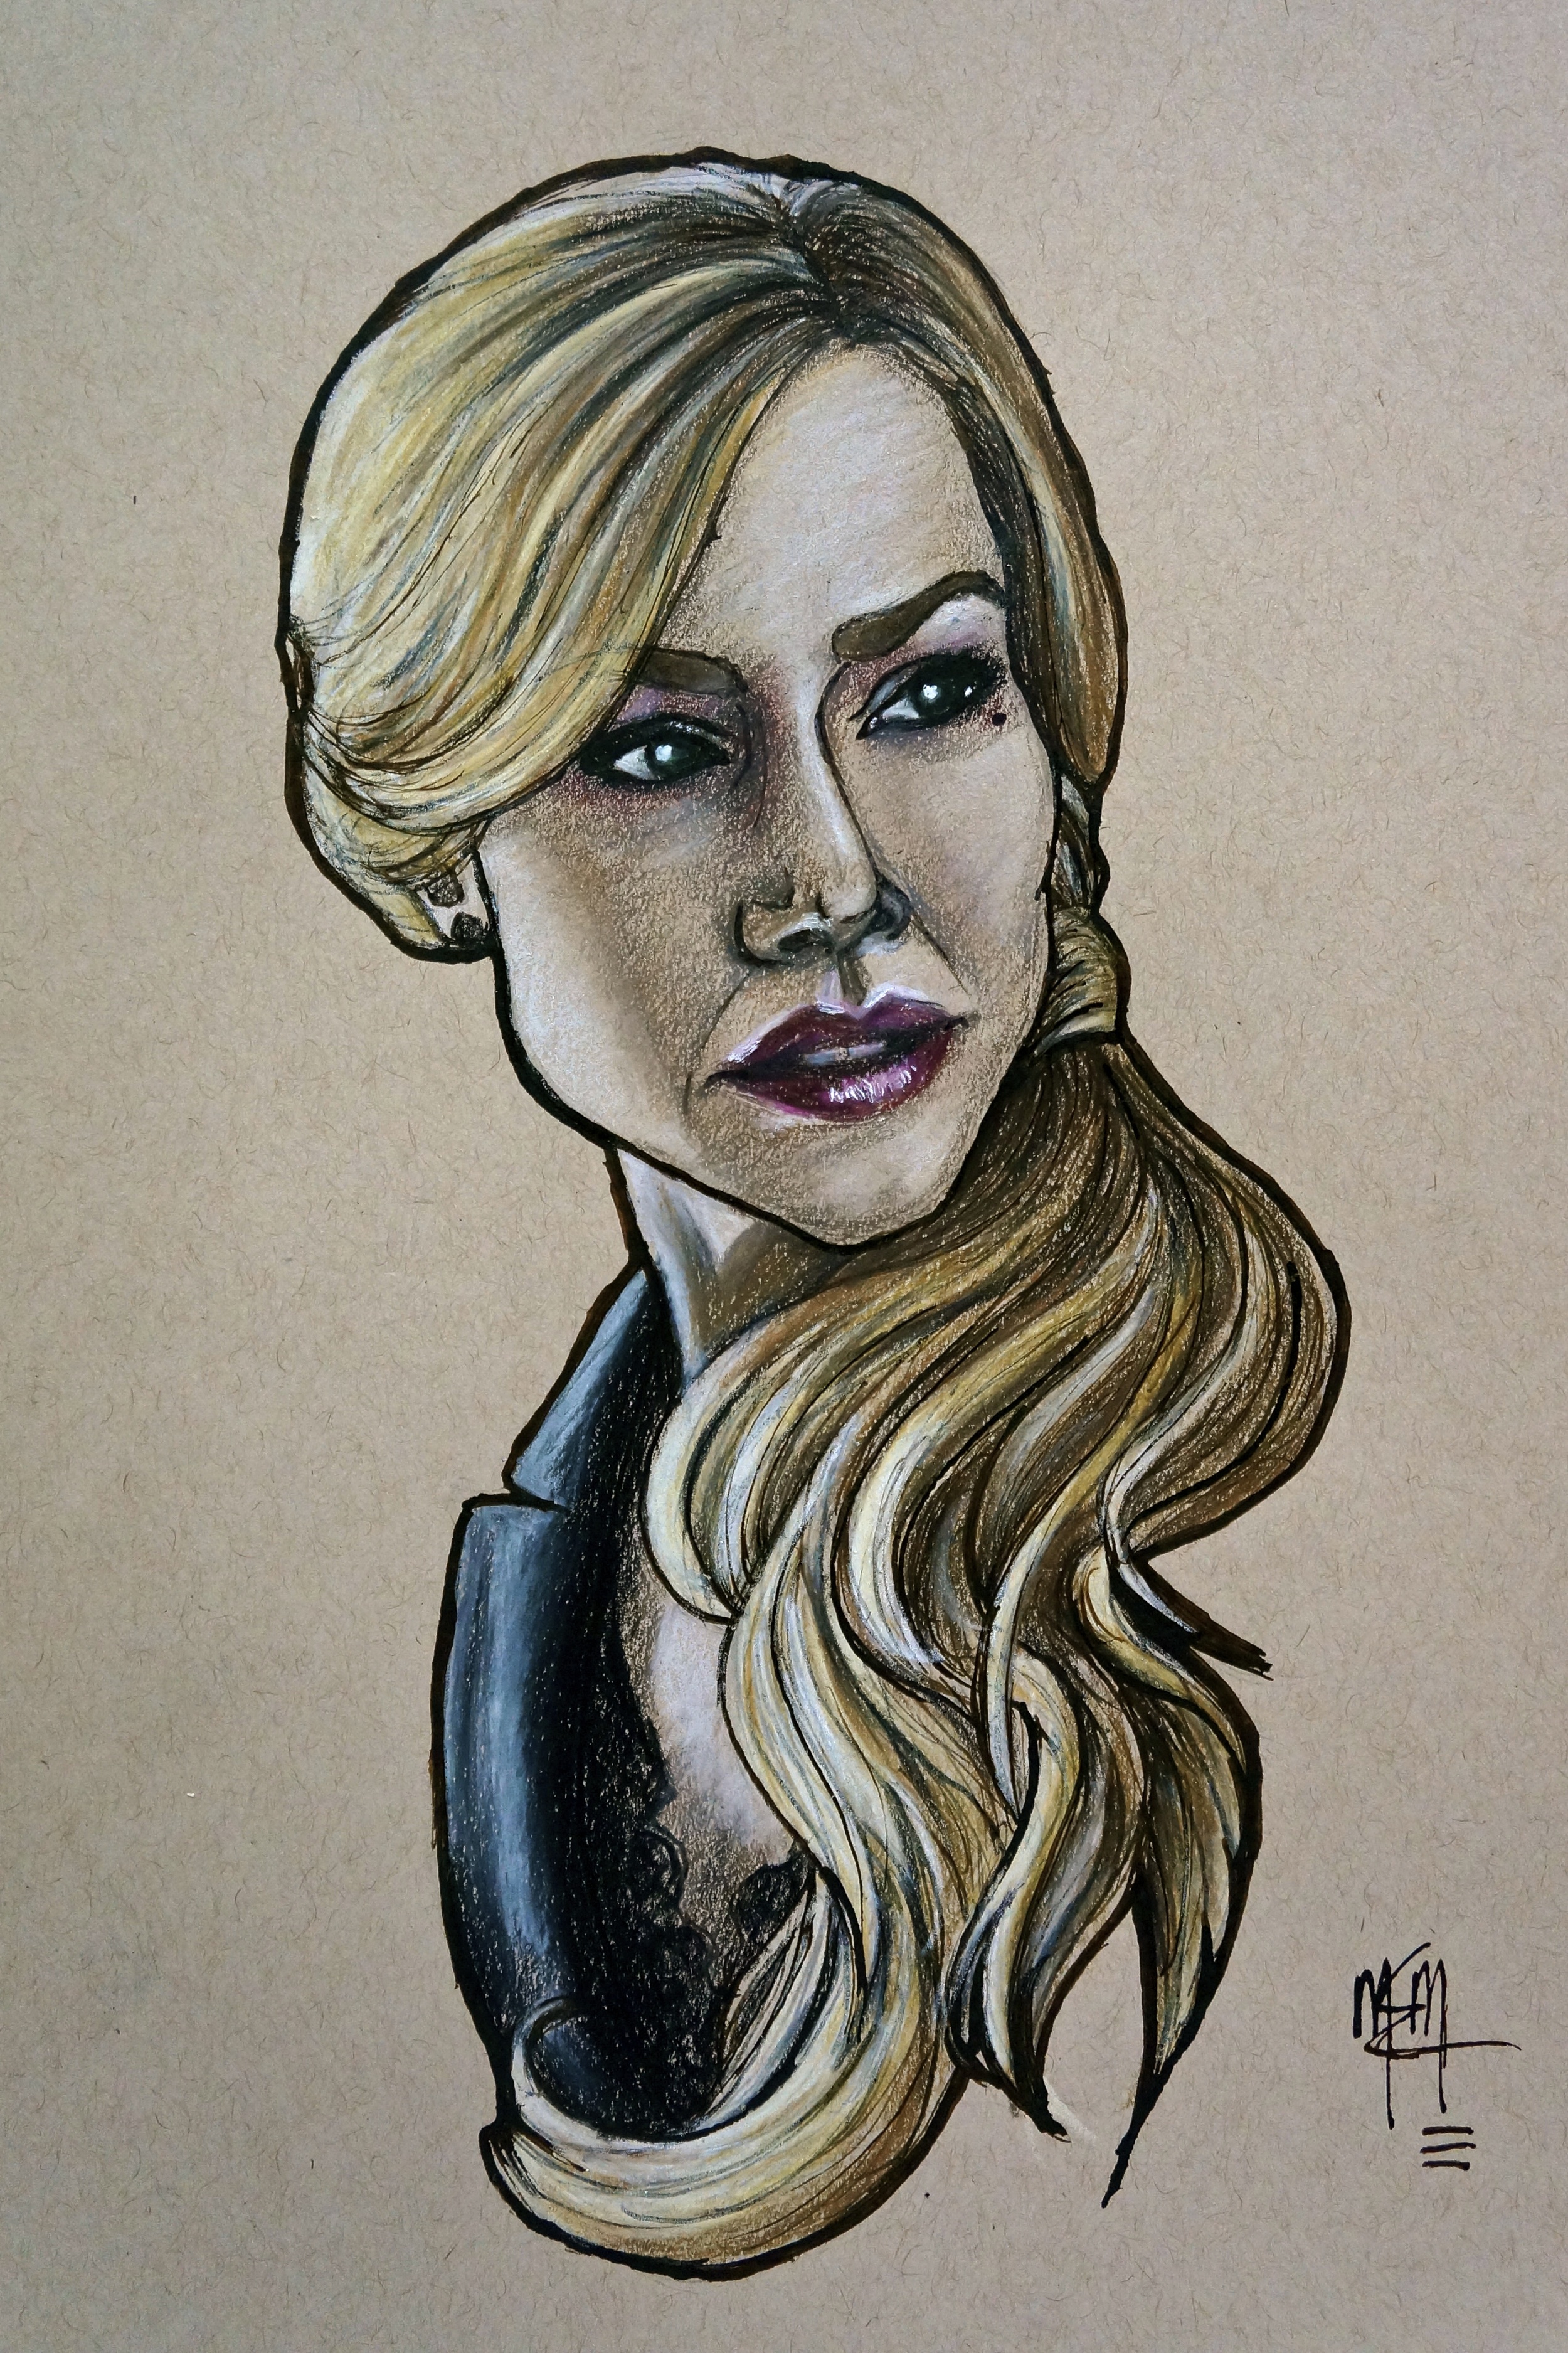
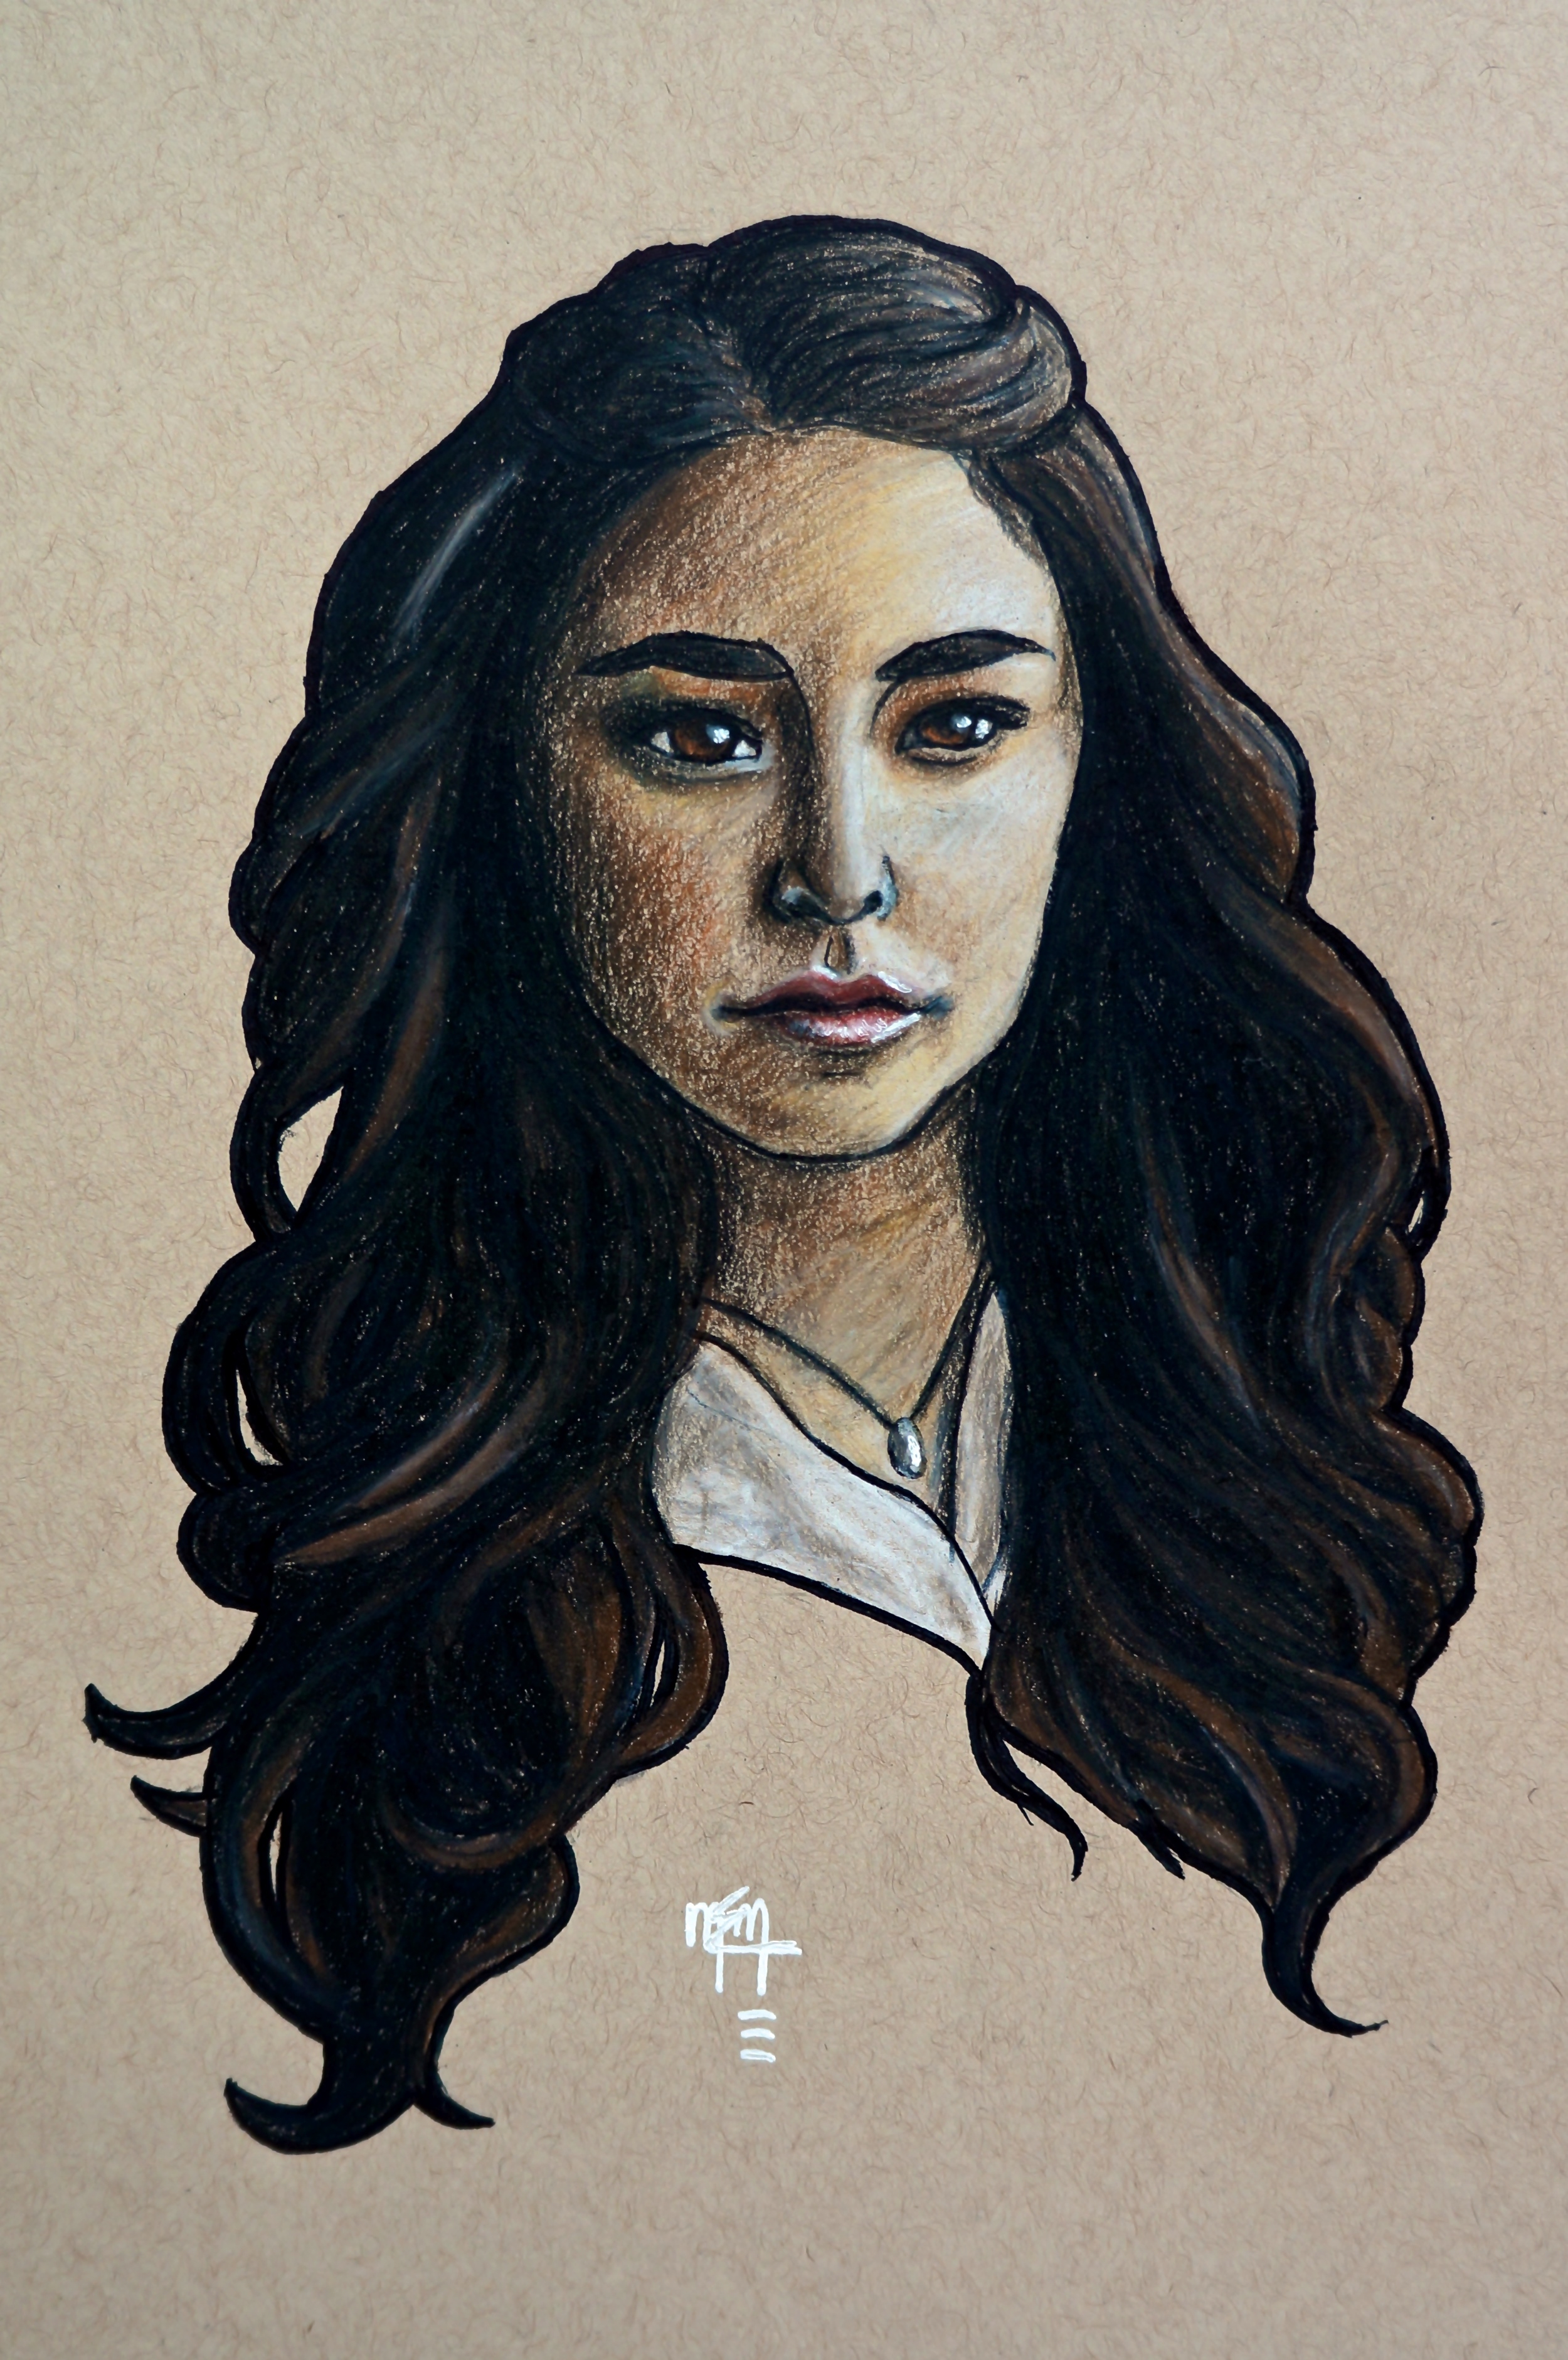
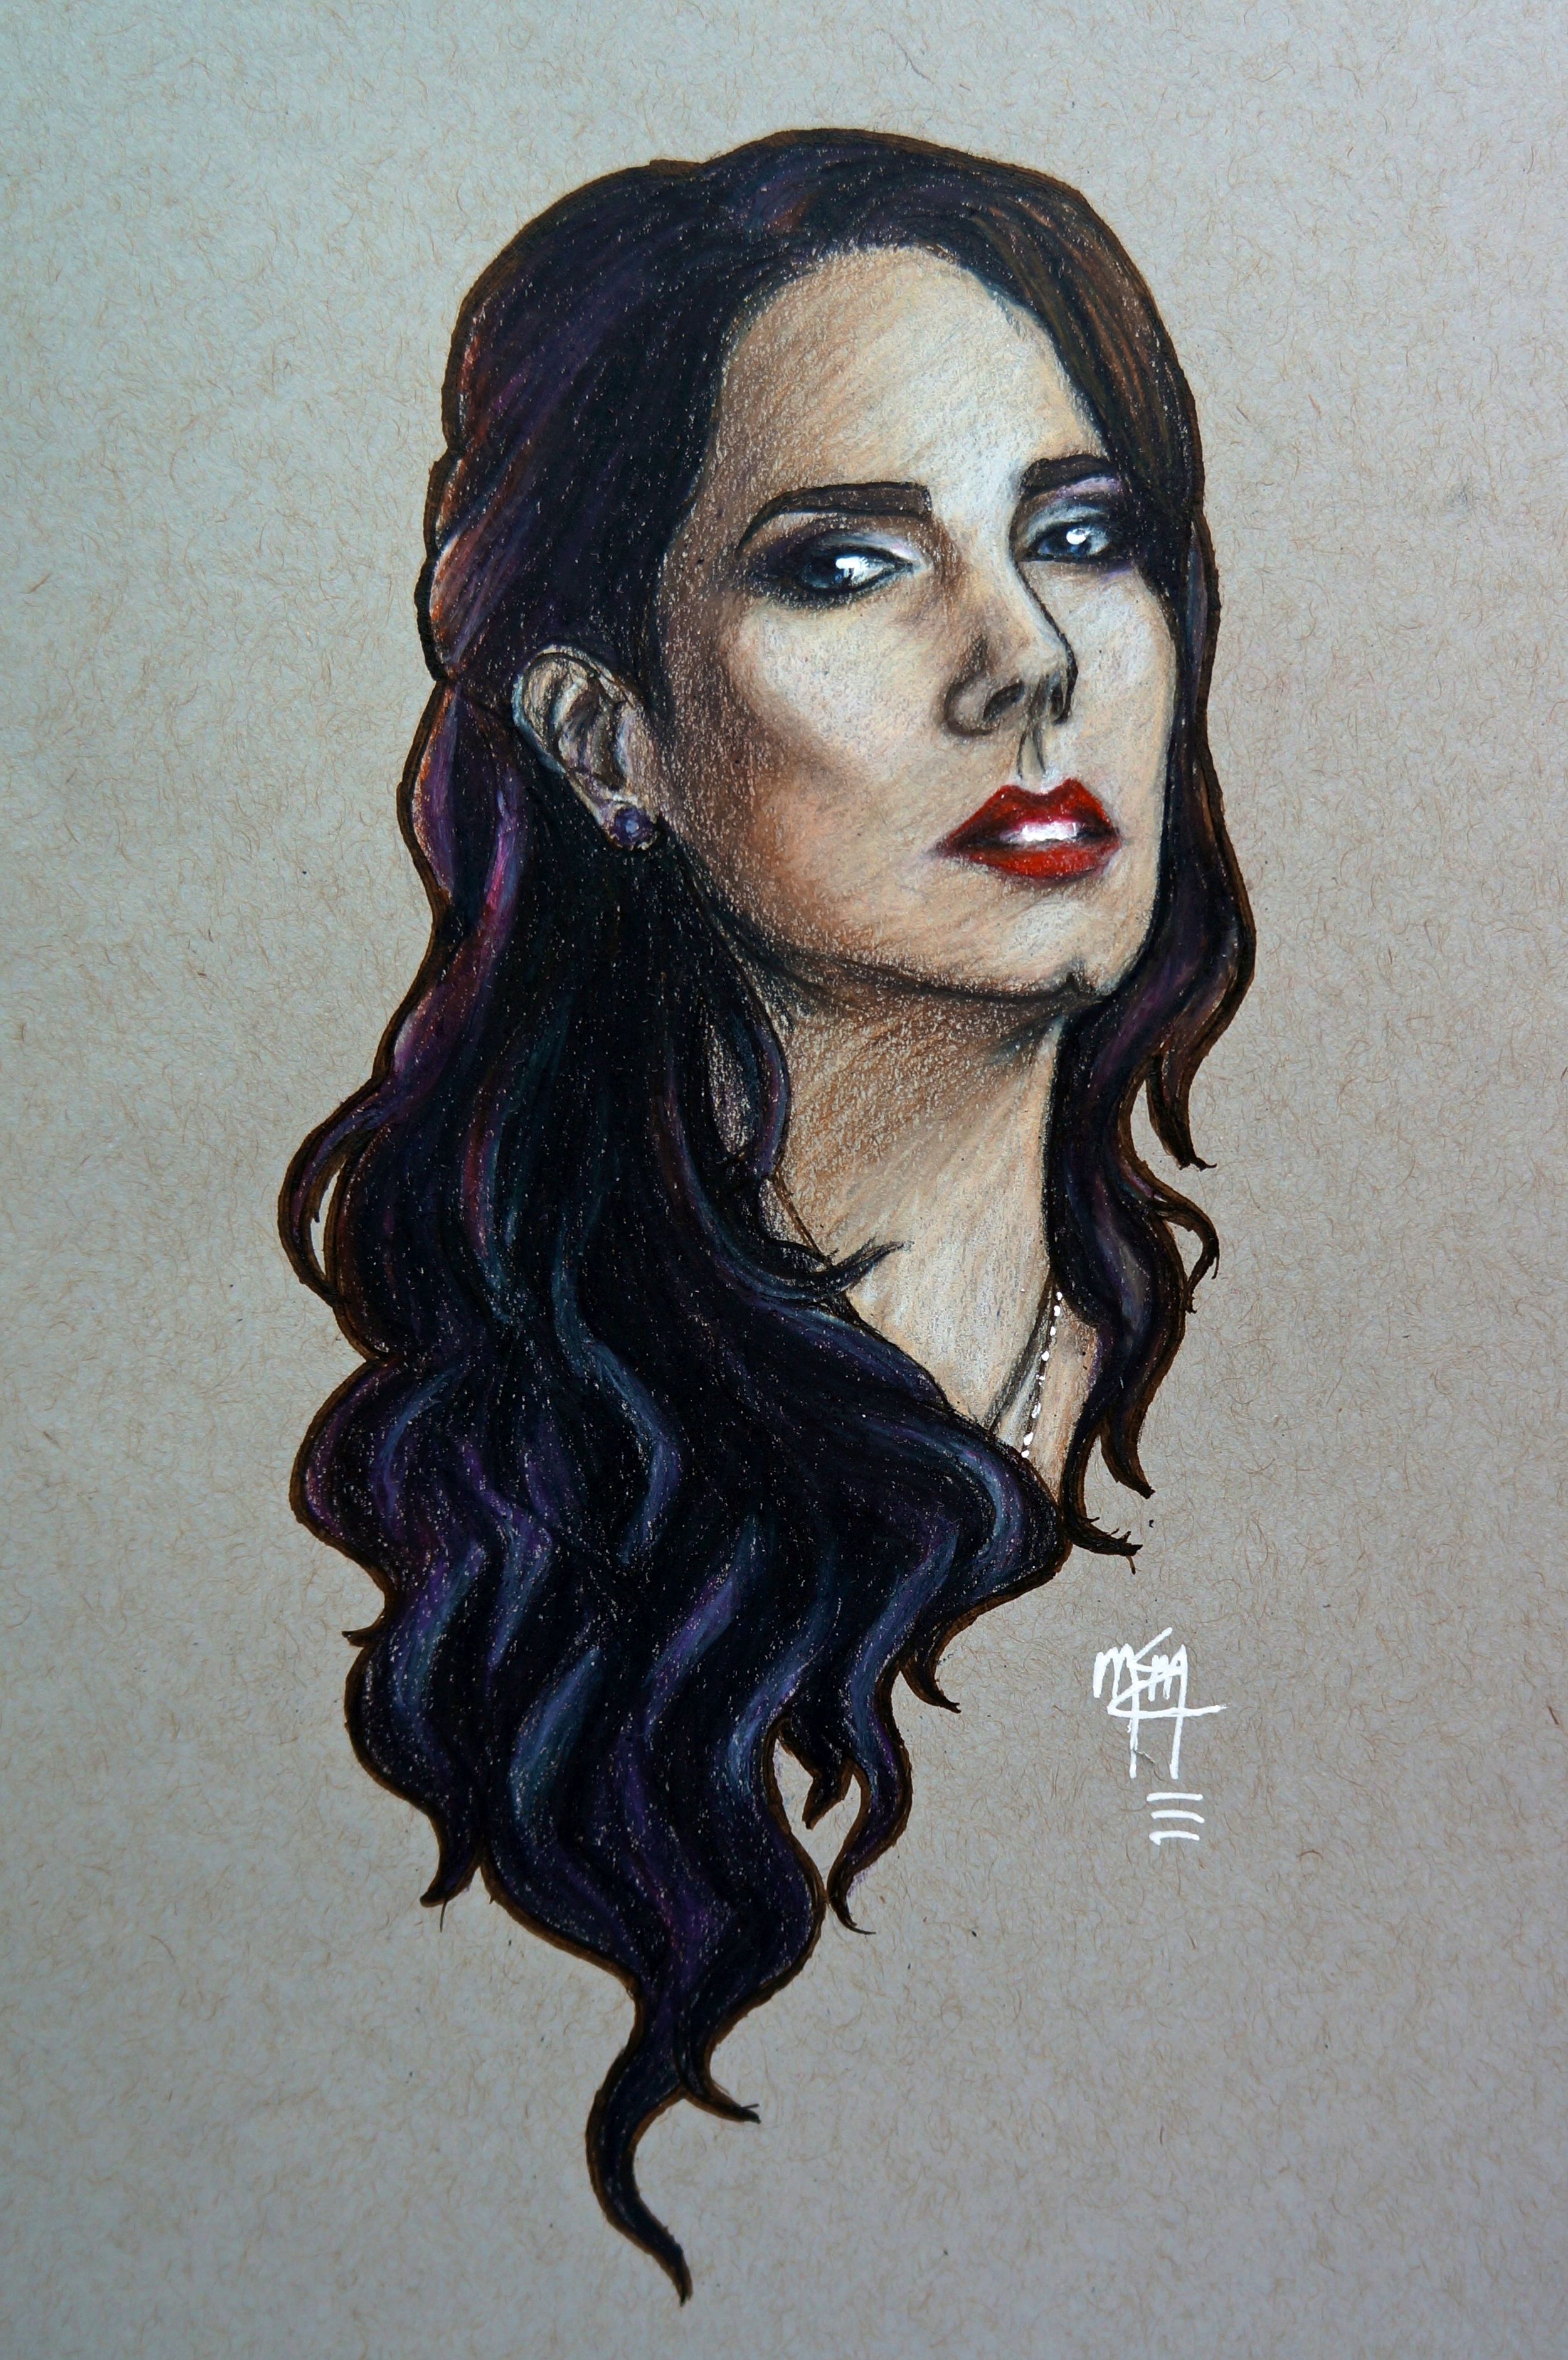
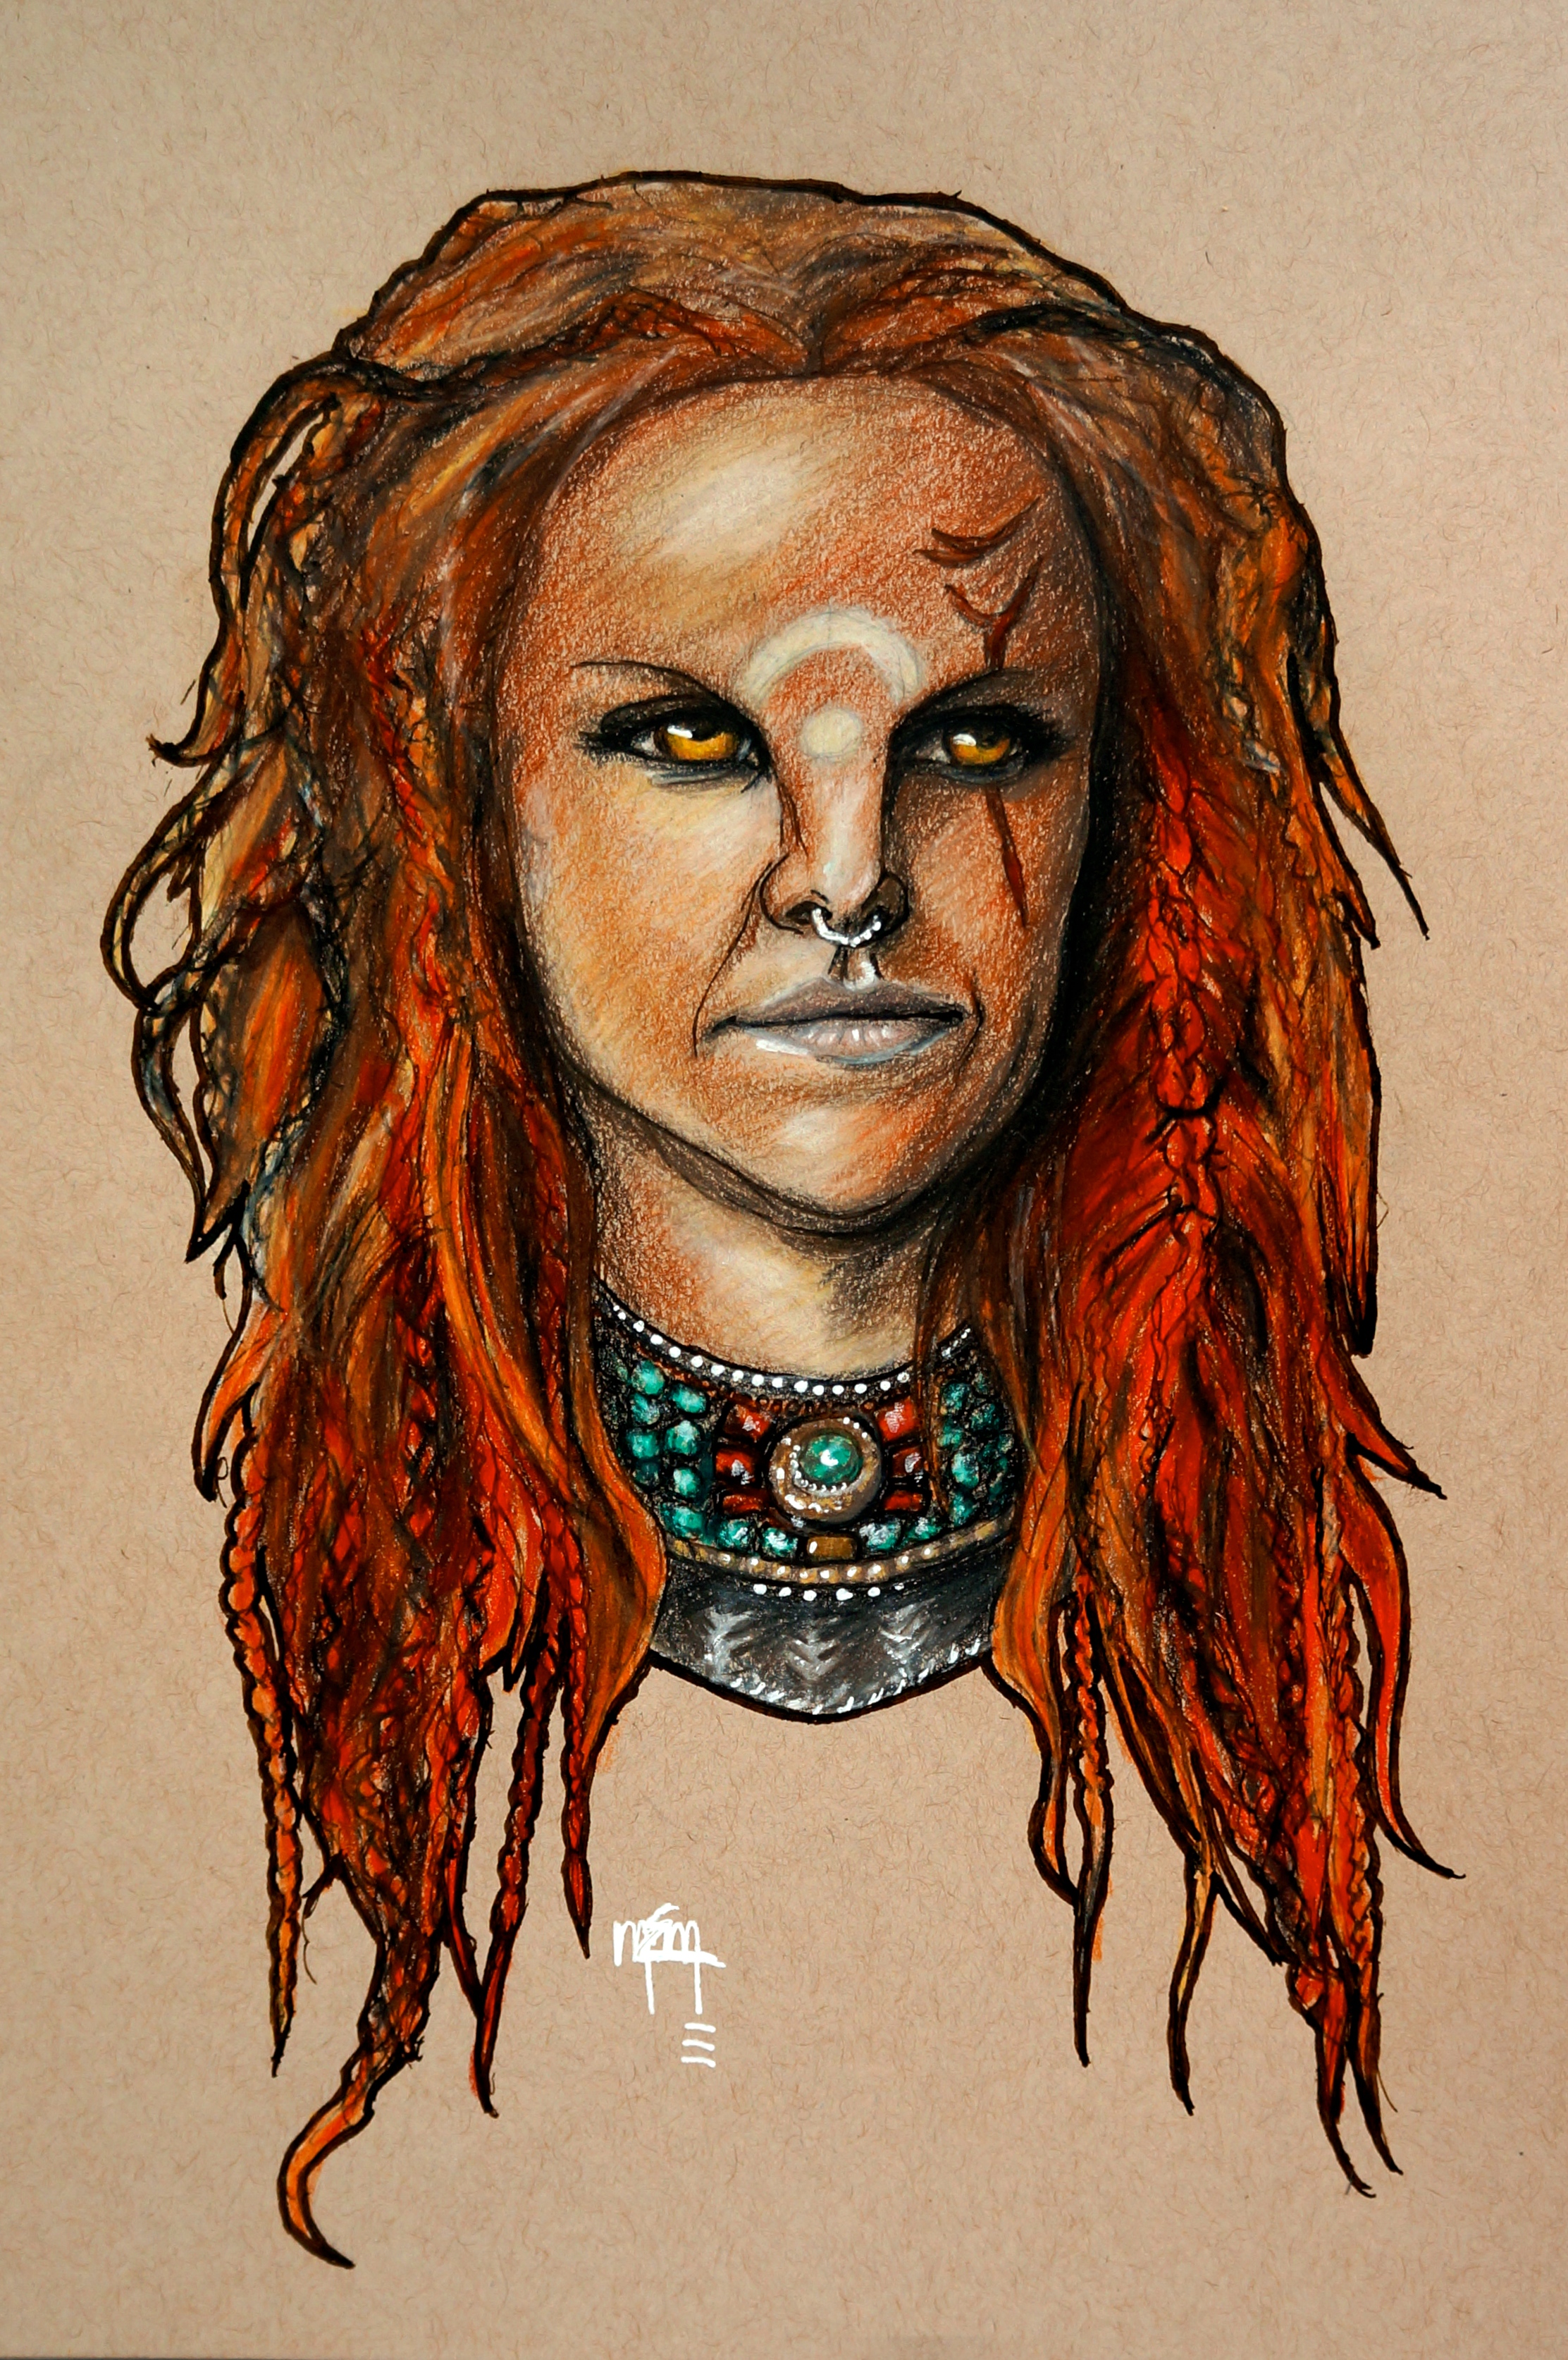
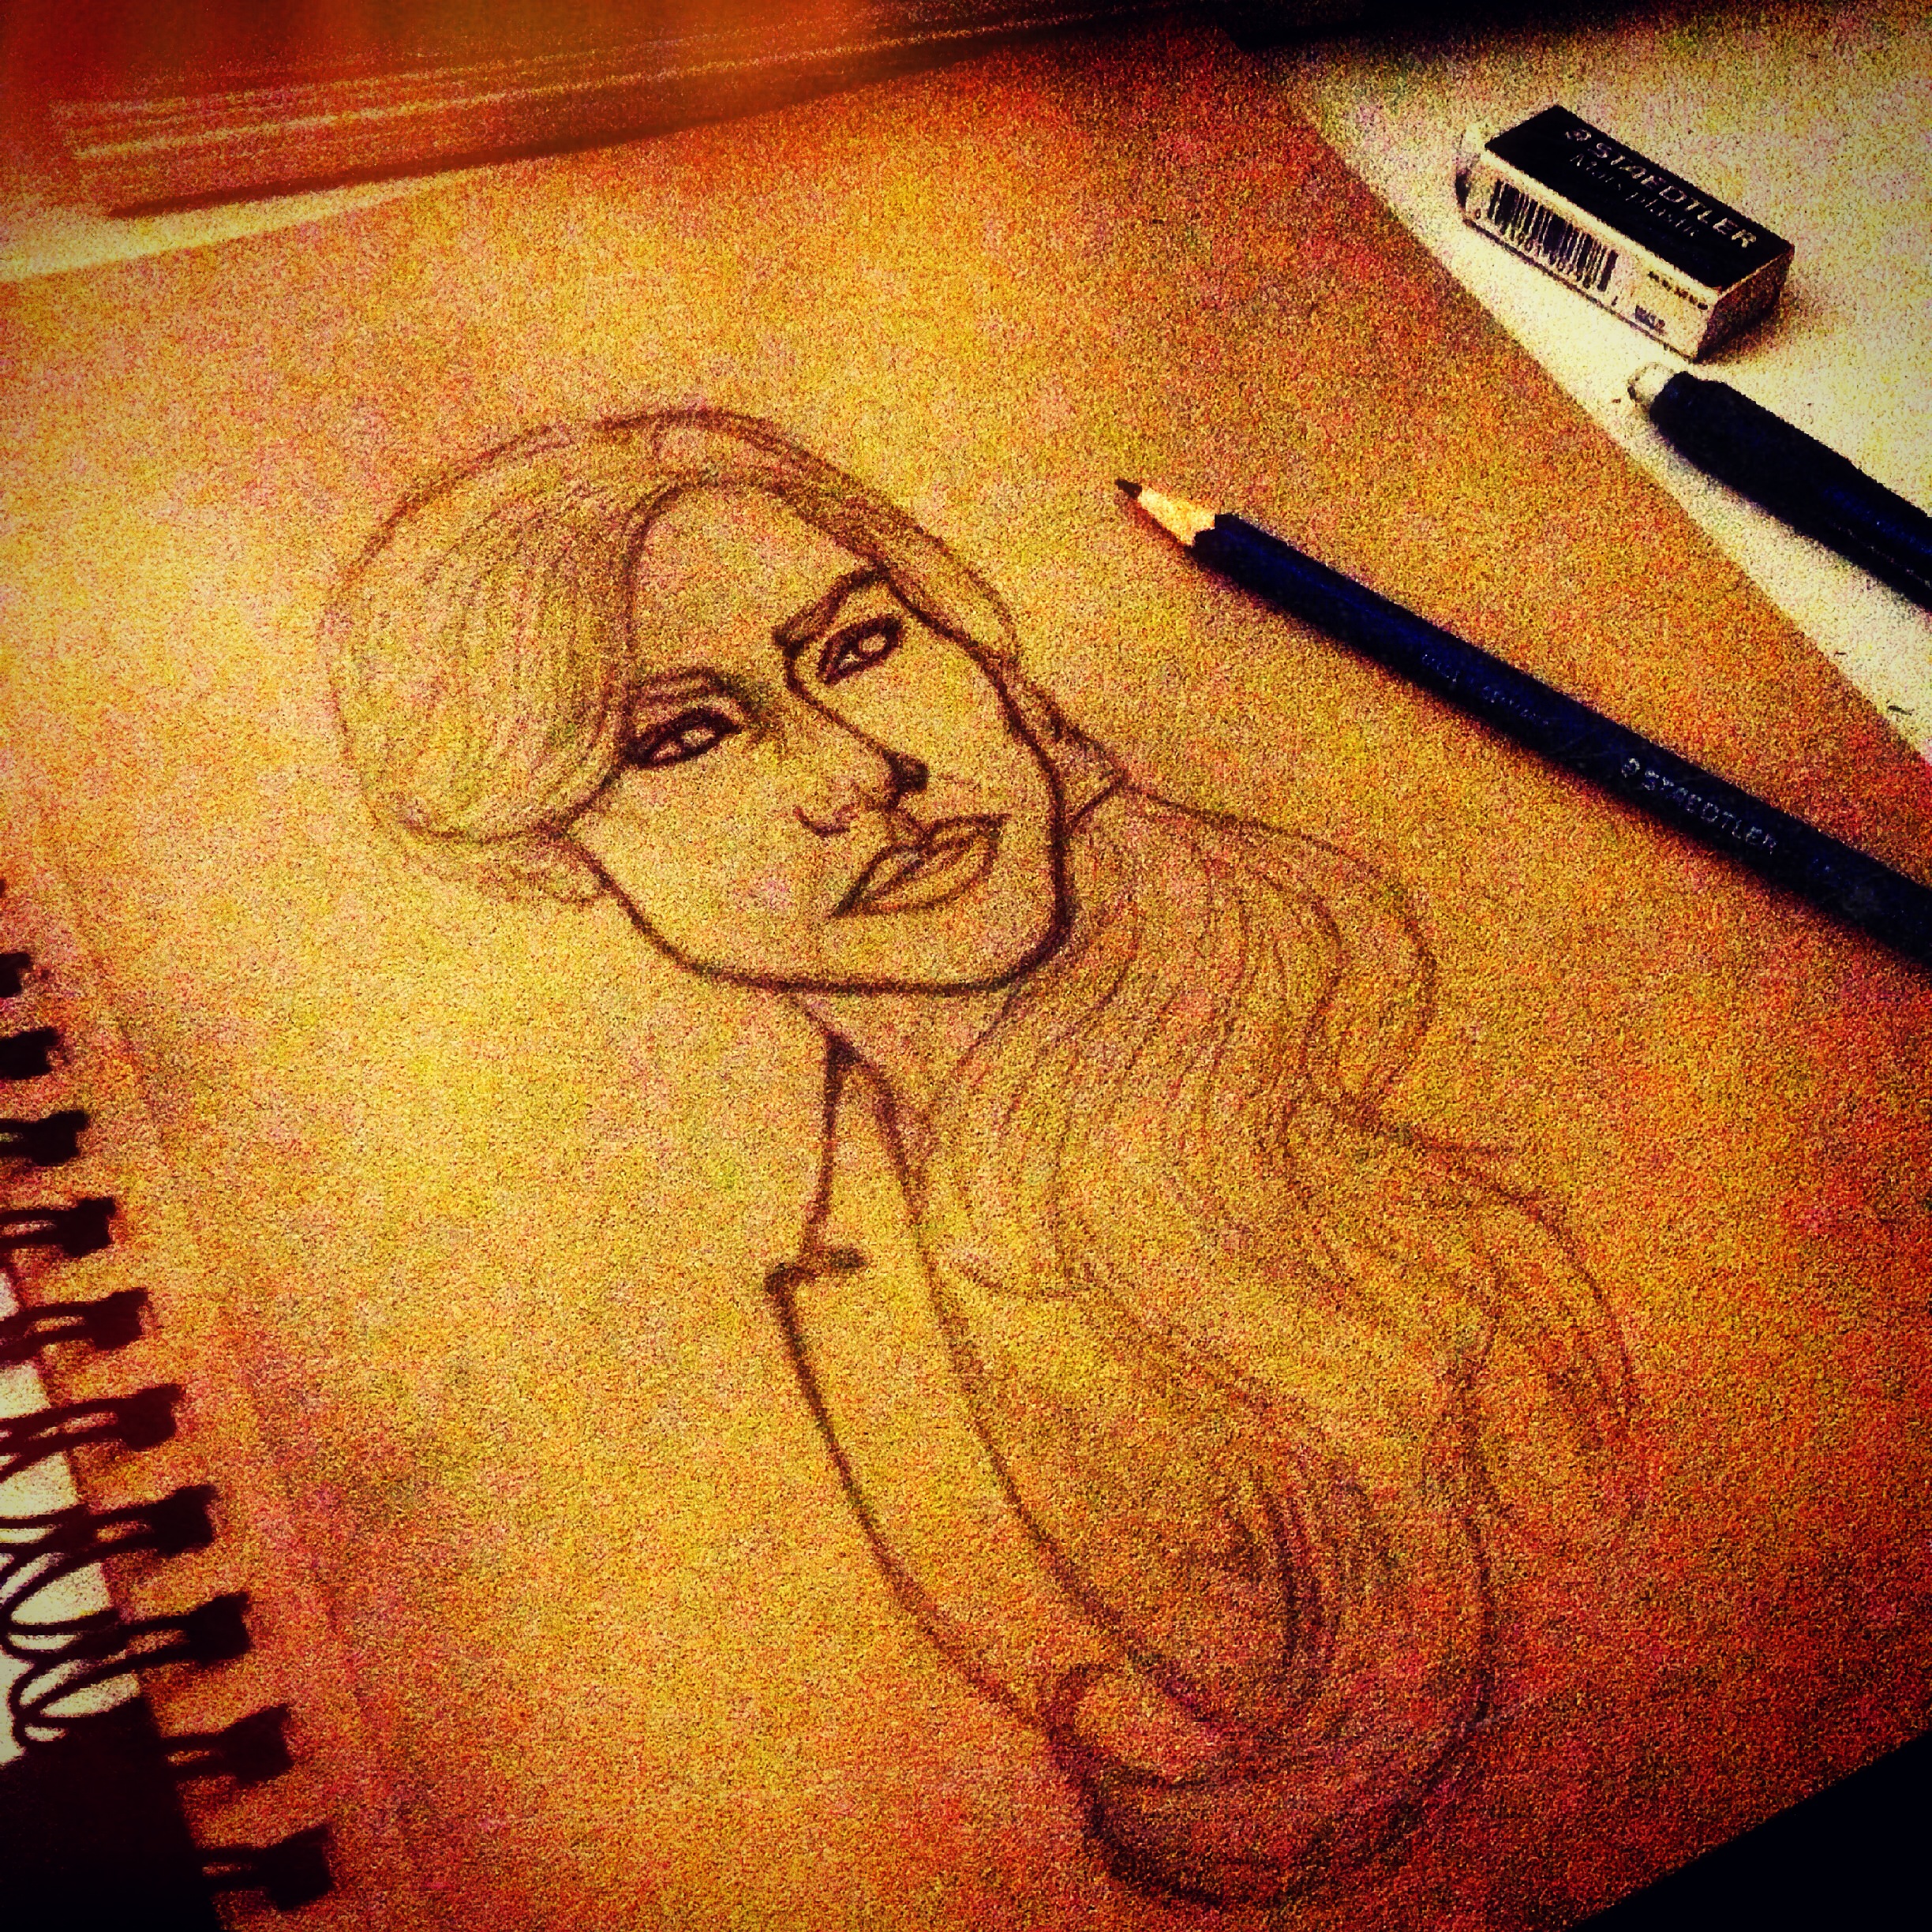
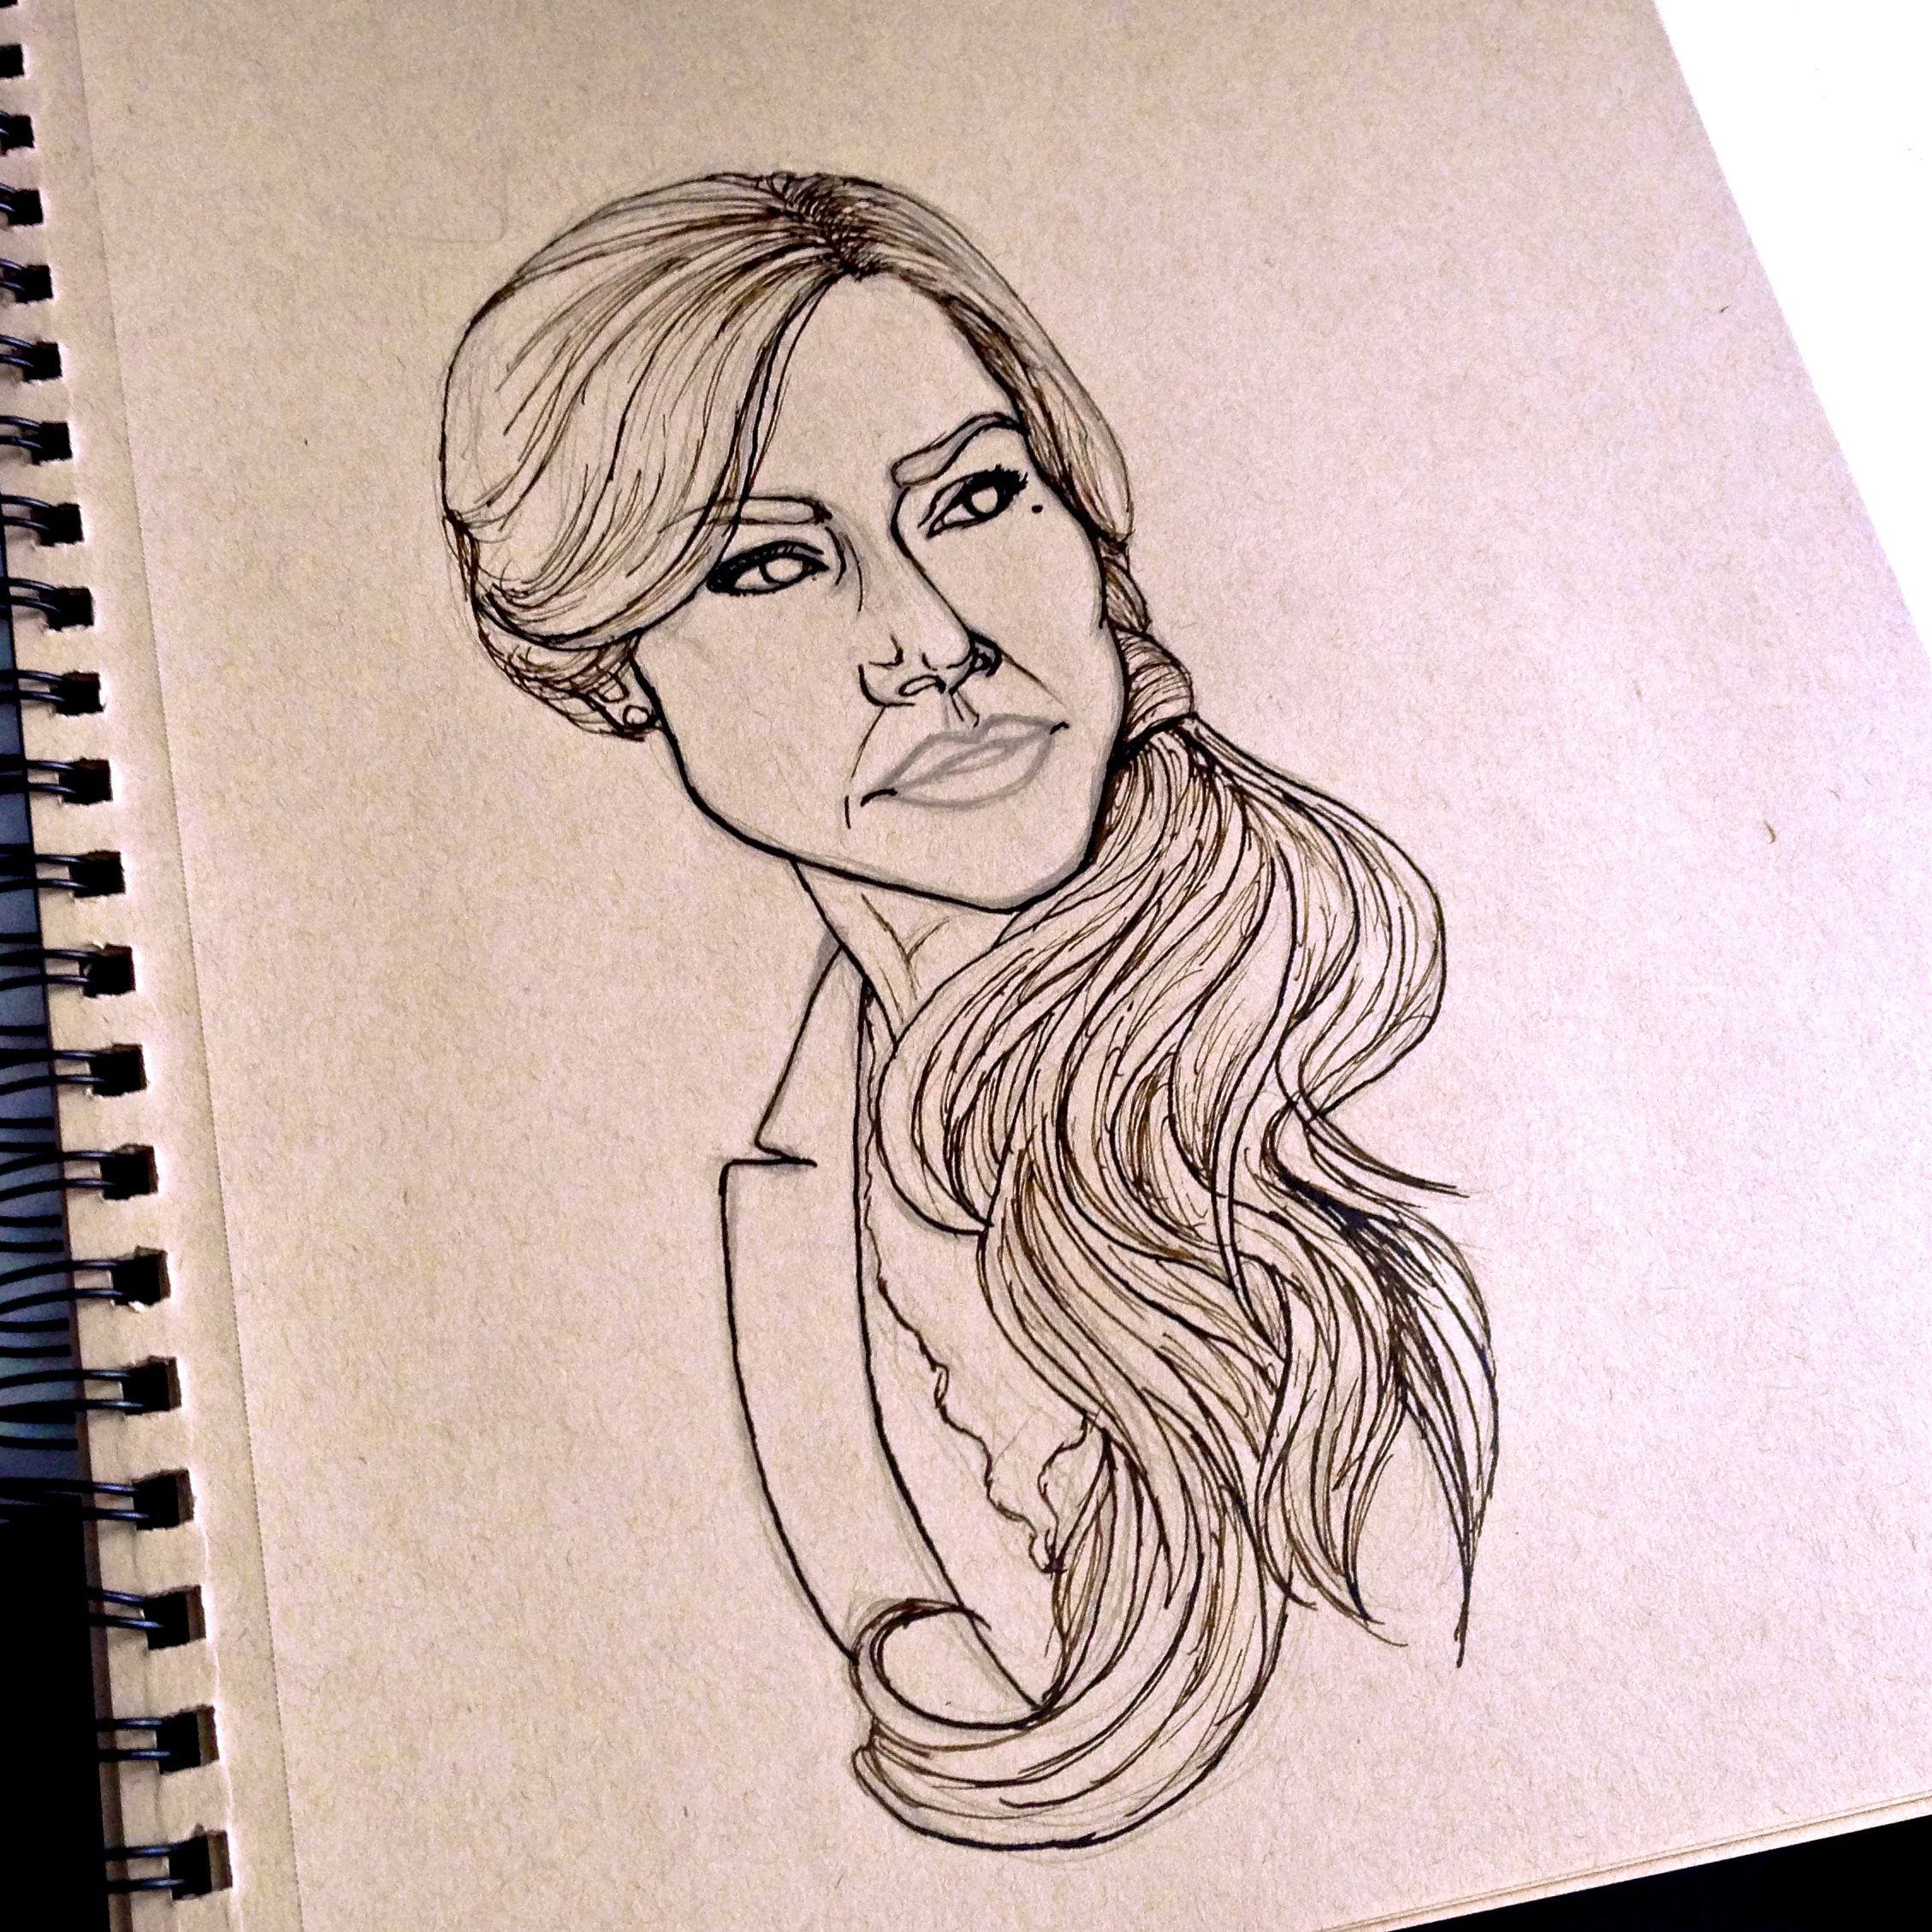
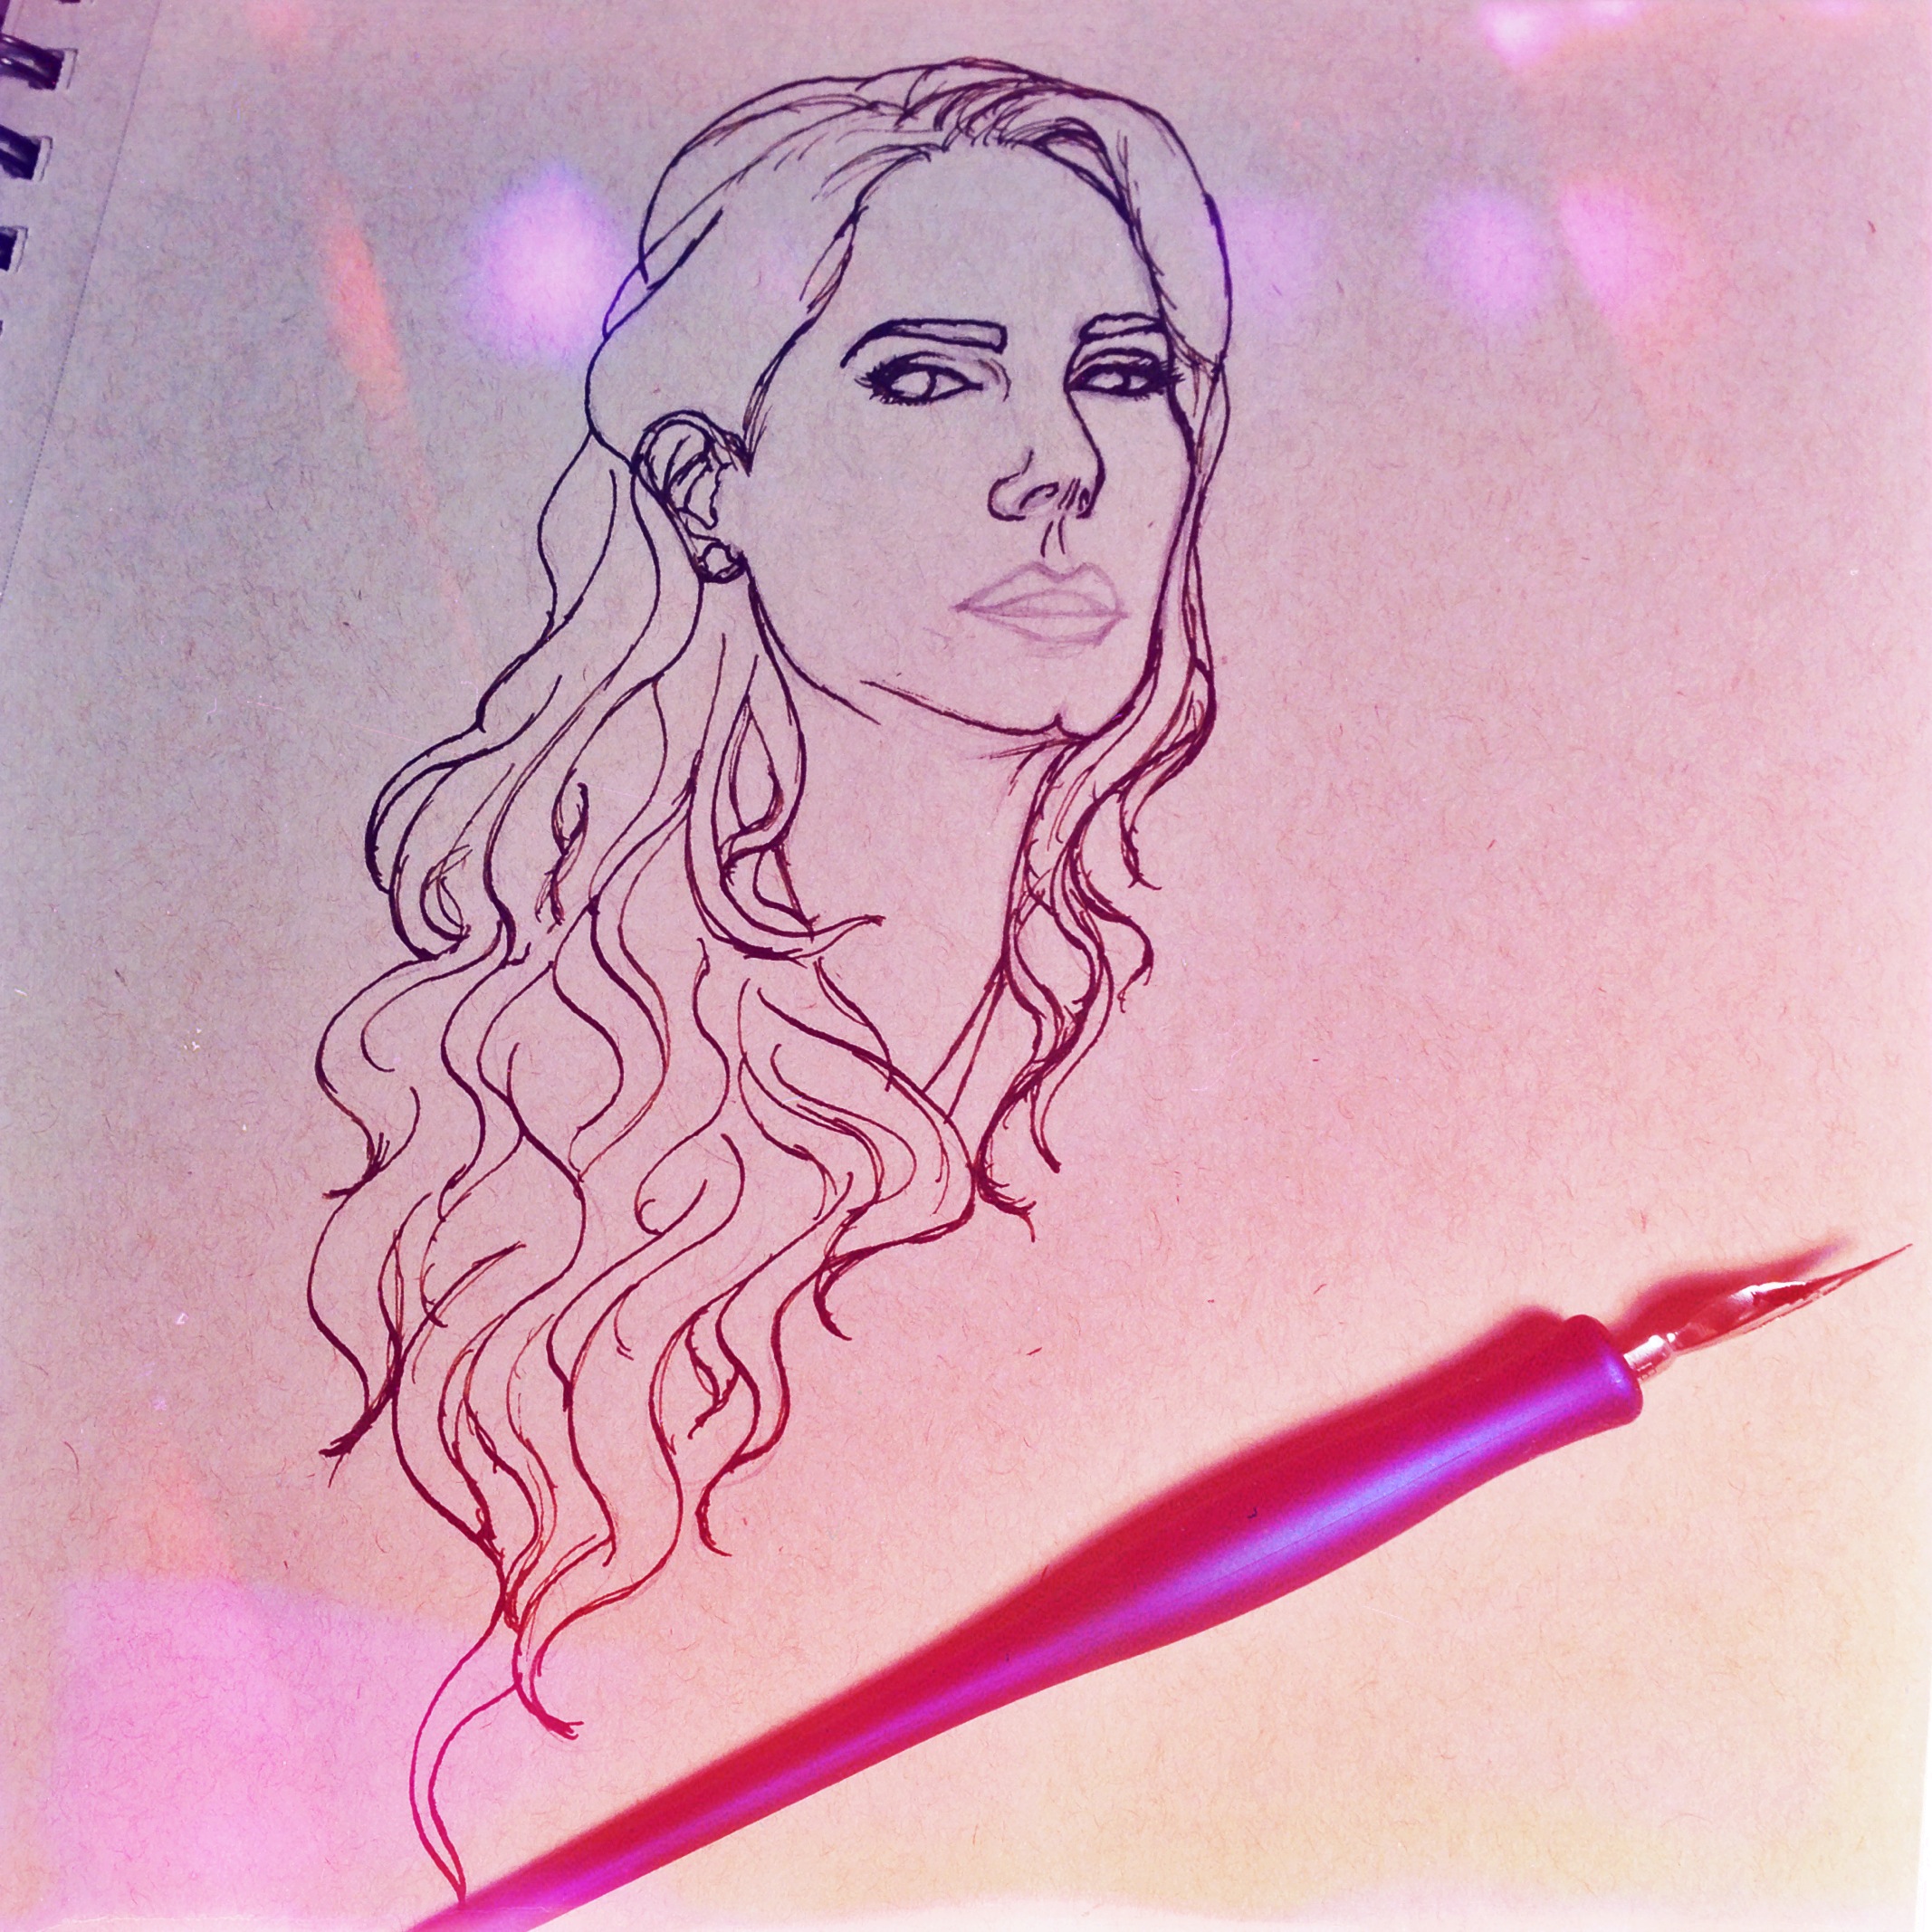
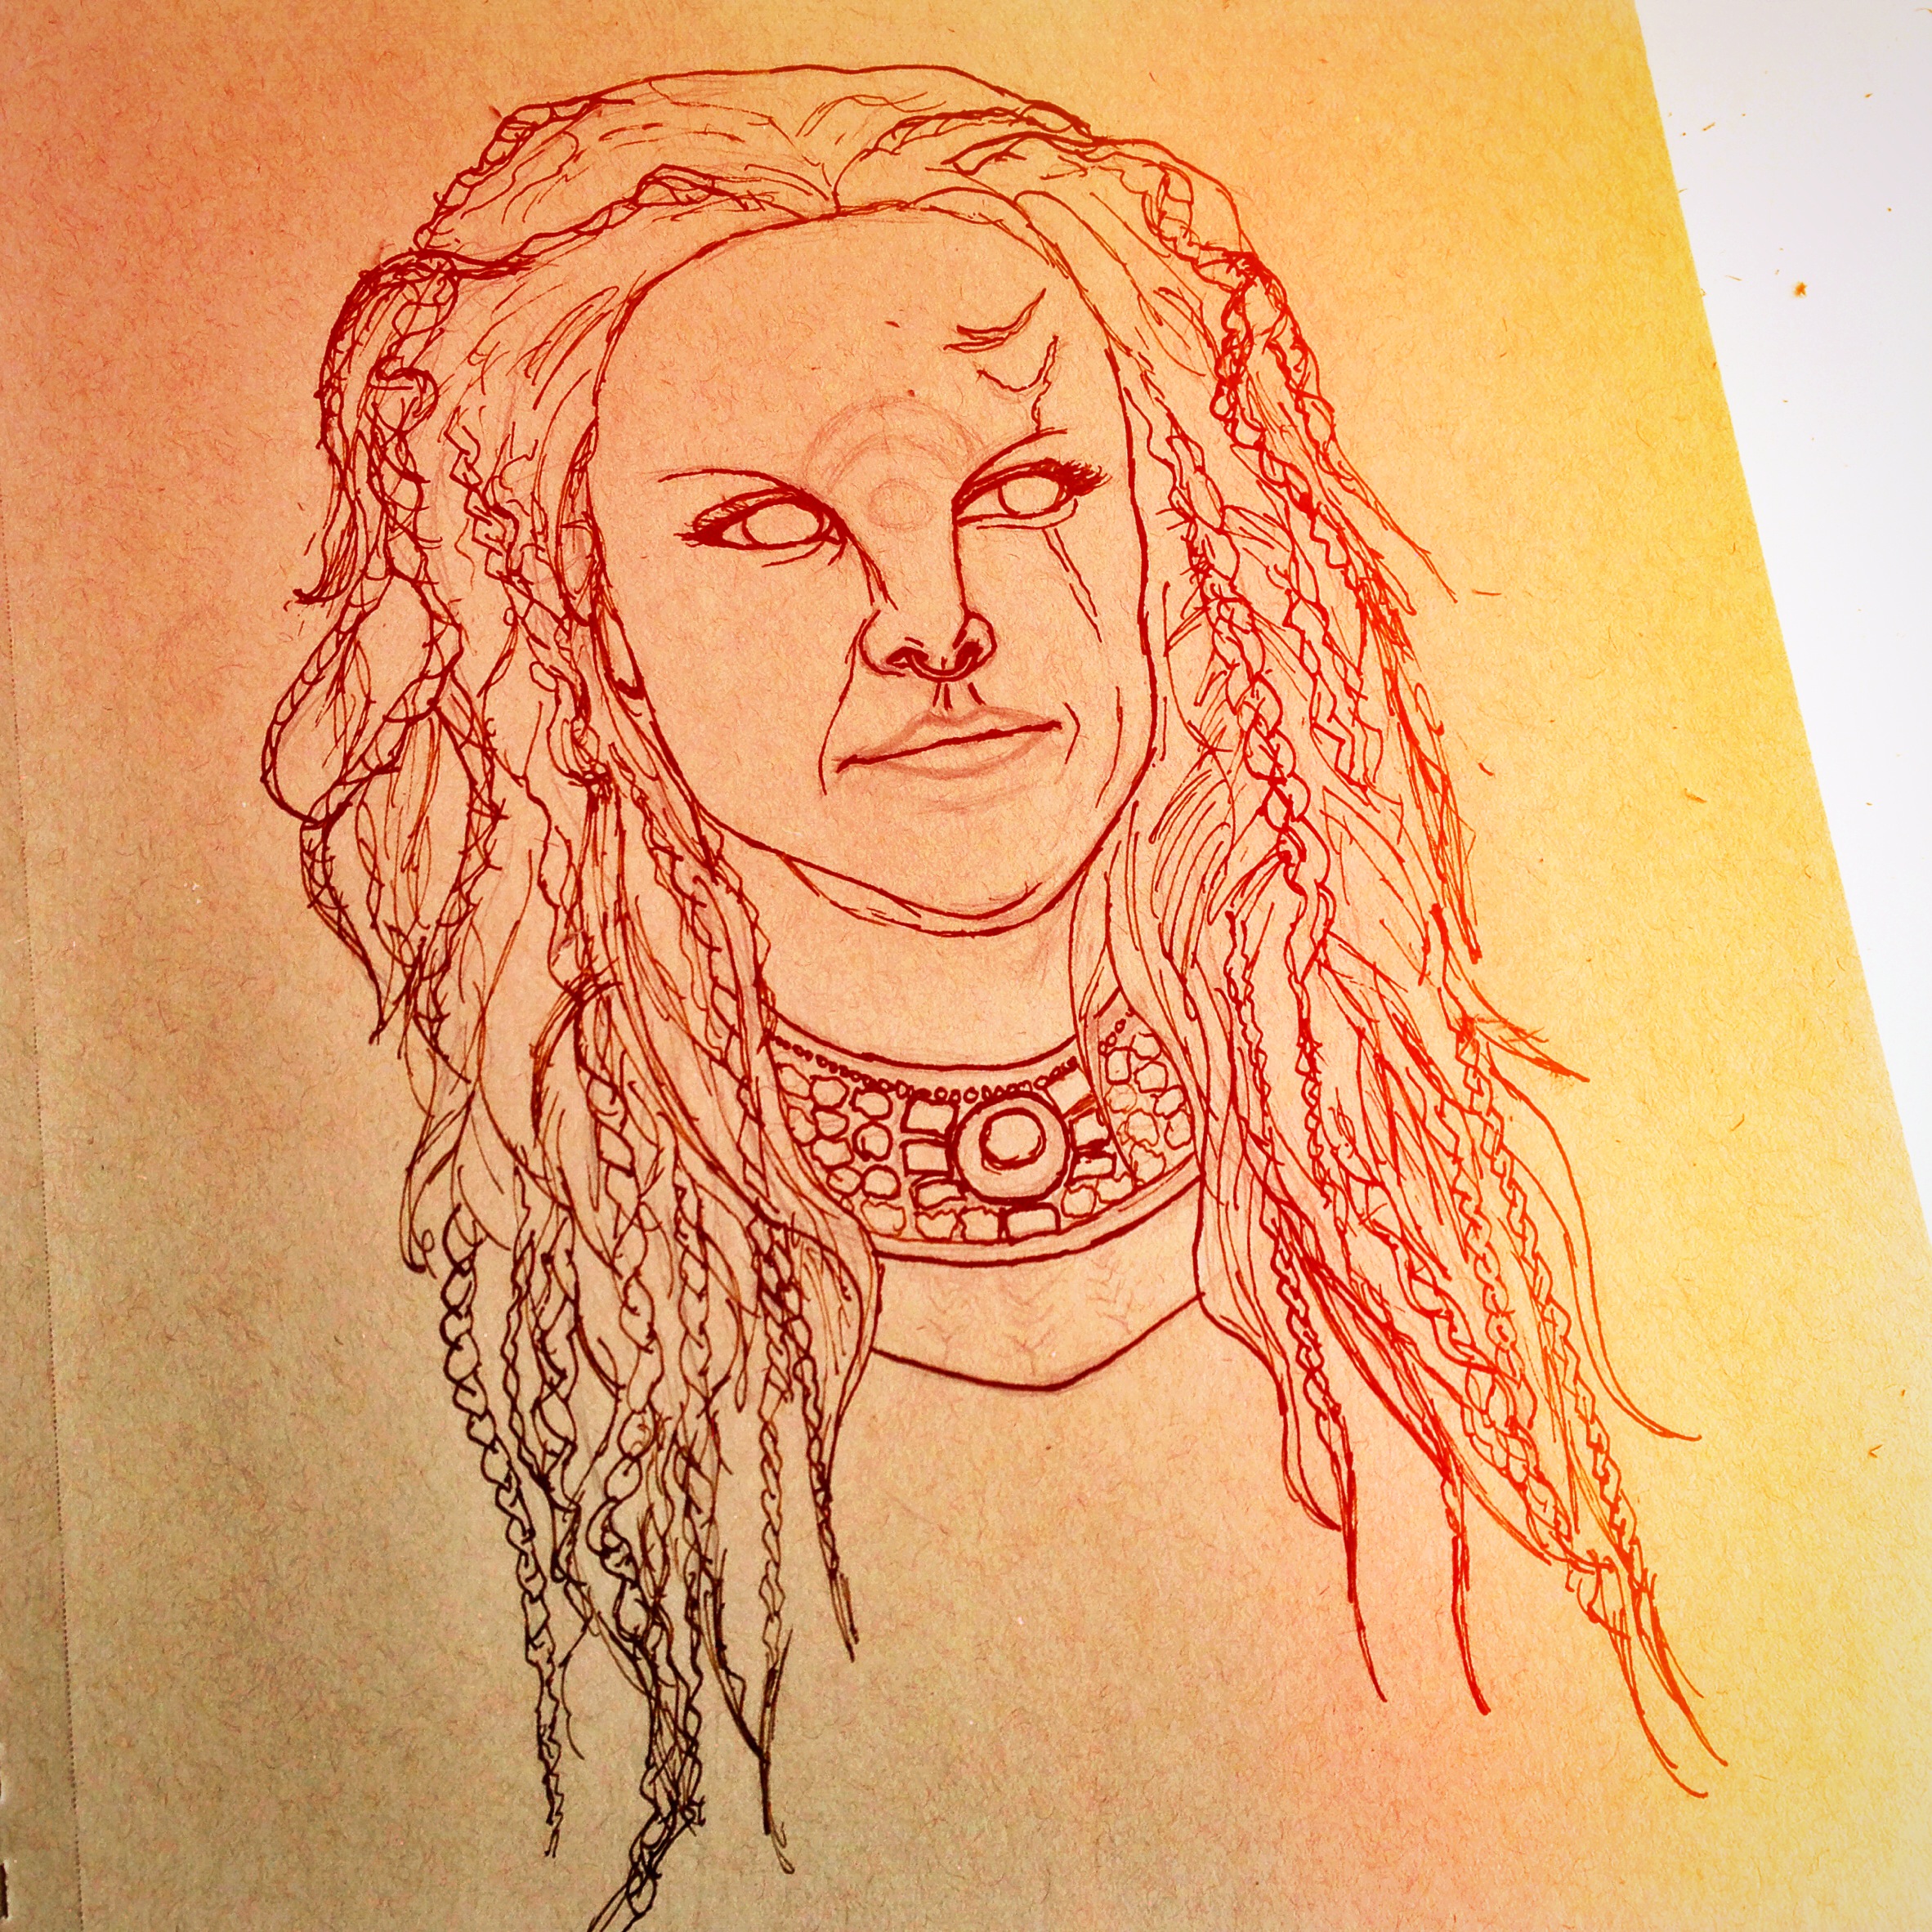
The "first" member of the illustration series - done months before the actual series came to be
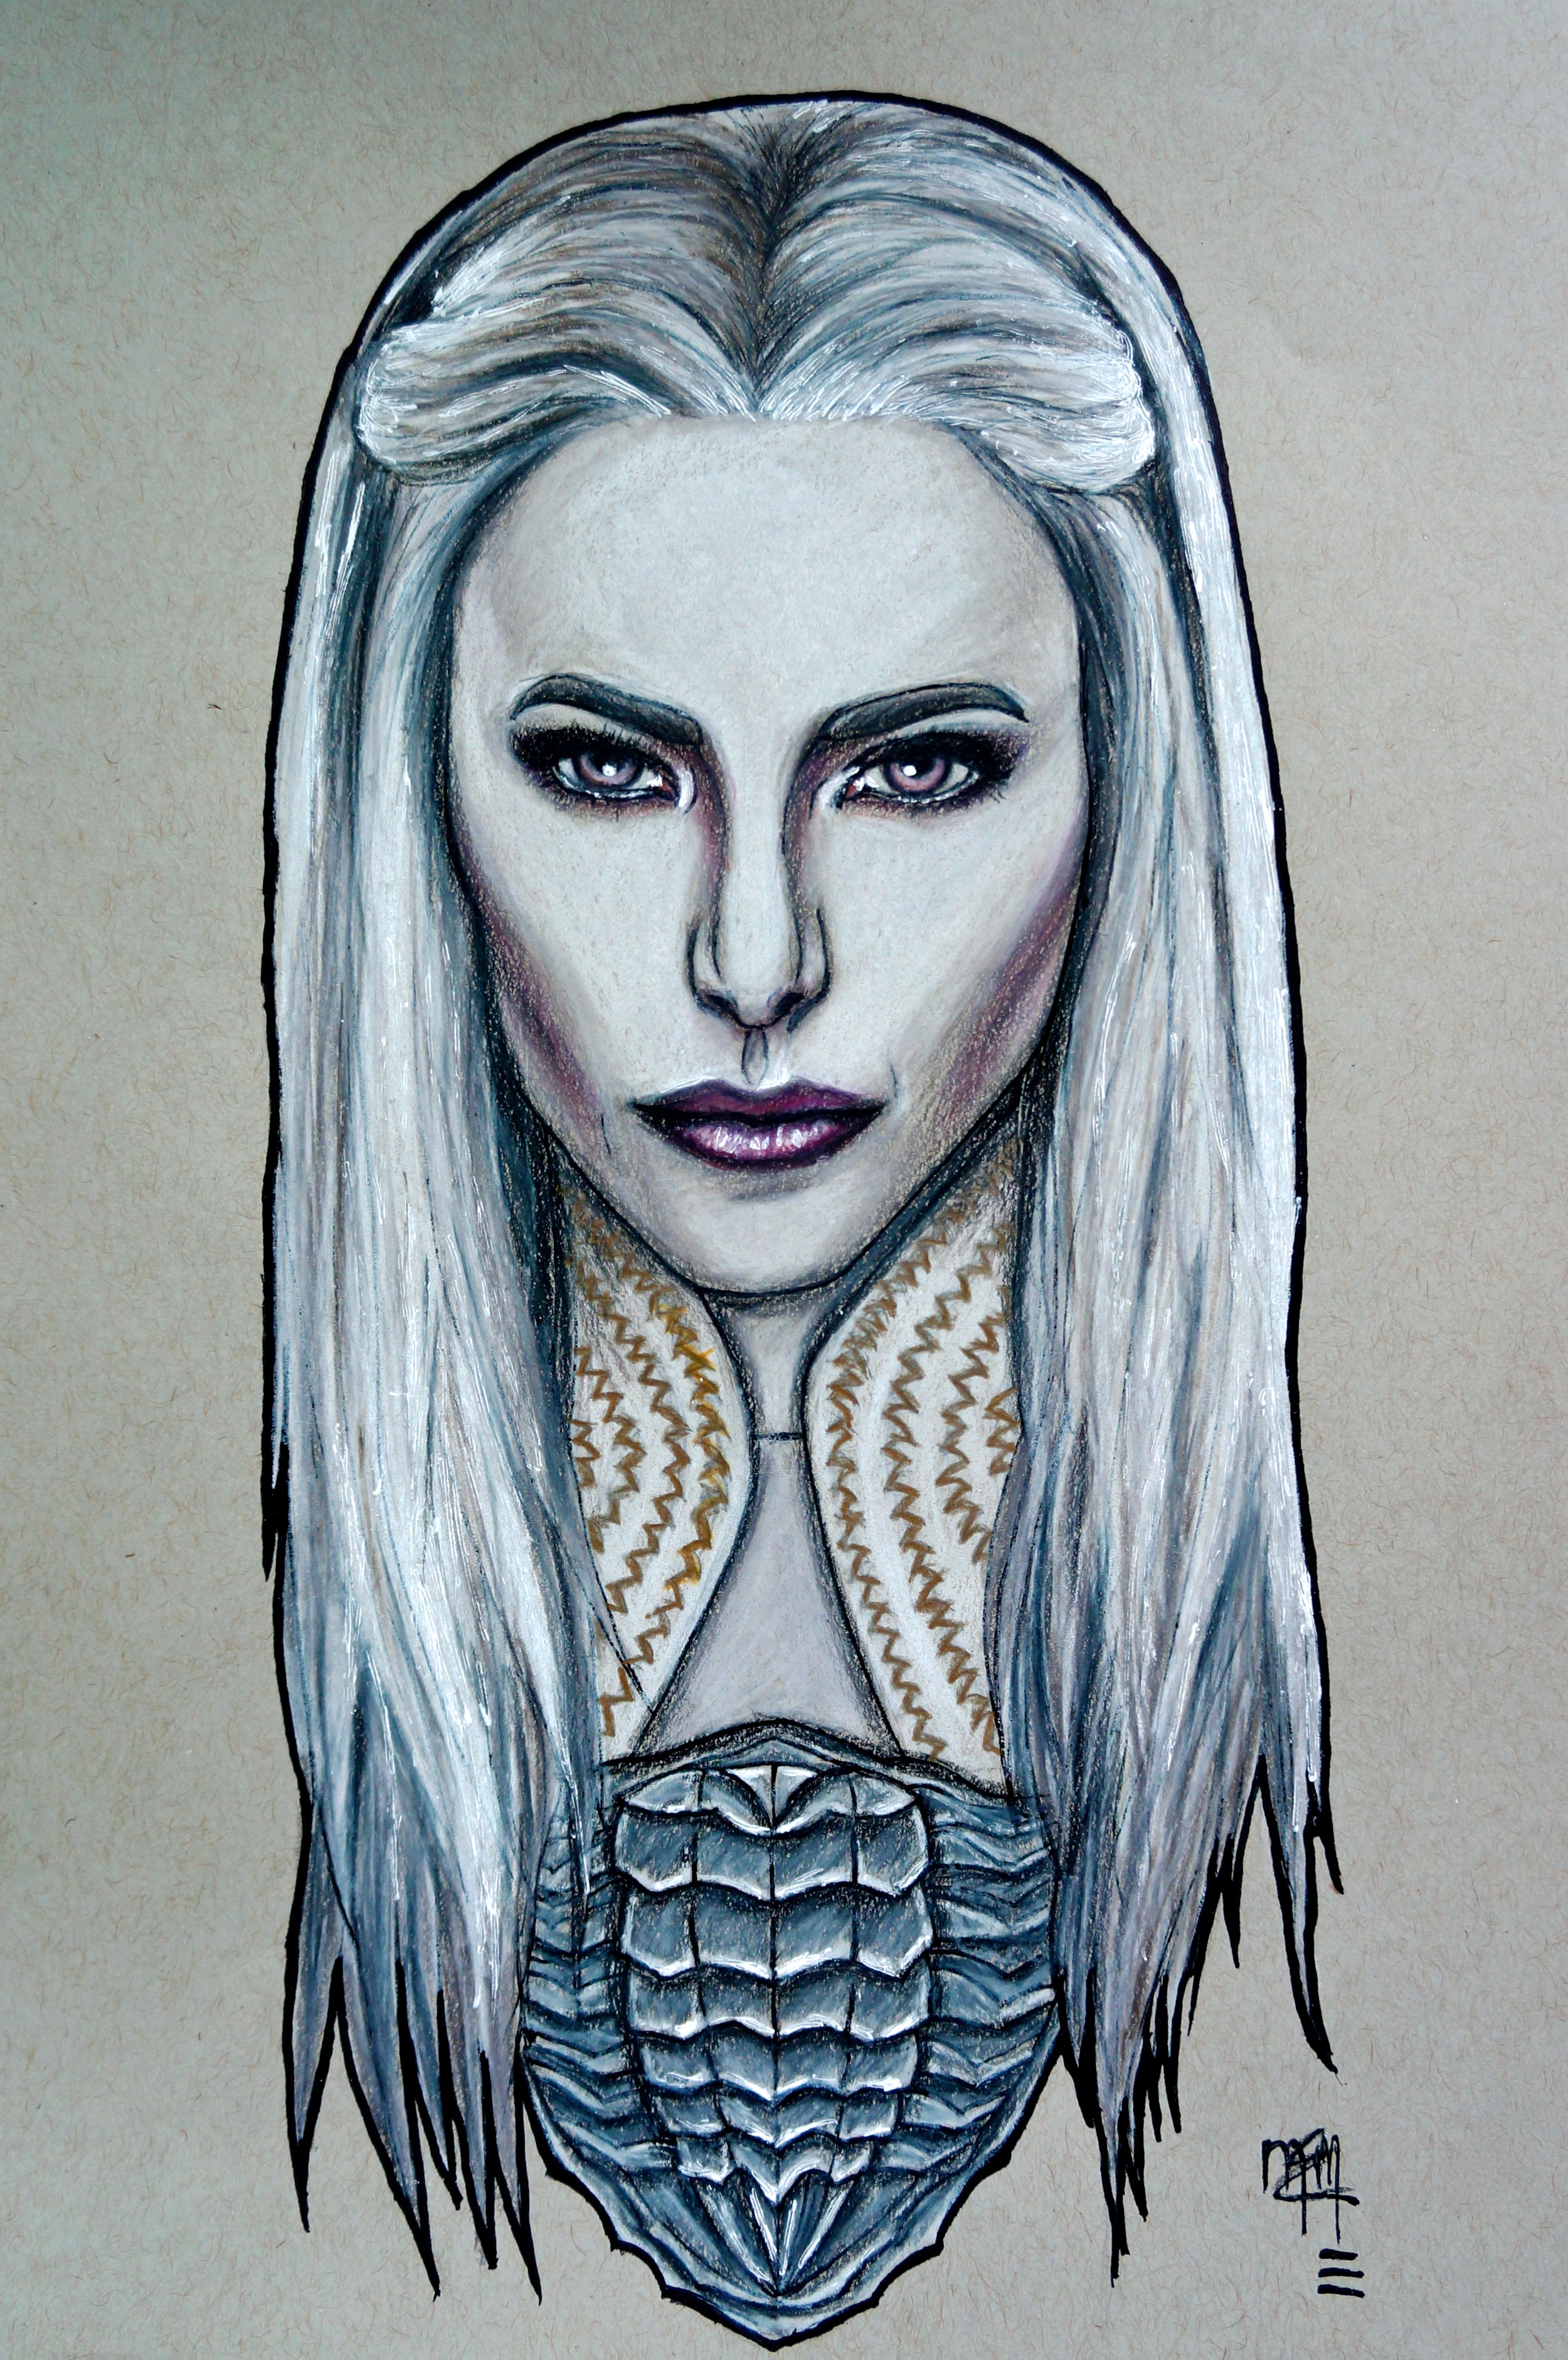
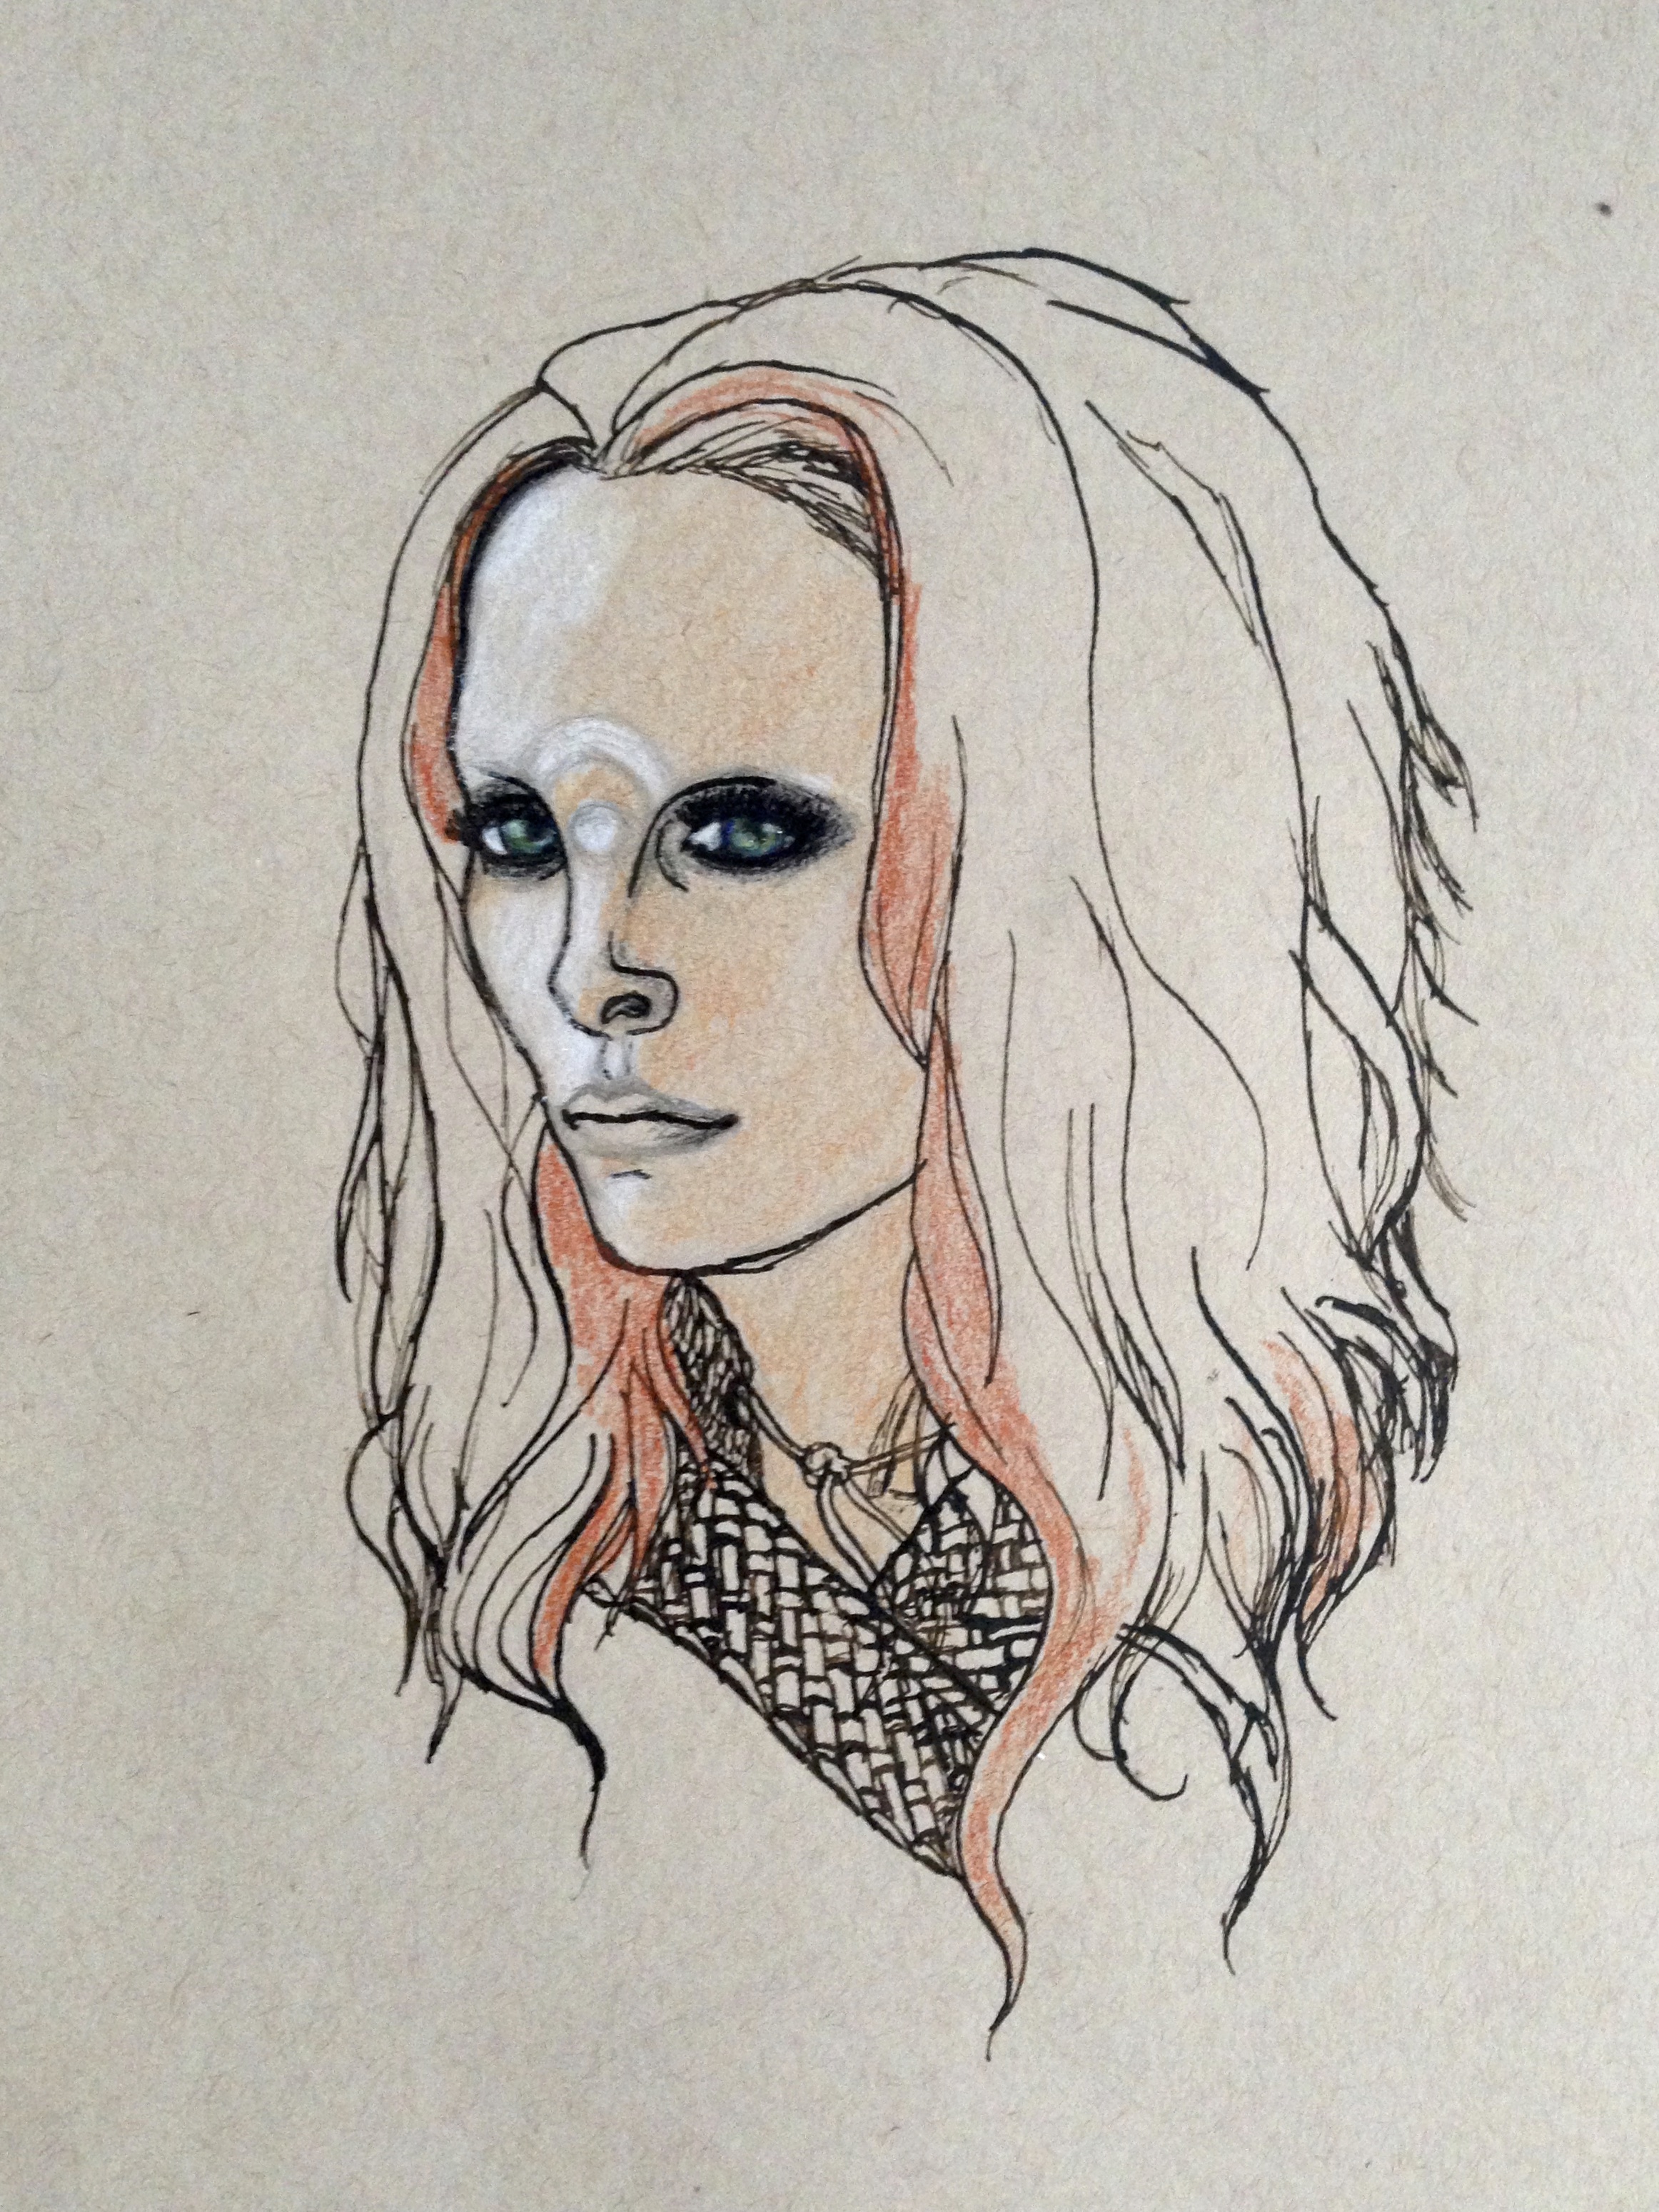
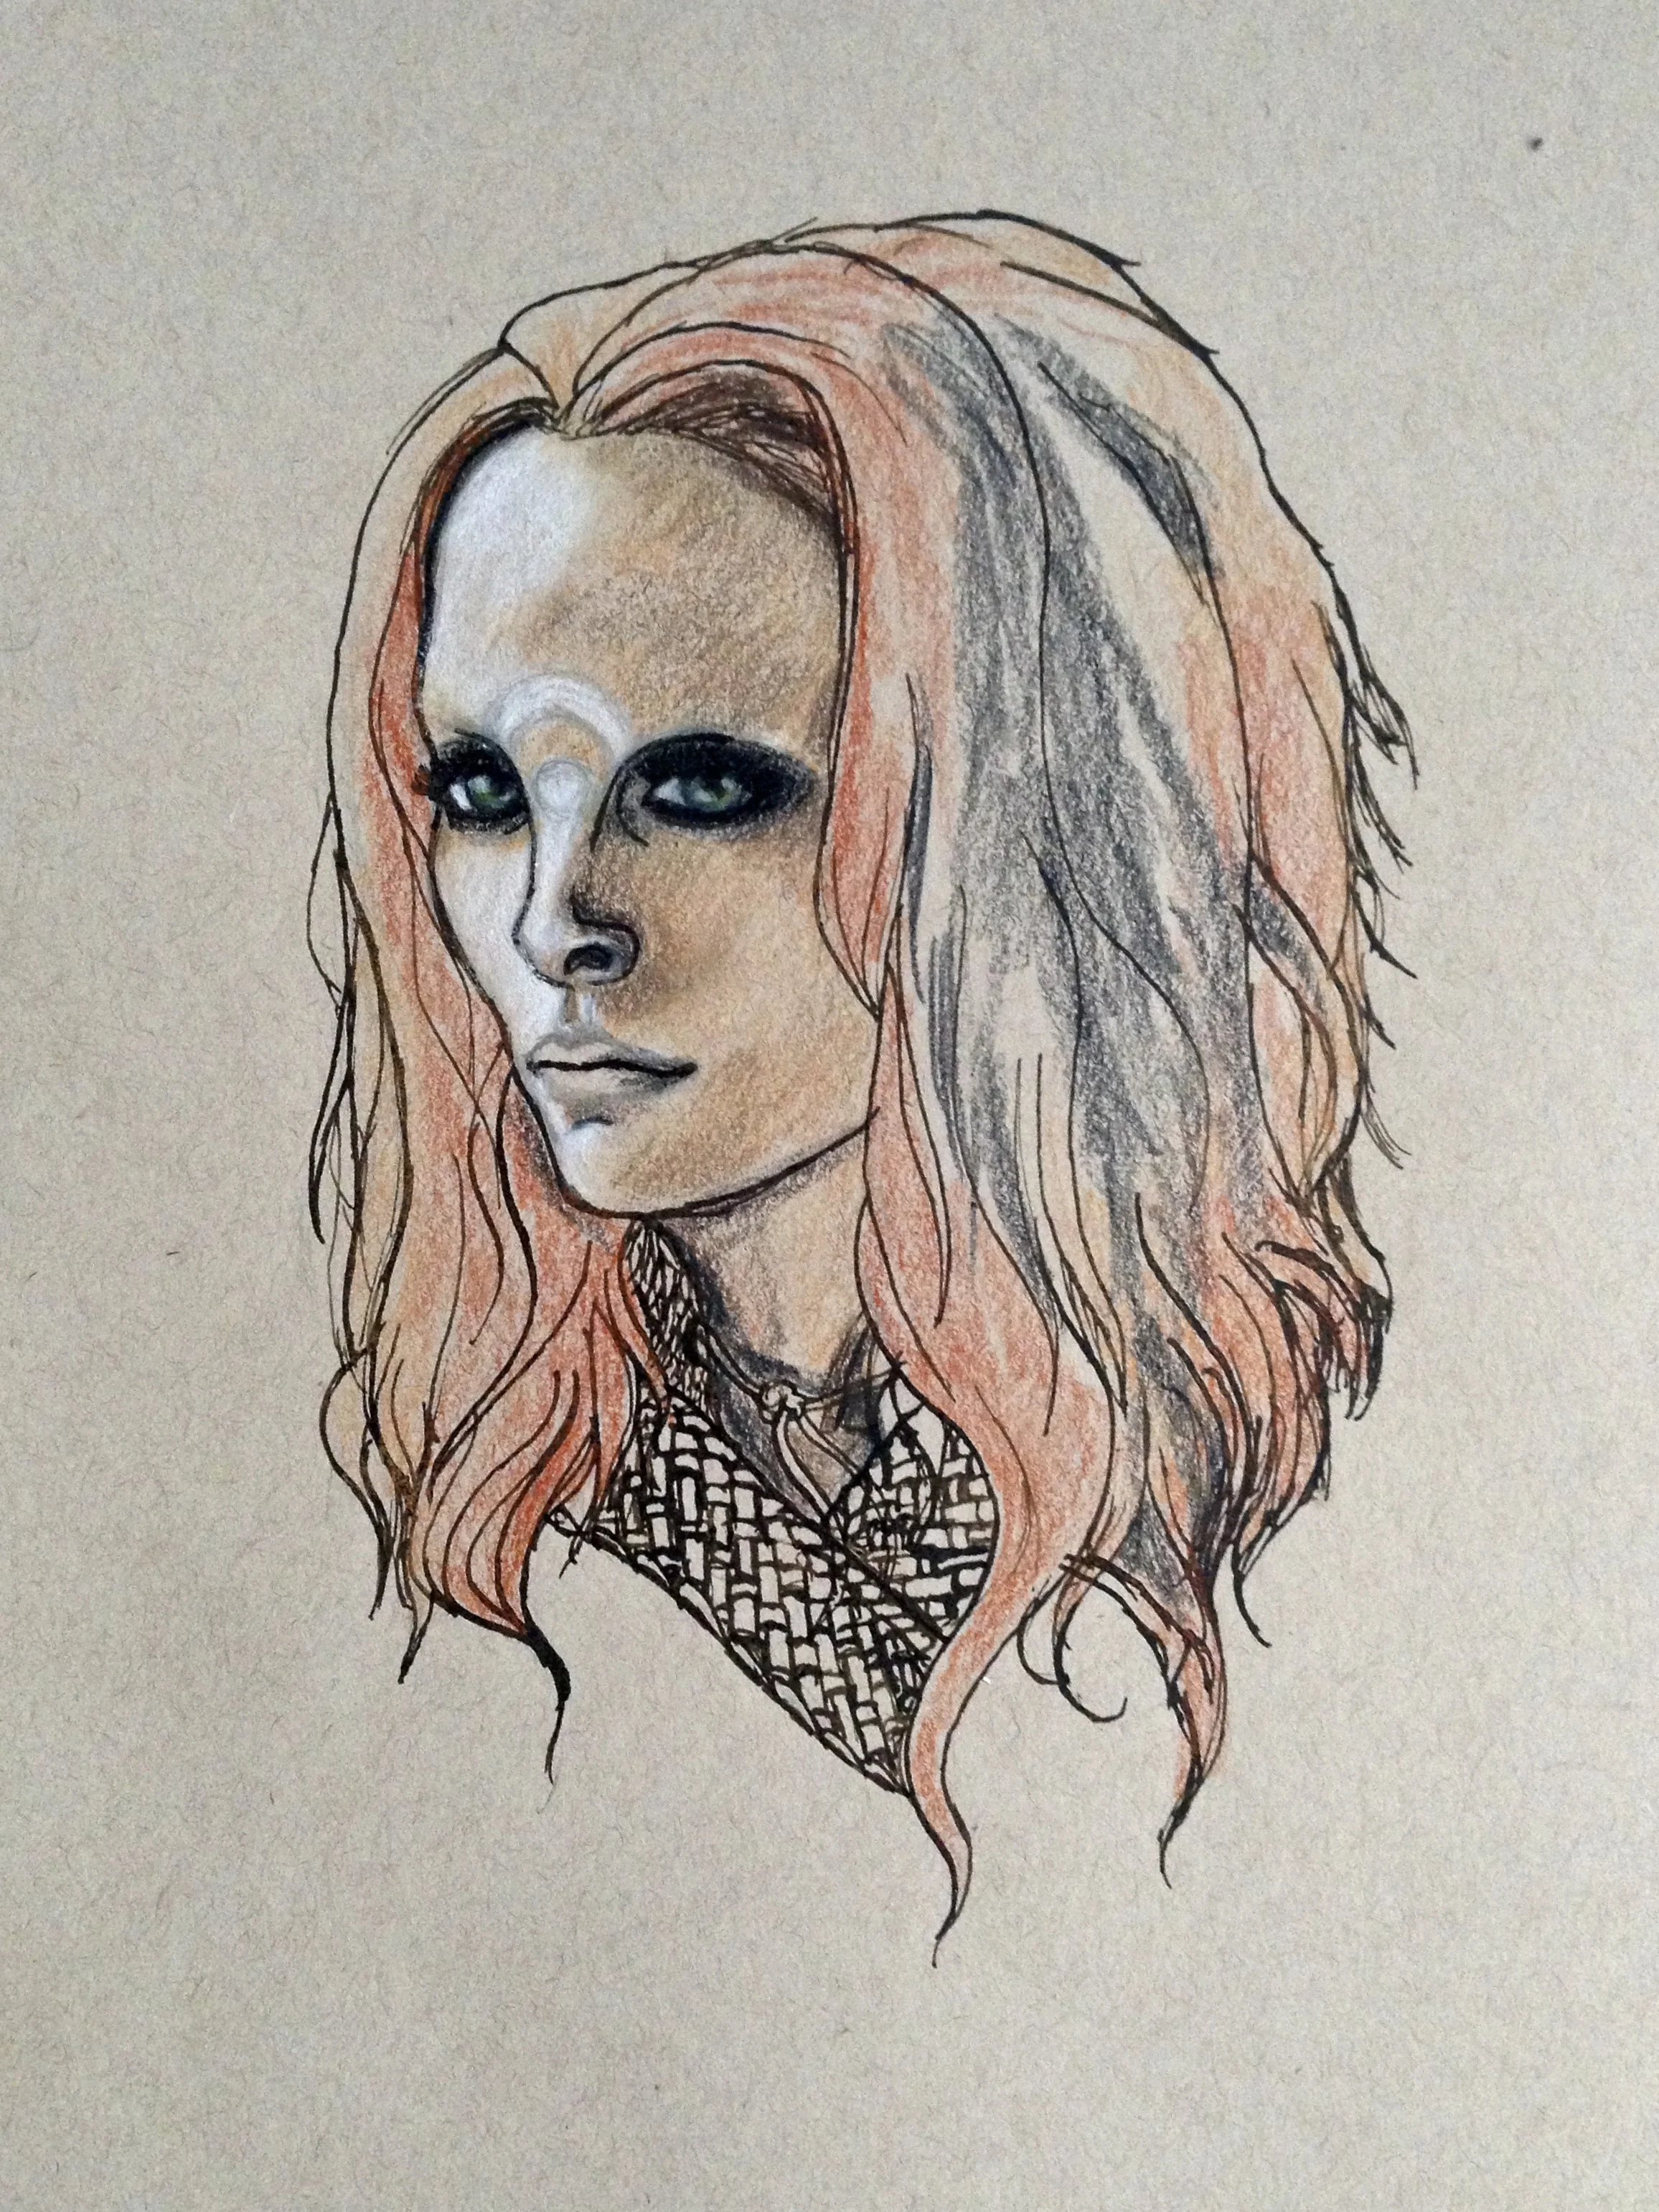
Not many people realize that this Stahma illustration is actually technically the first member of The Defiance Illustration Series. When I went back months later to create the Amanda illustration (what is now considered the first member) I was planning on having it match this piece. Because they had been created so far apart, my style had greatly changed, which is why I later recreated Stahma to properly match the rest of the illustrations.
Materials
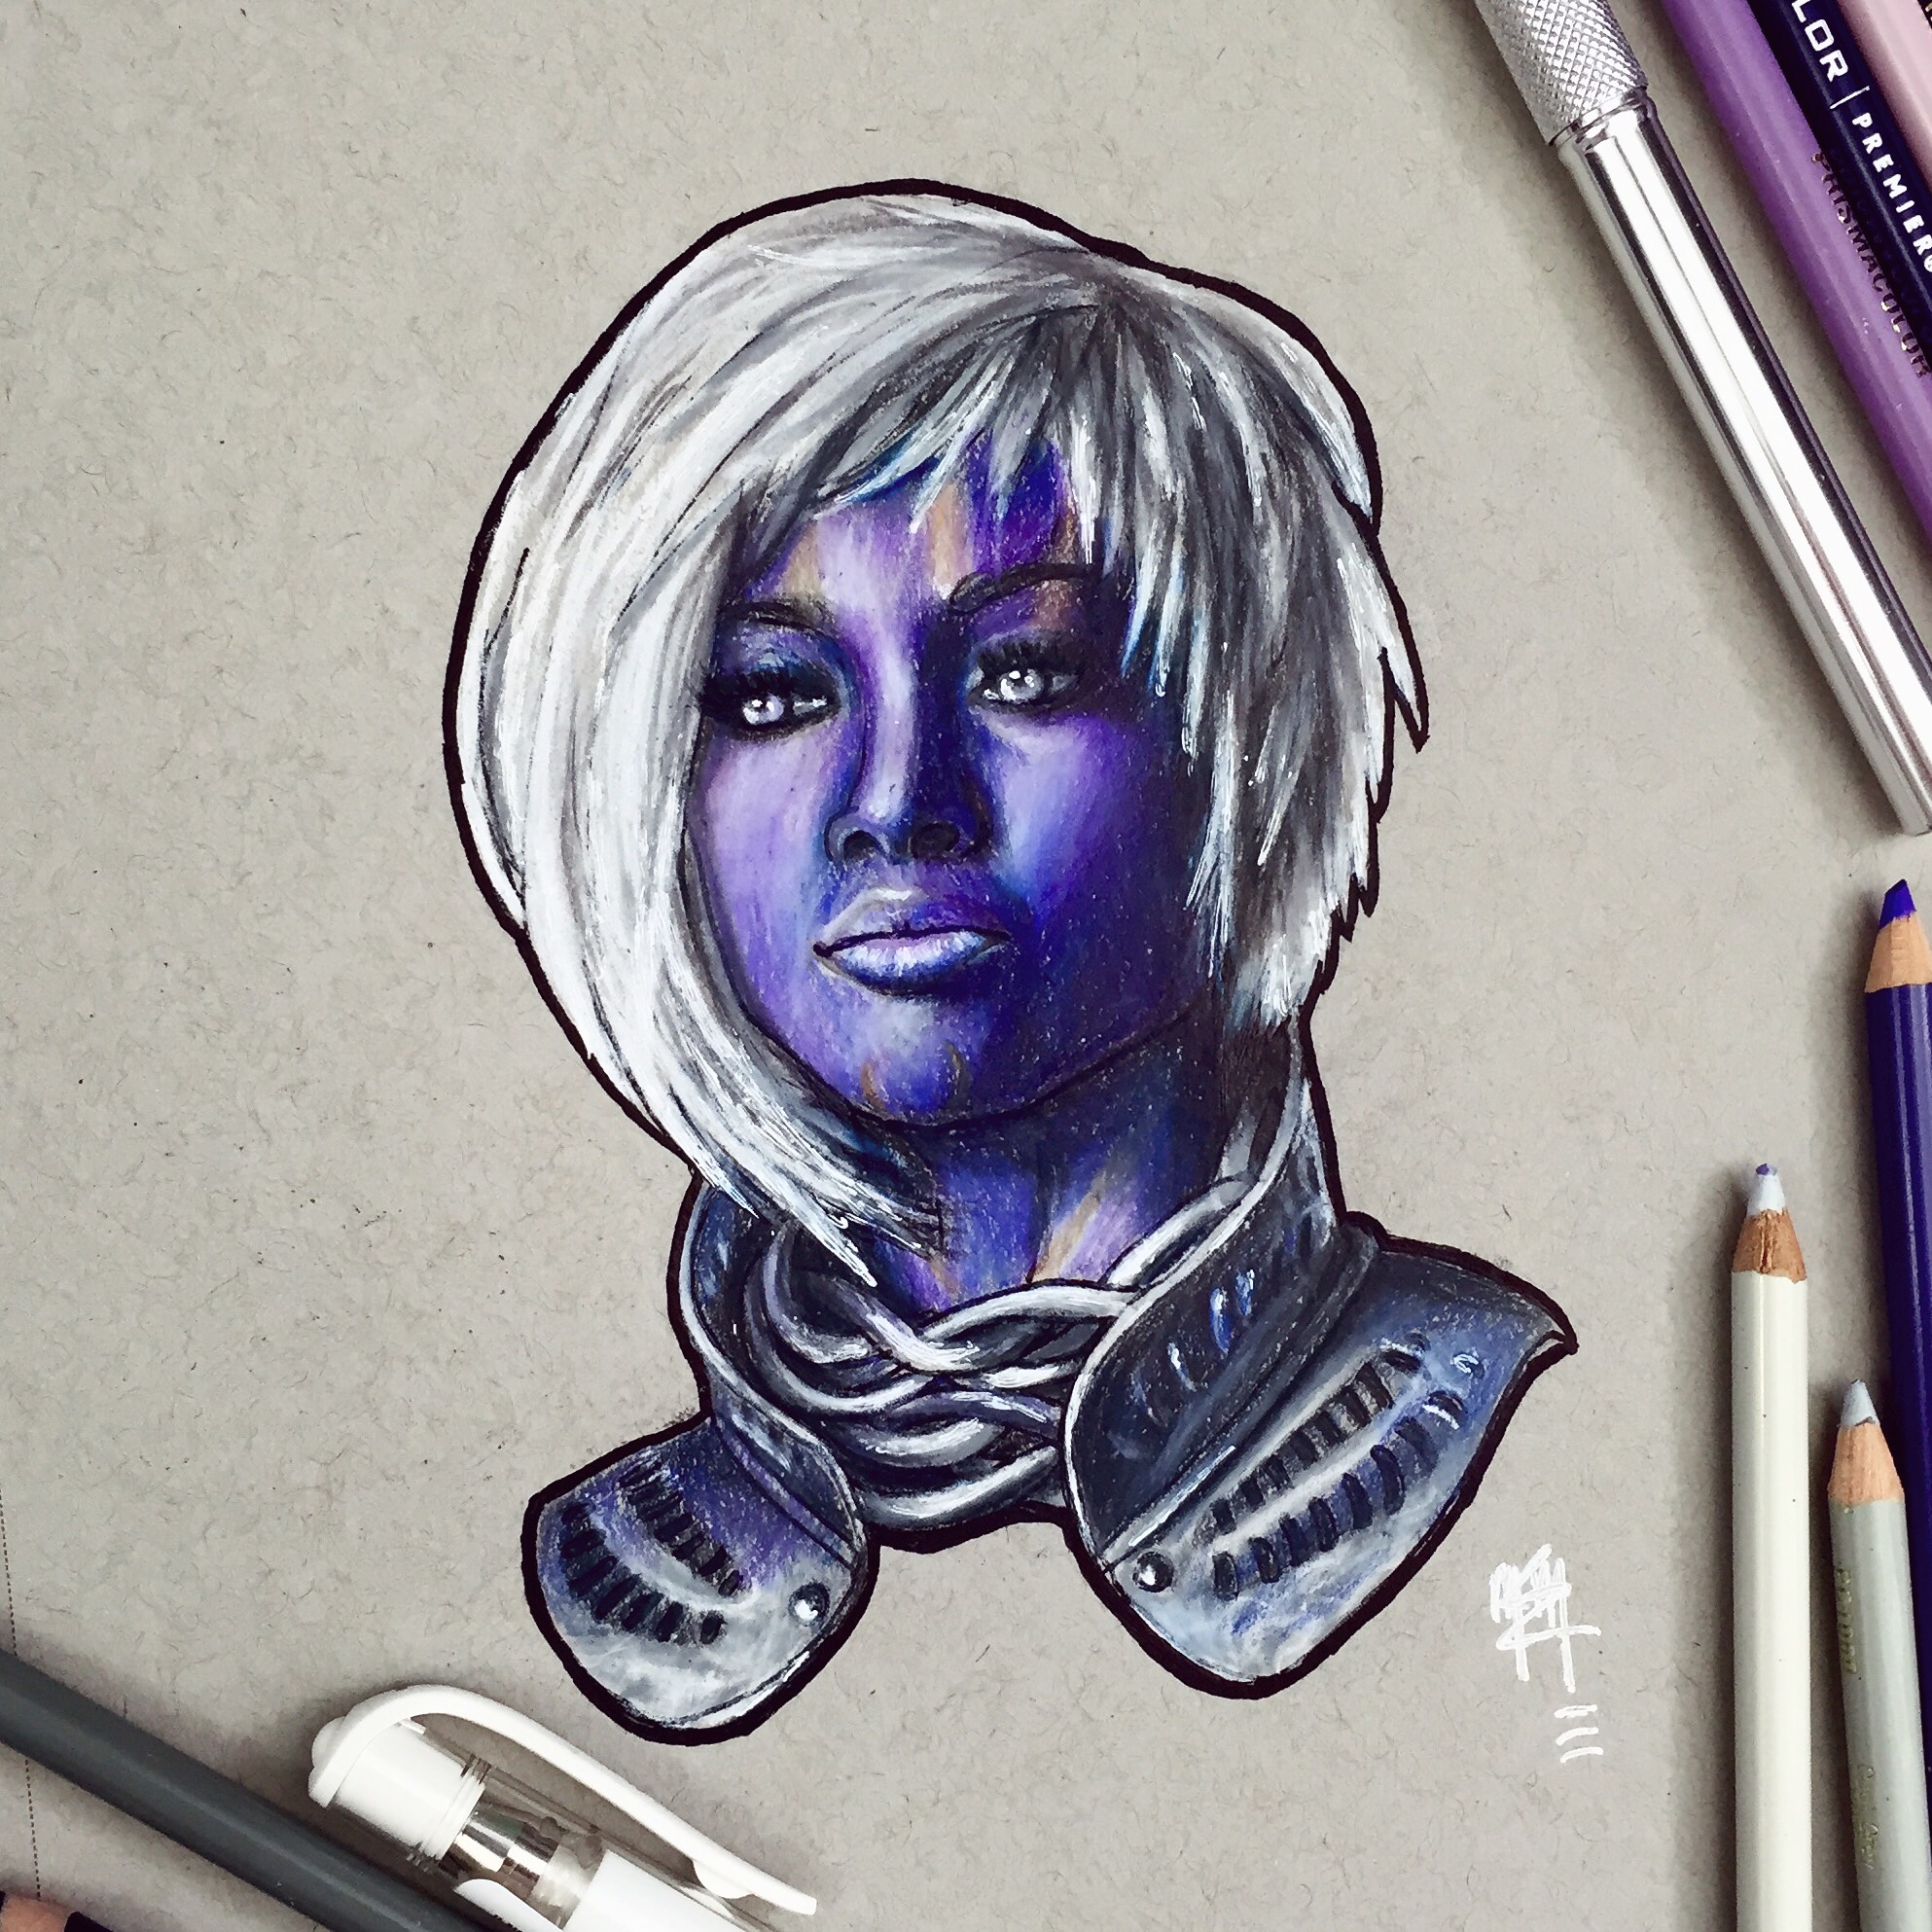
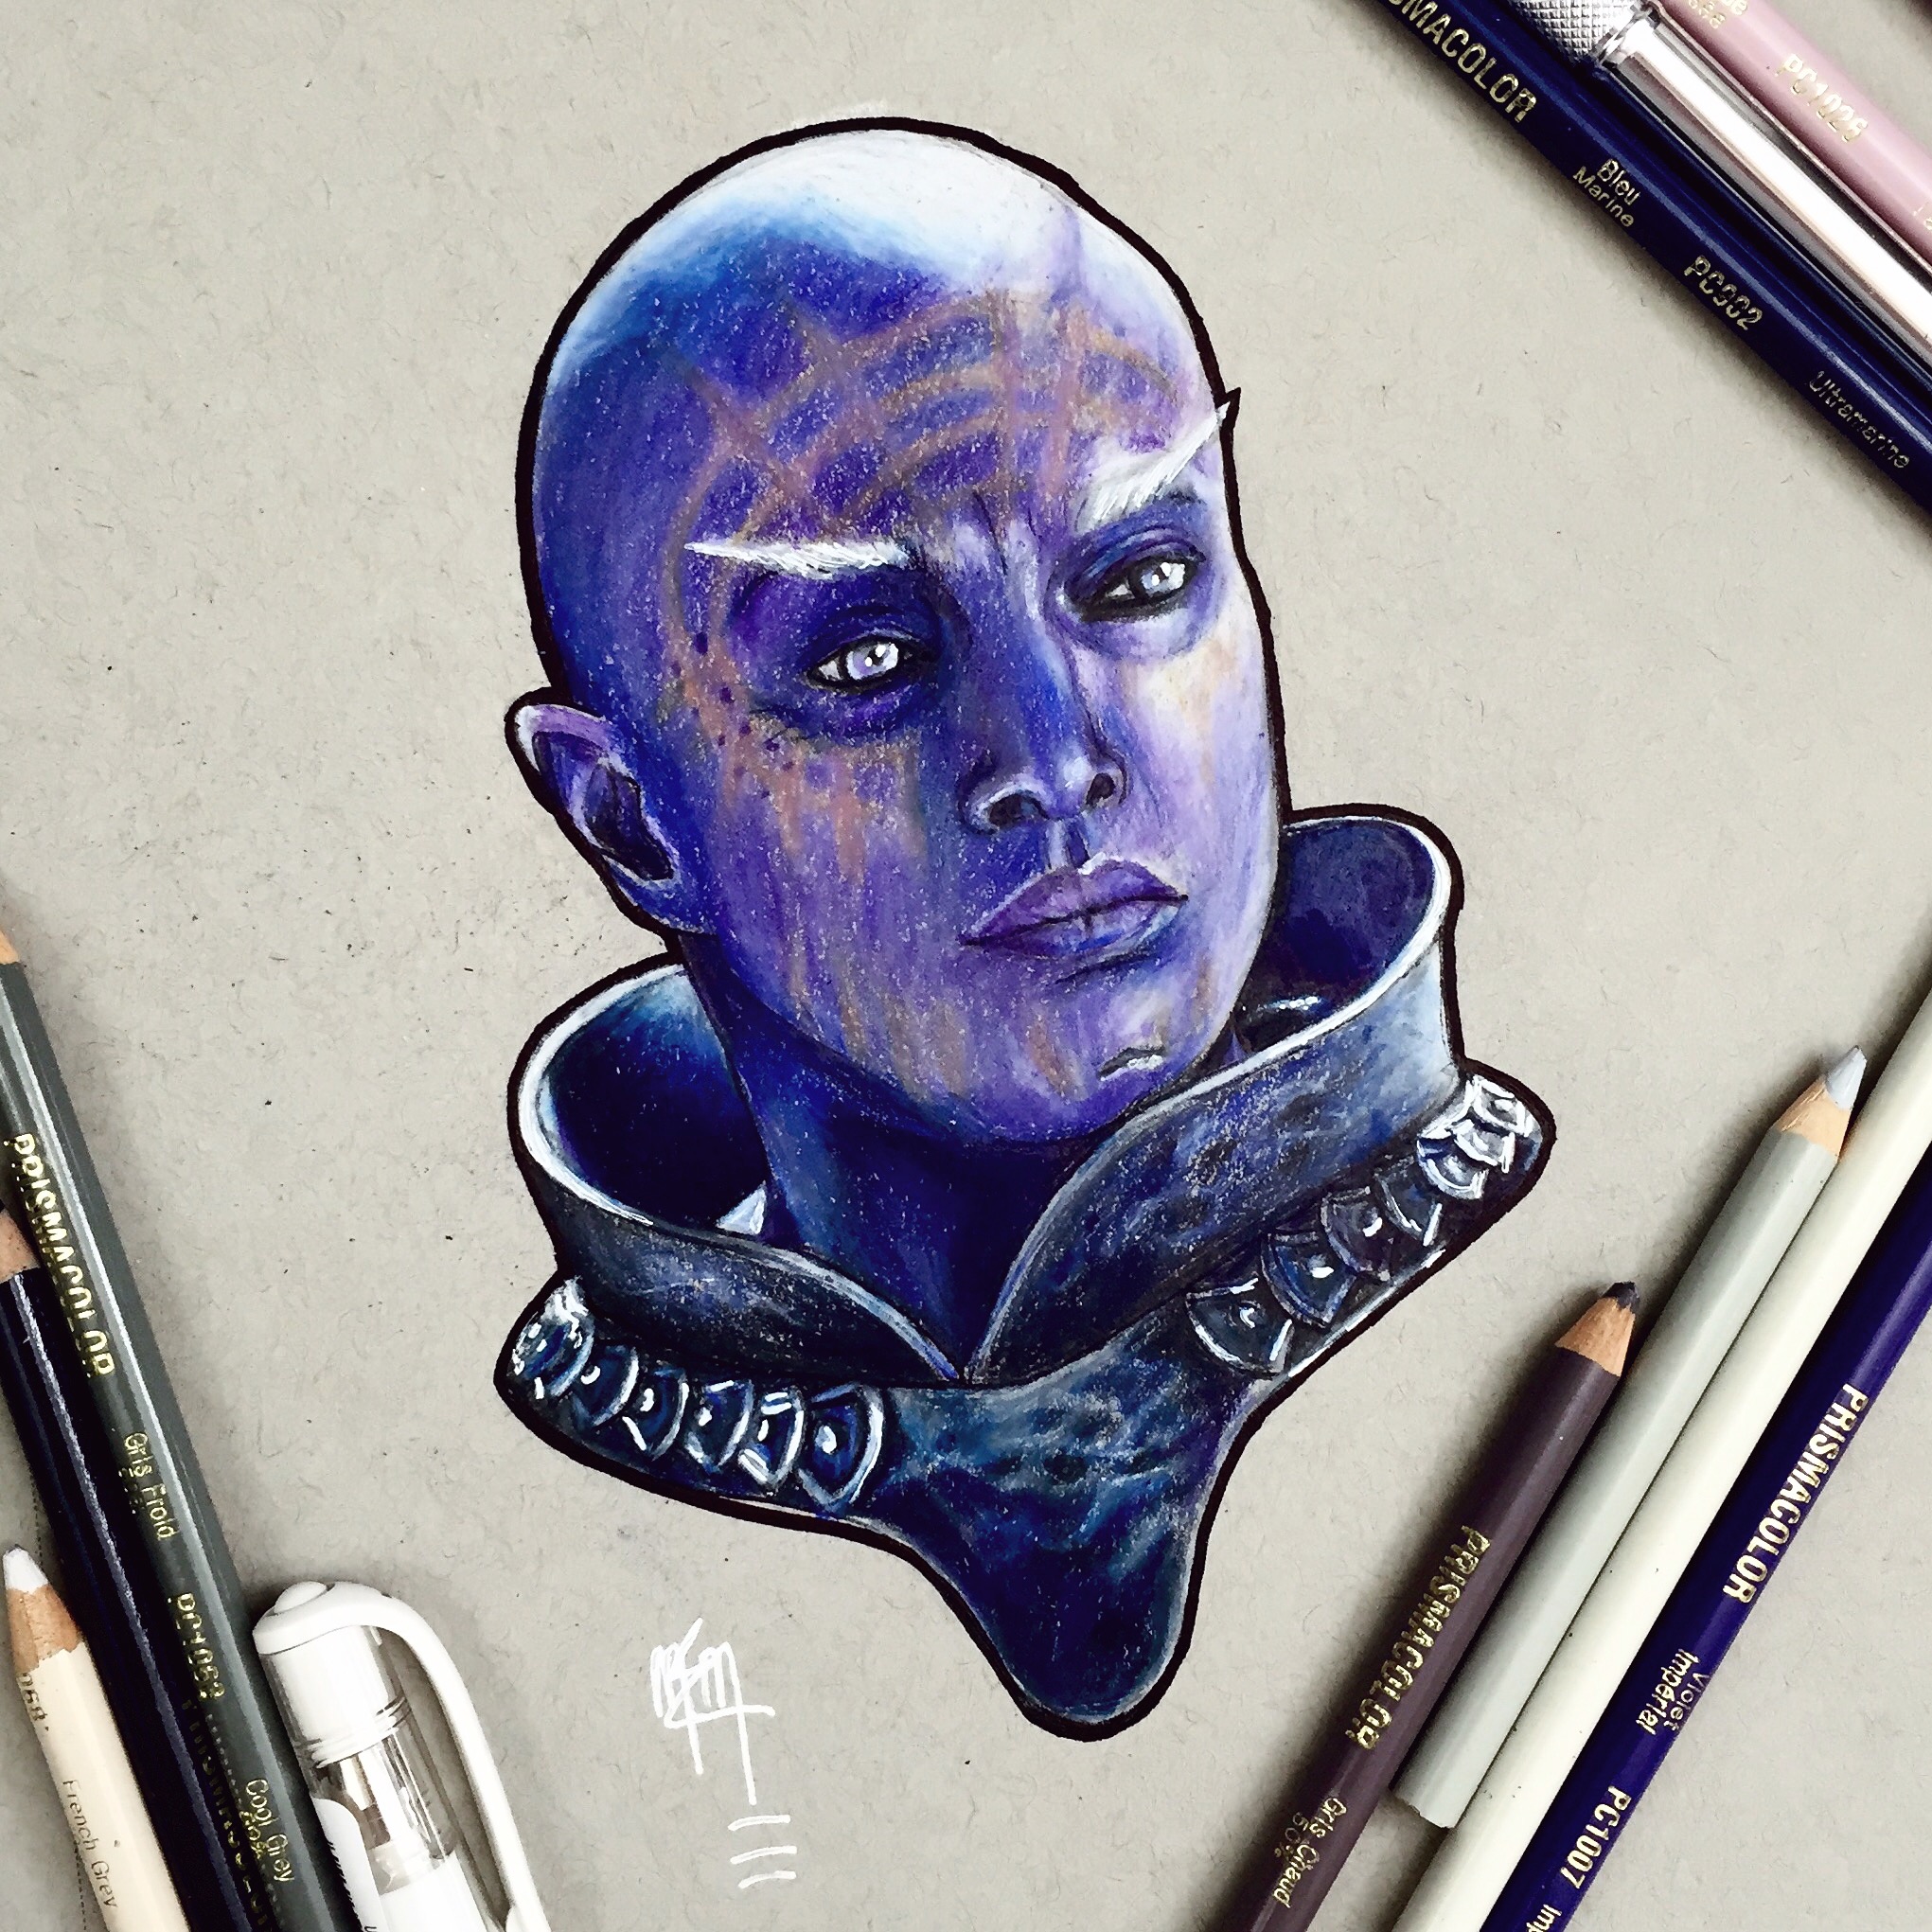
All of the illustrations were created using the same materials.
The base (depending on the general undertones/colour scheme of the character) was either toned tan or toned grey paper.
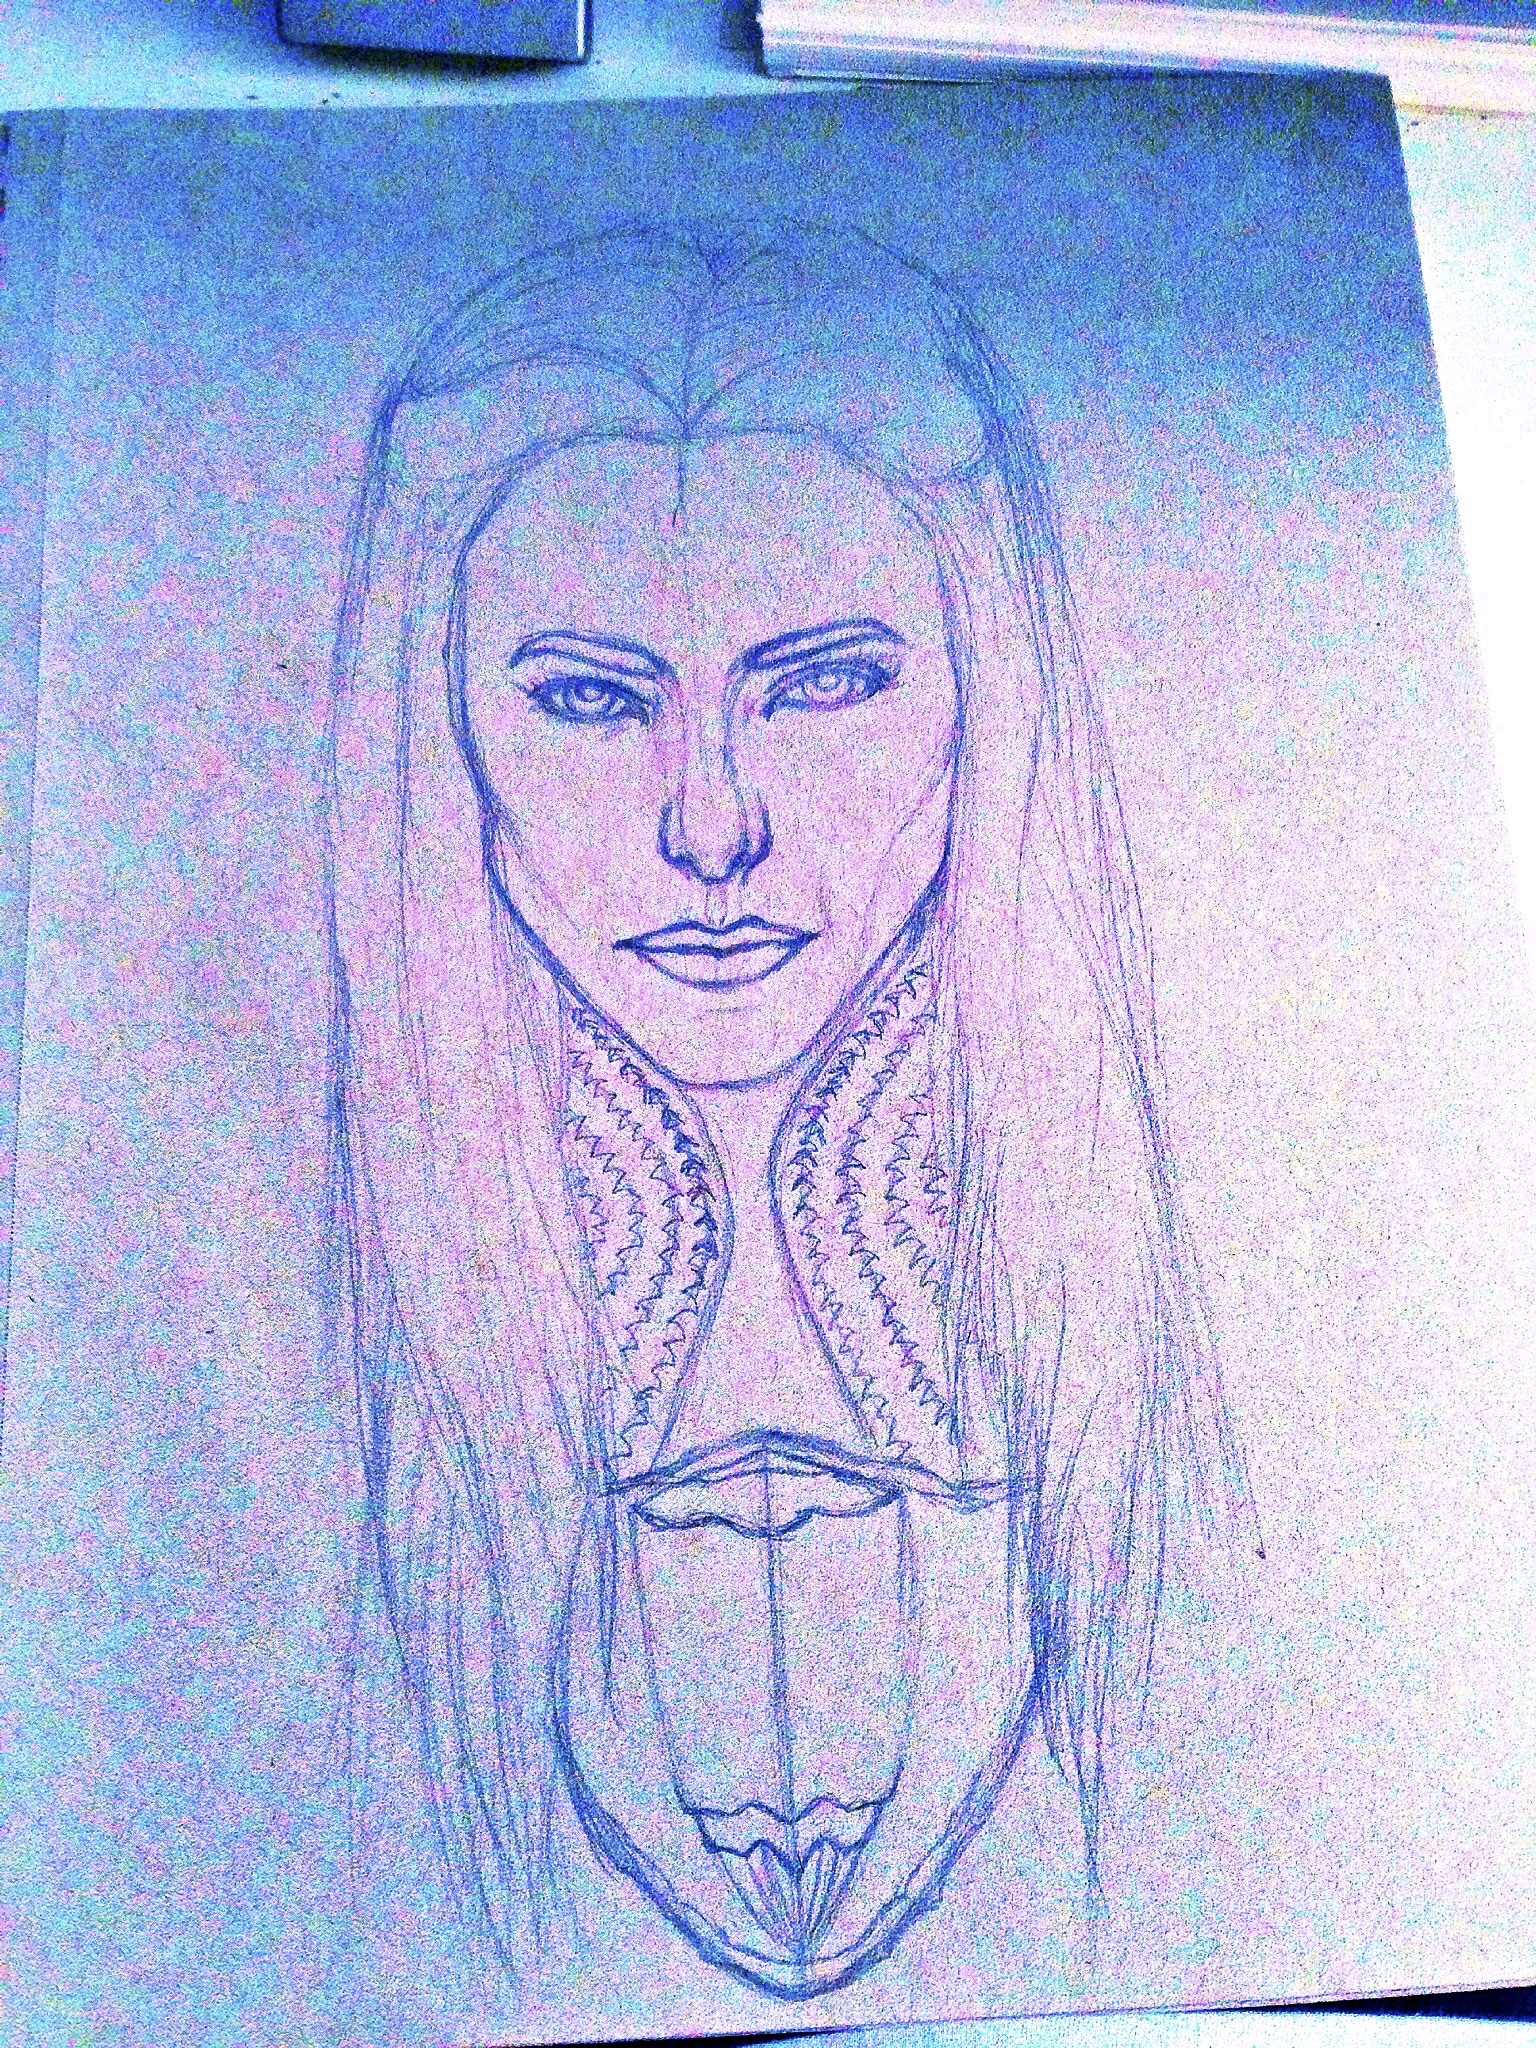
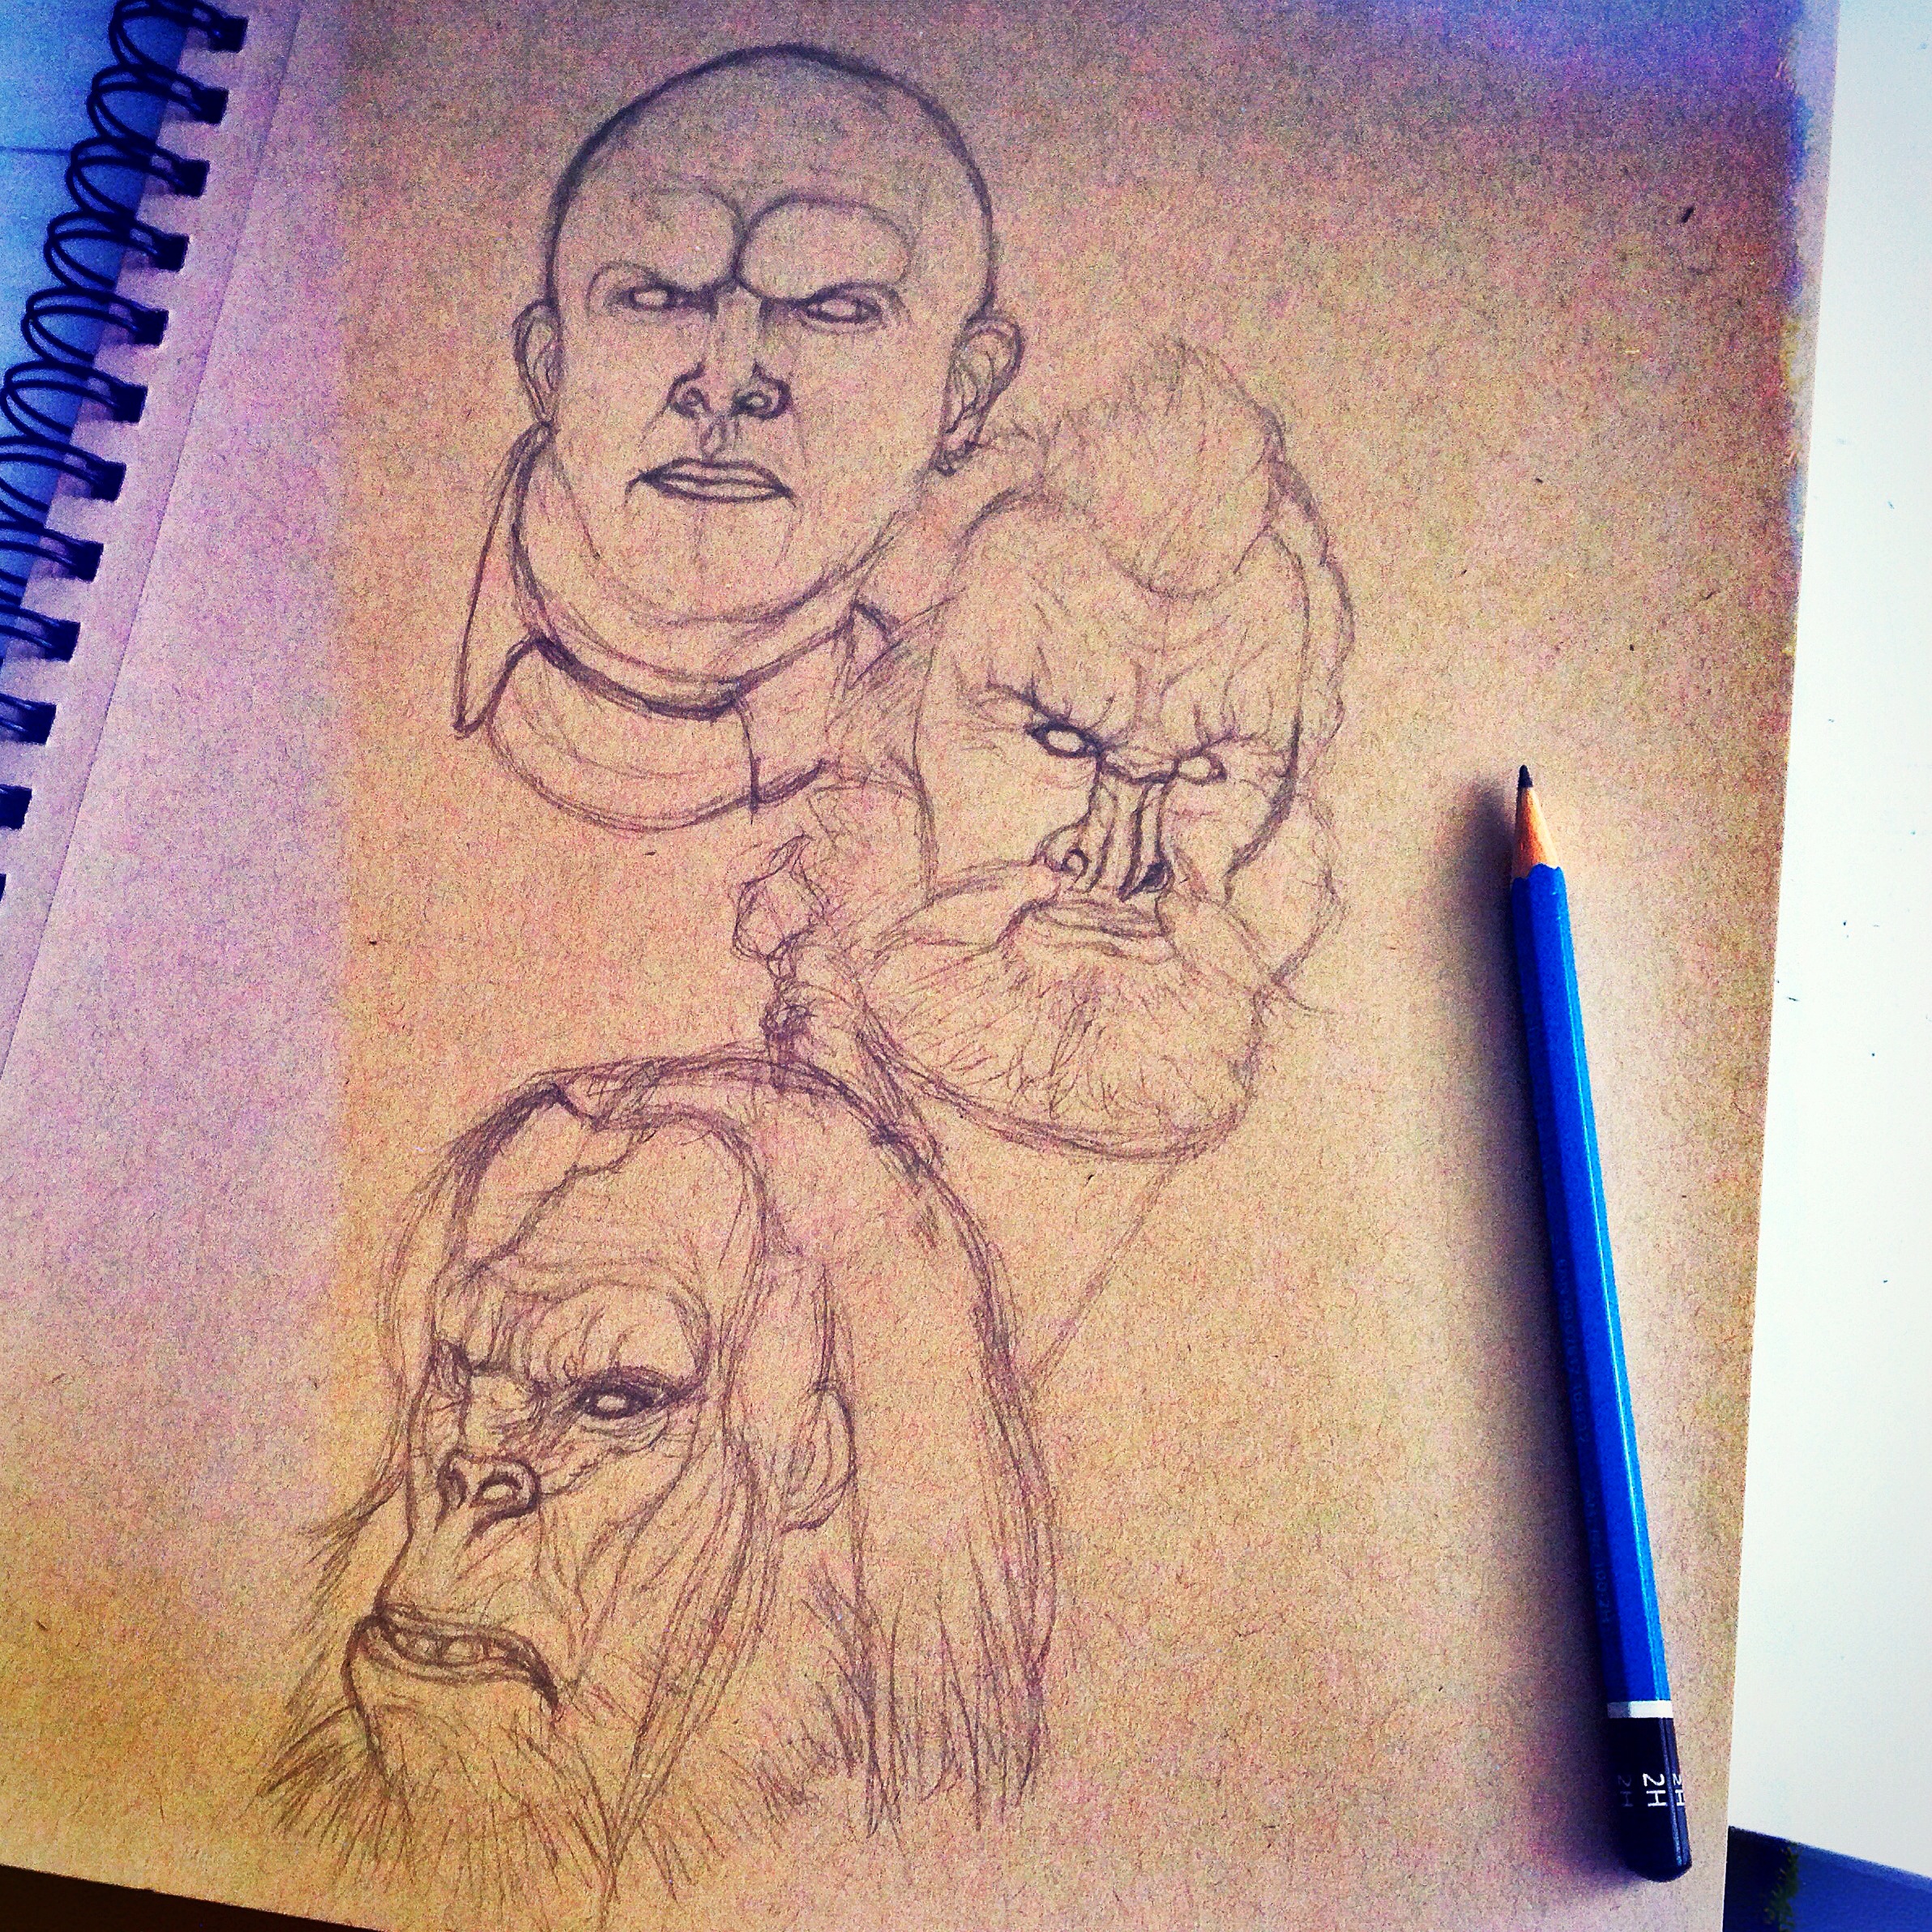
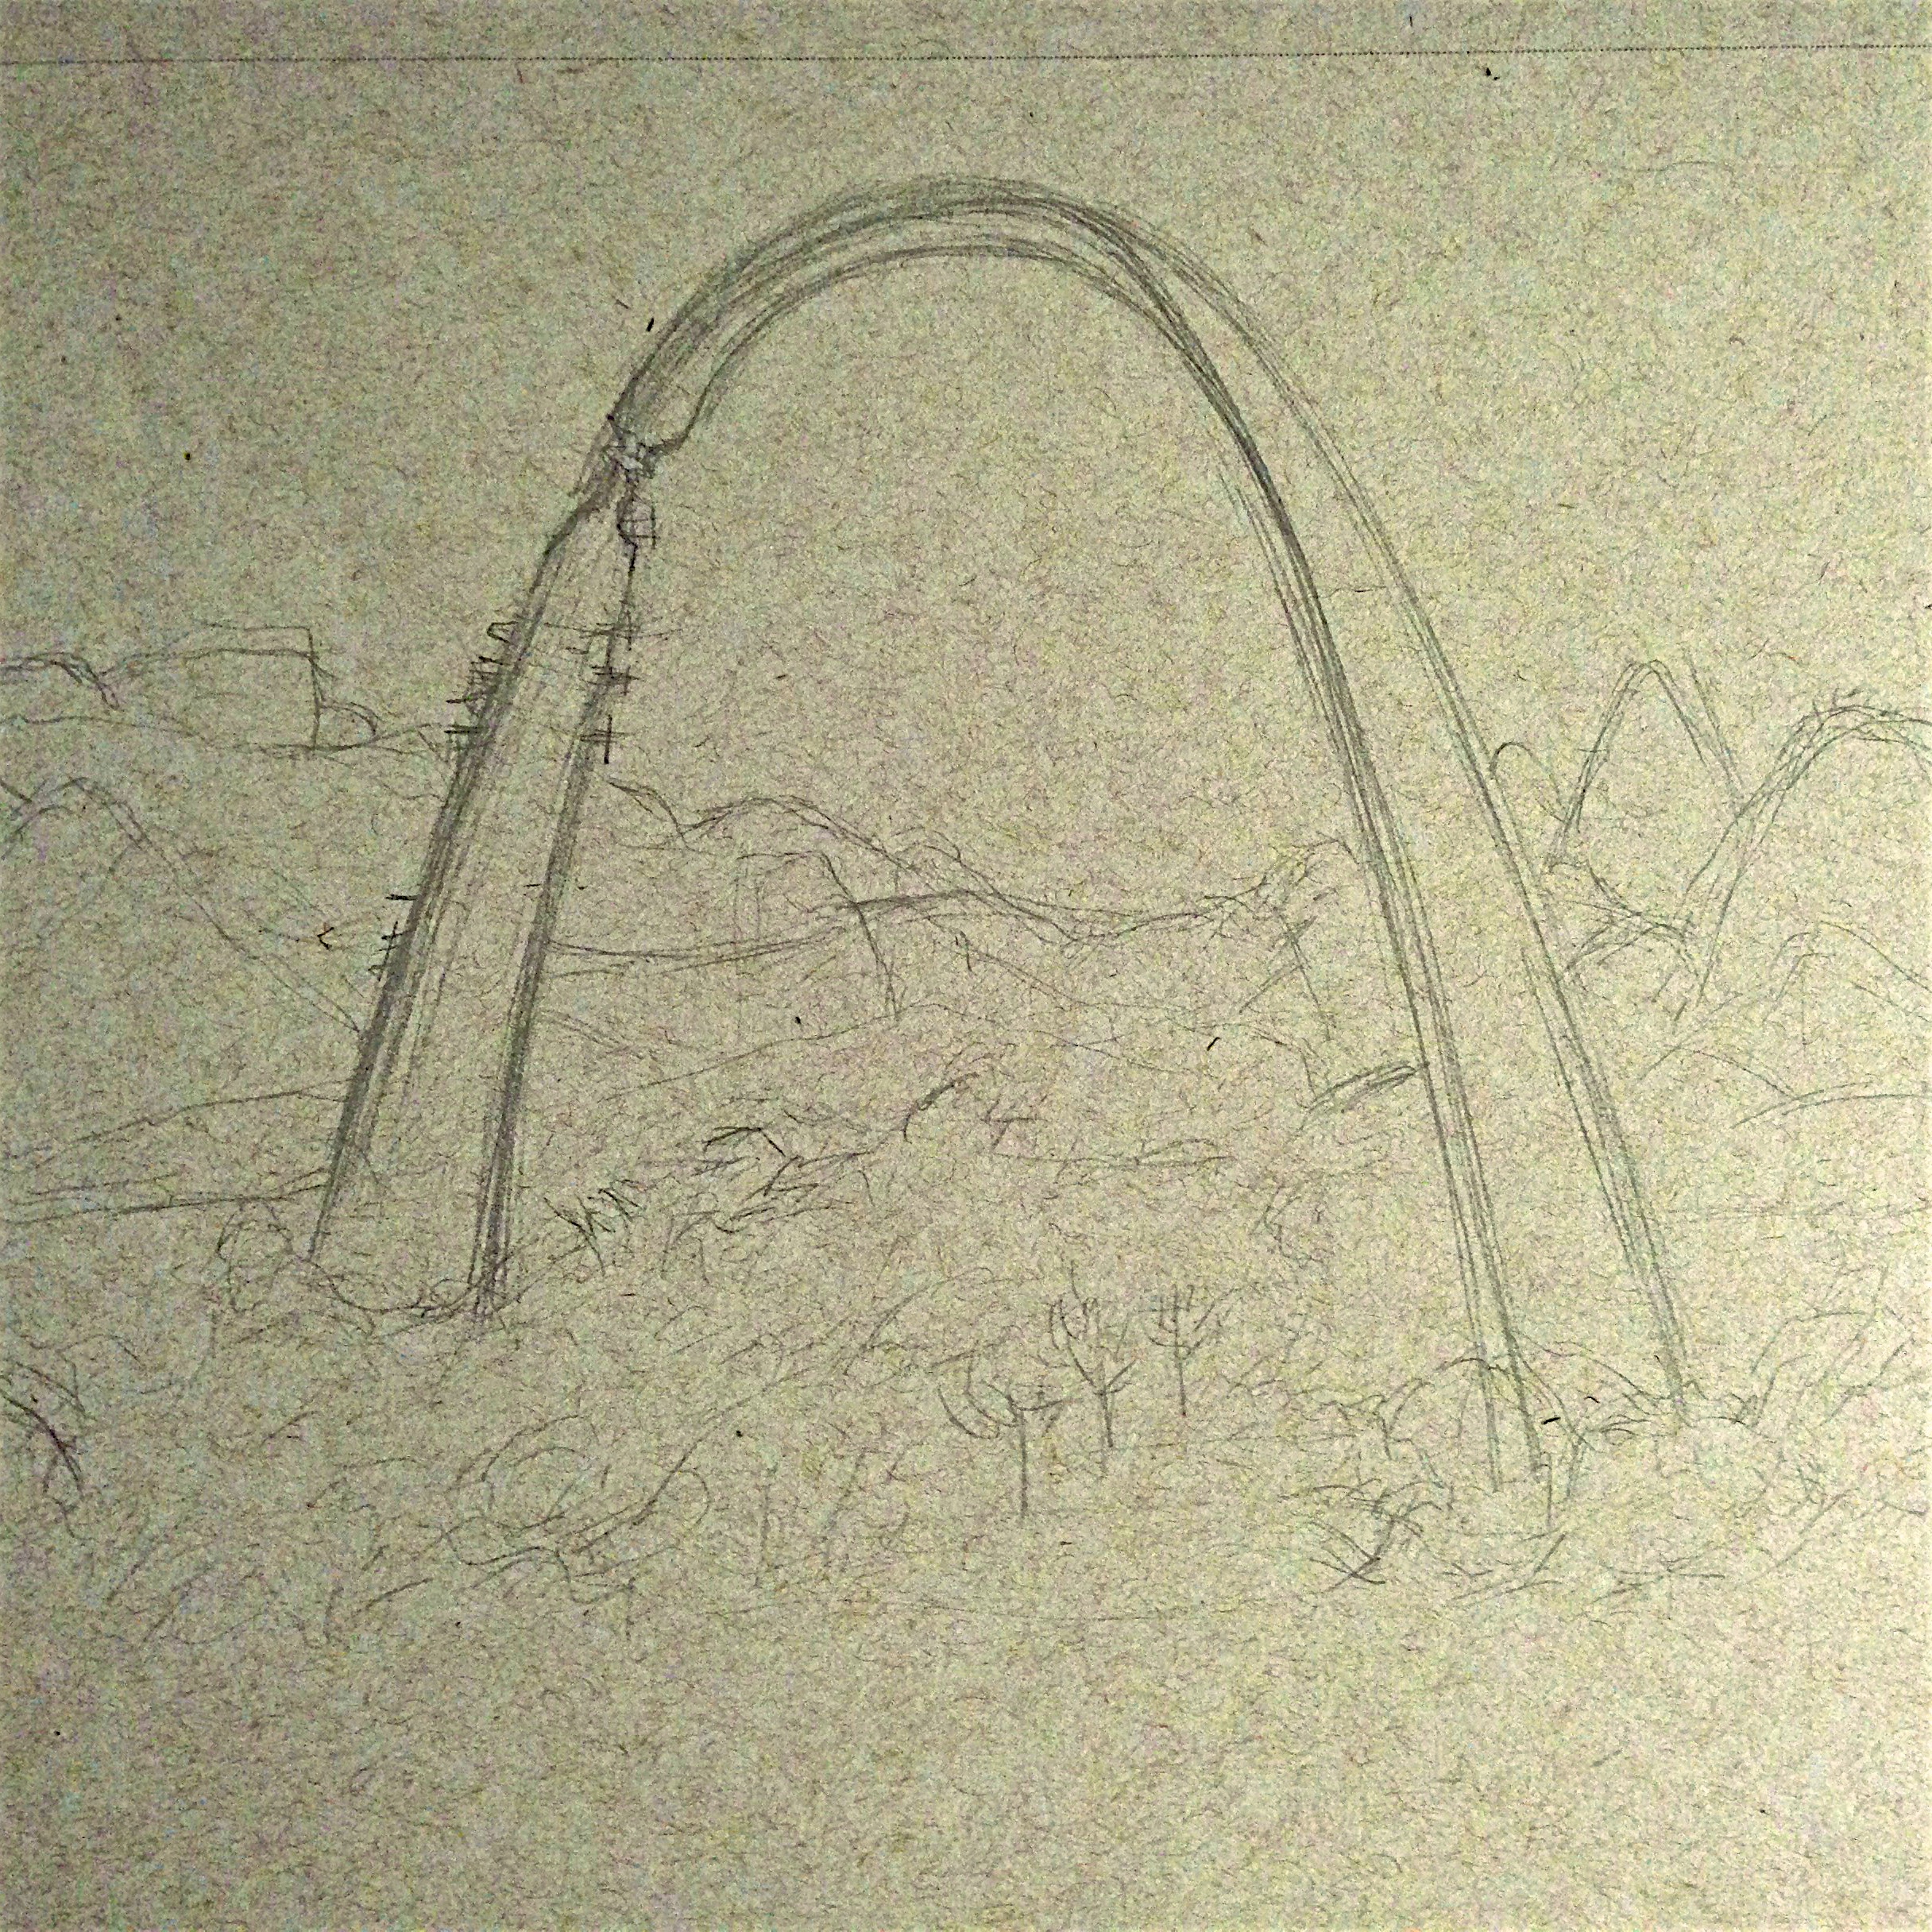
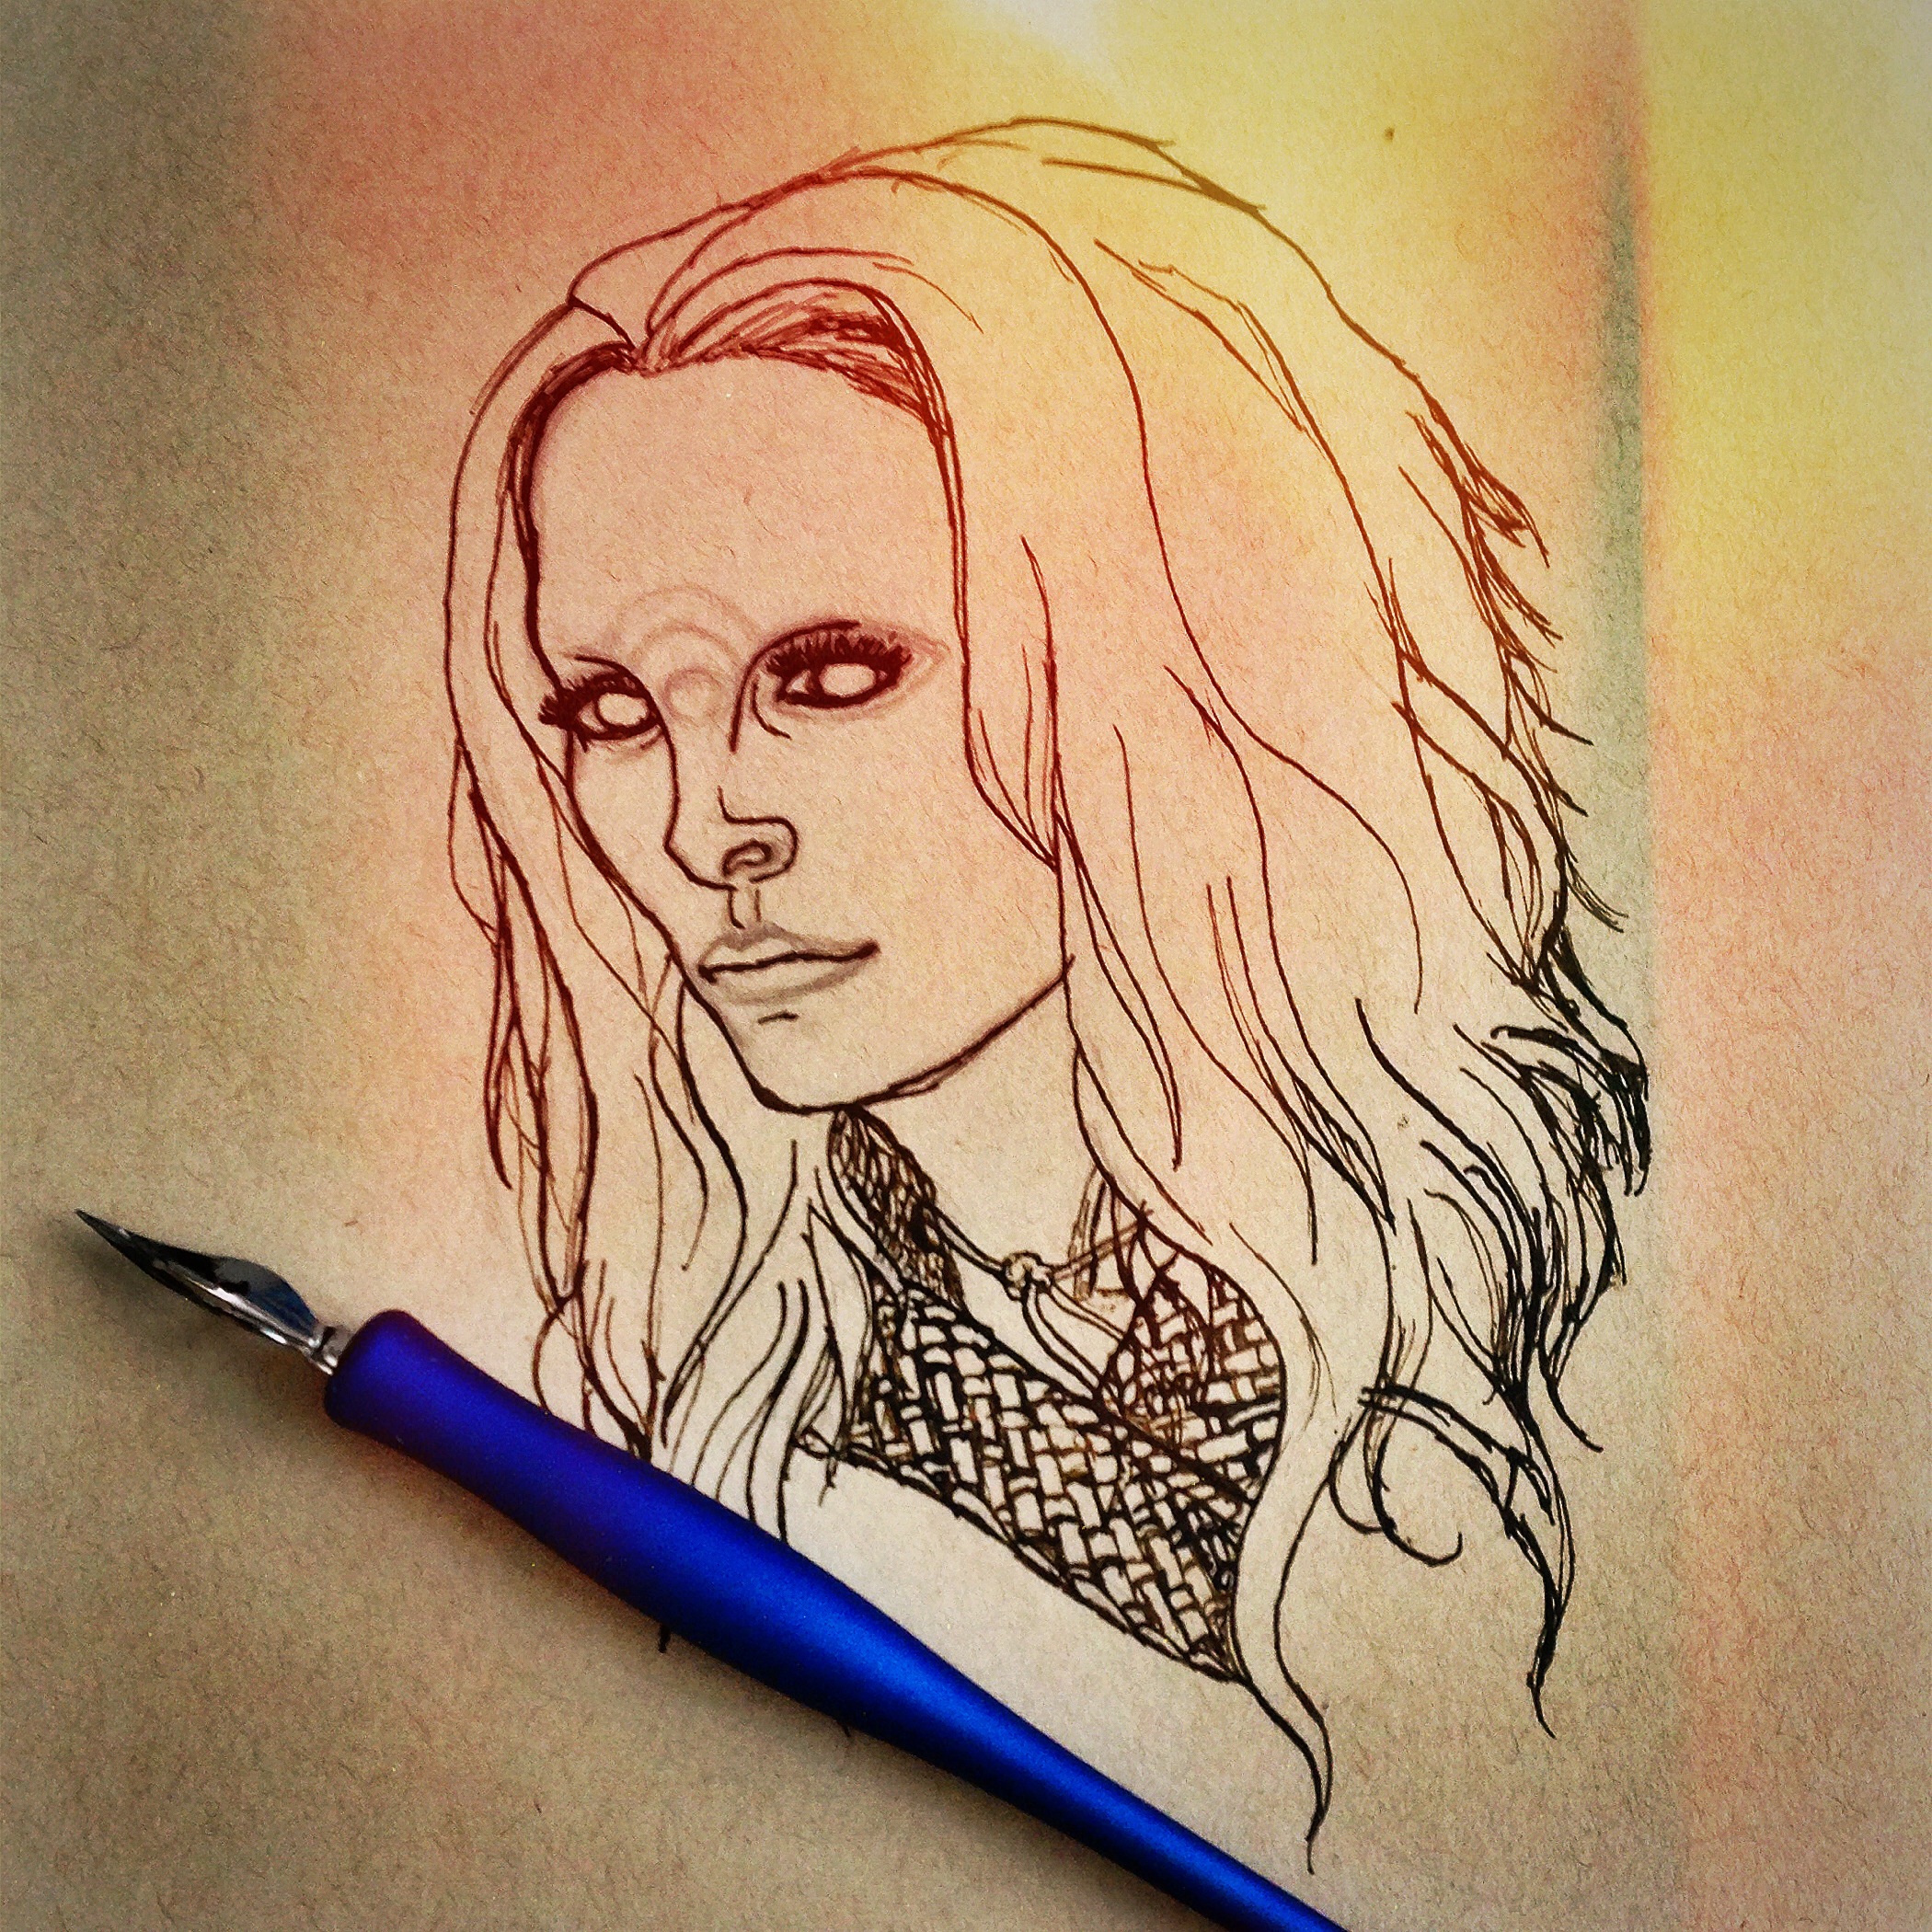
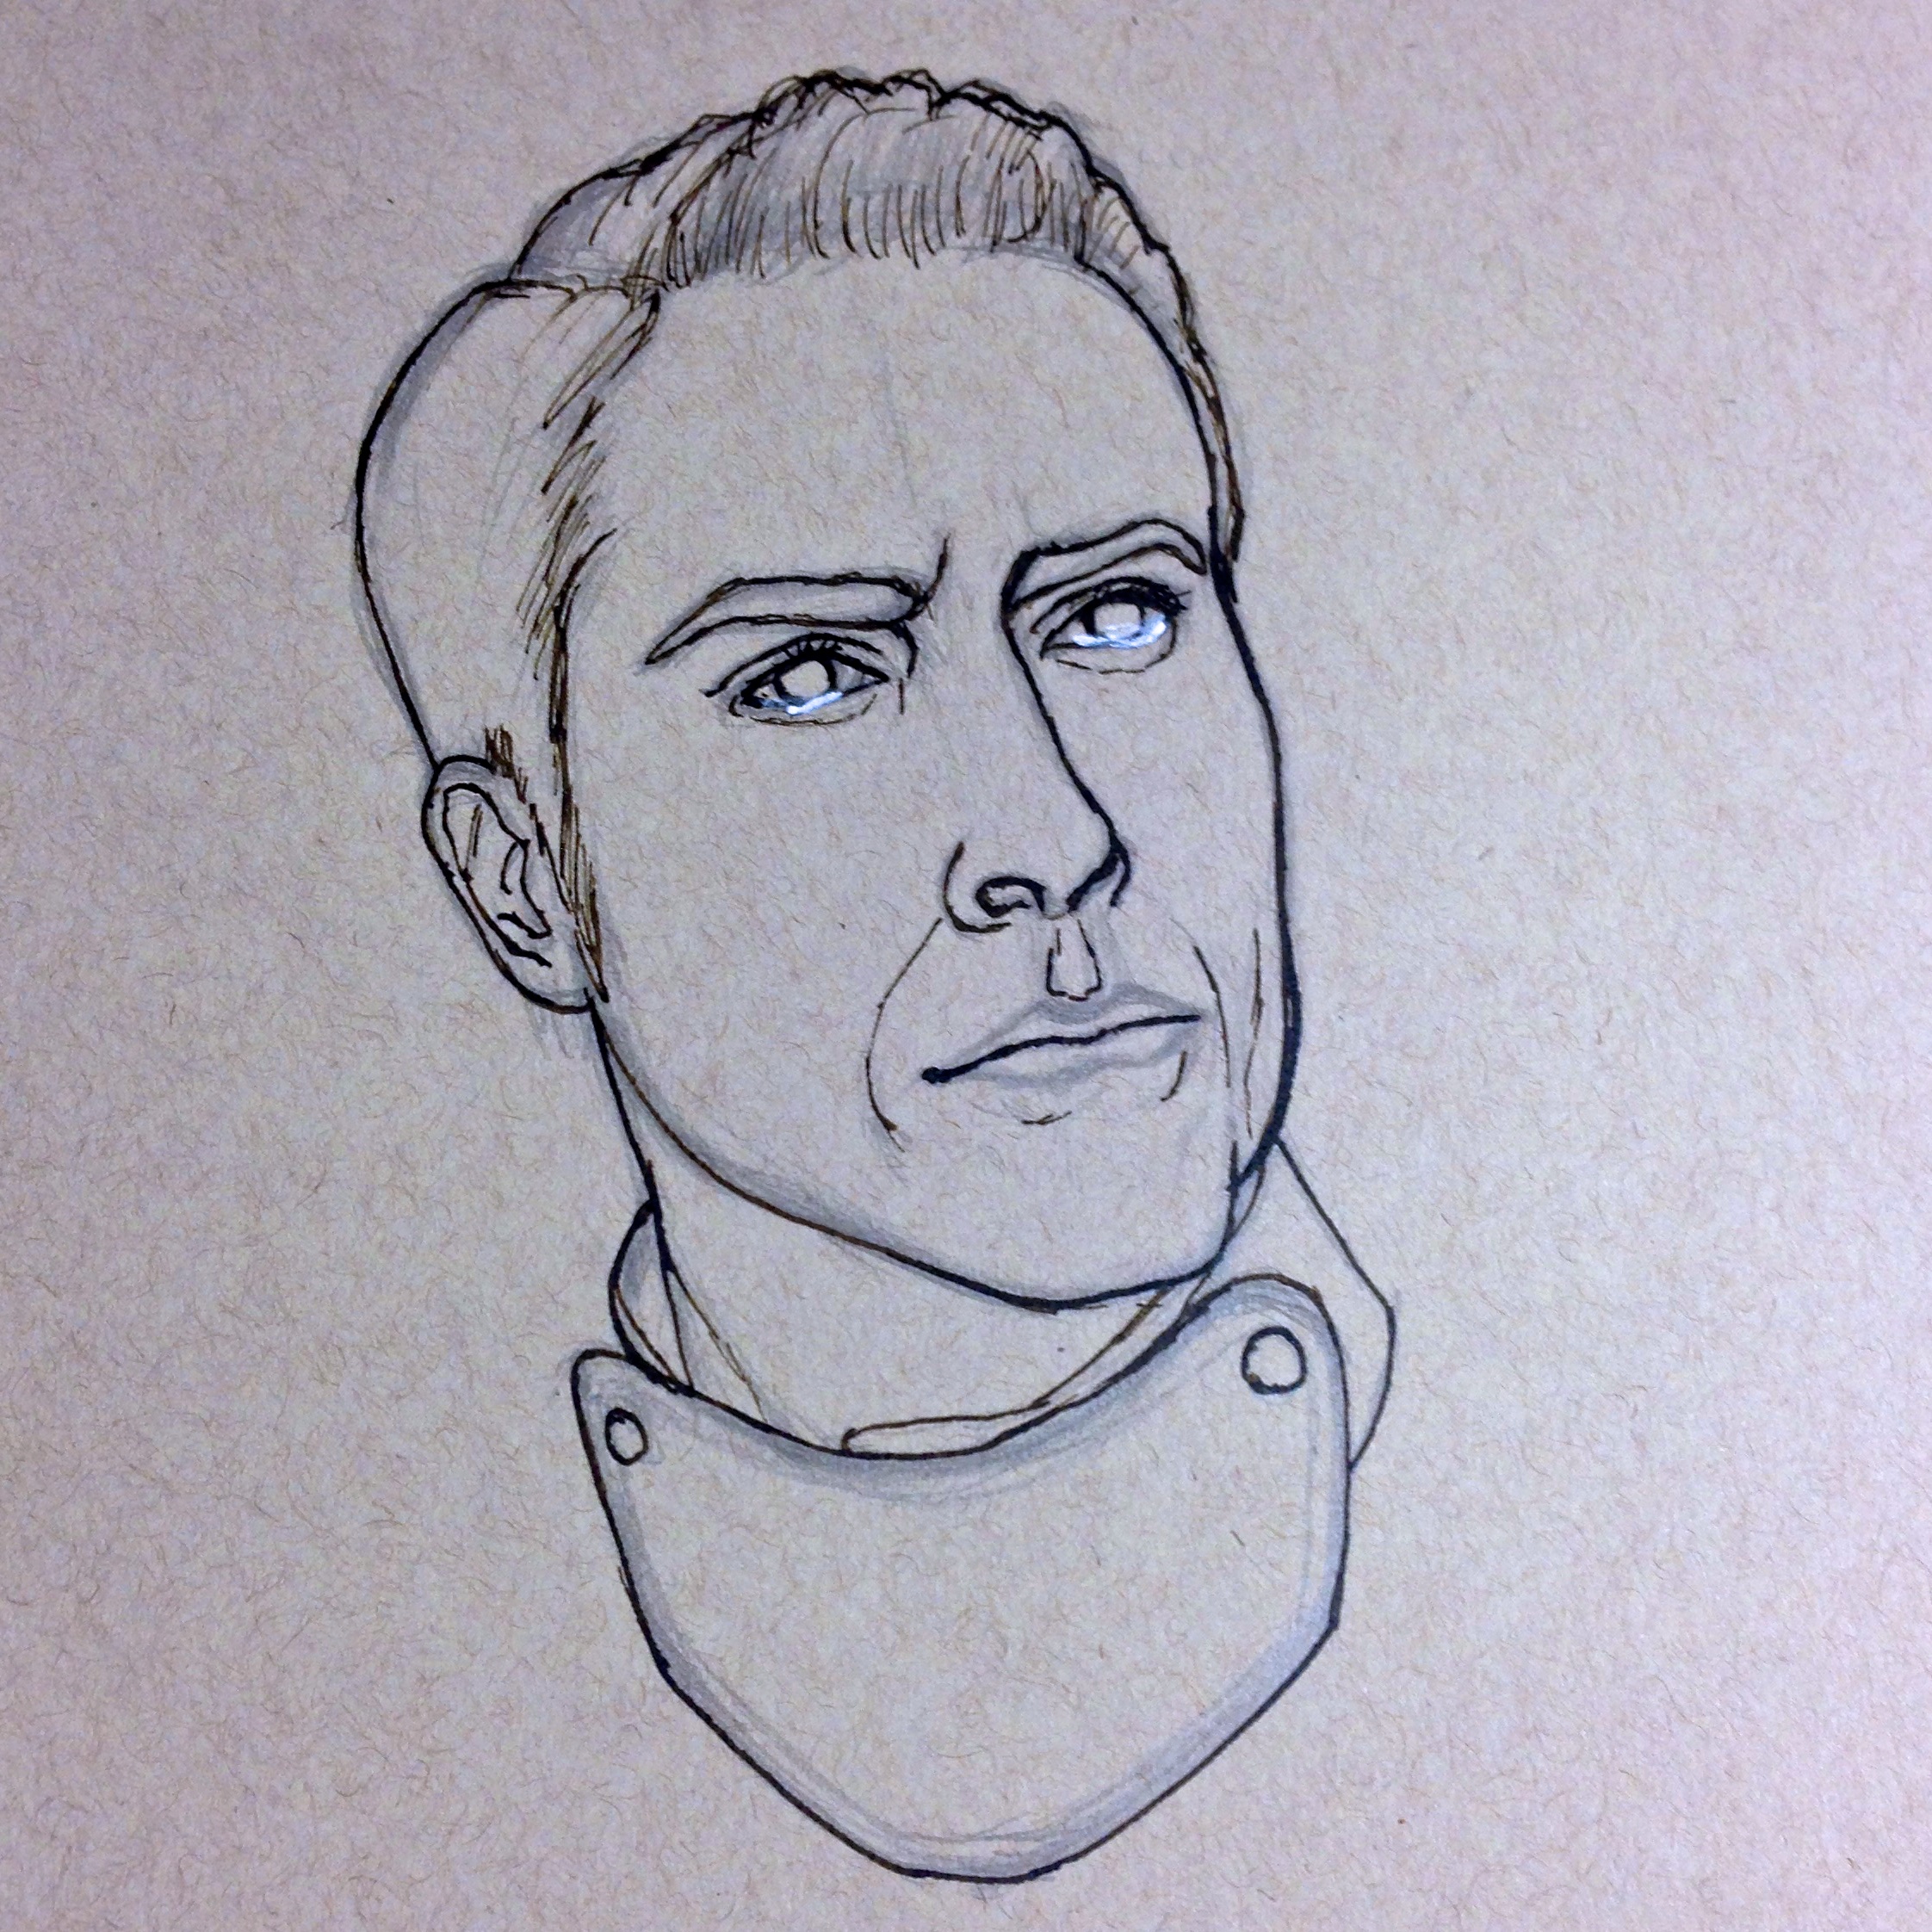
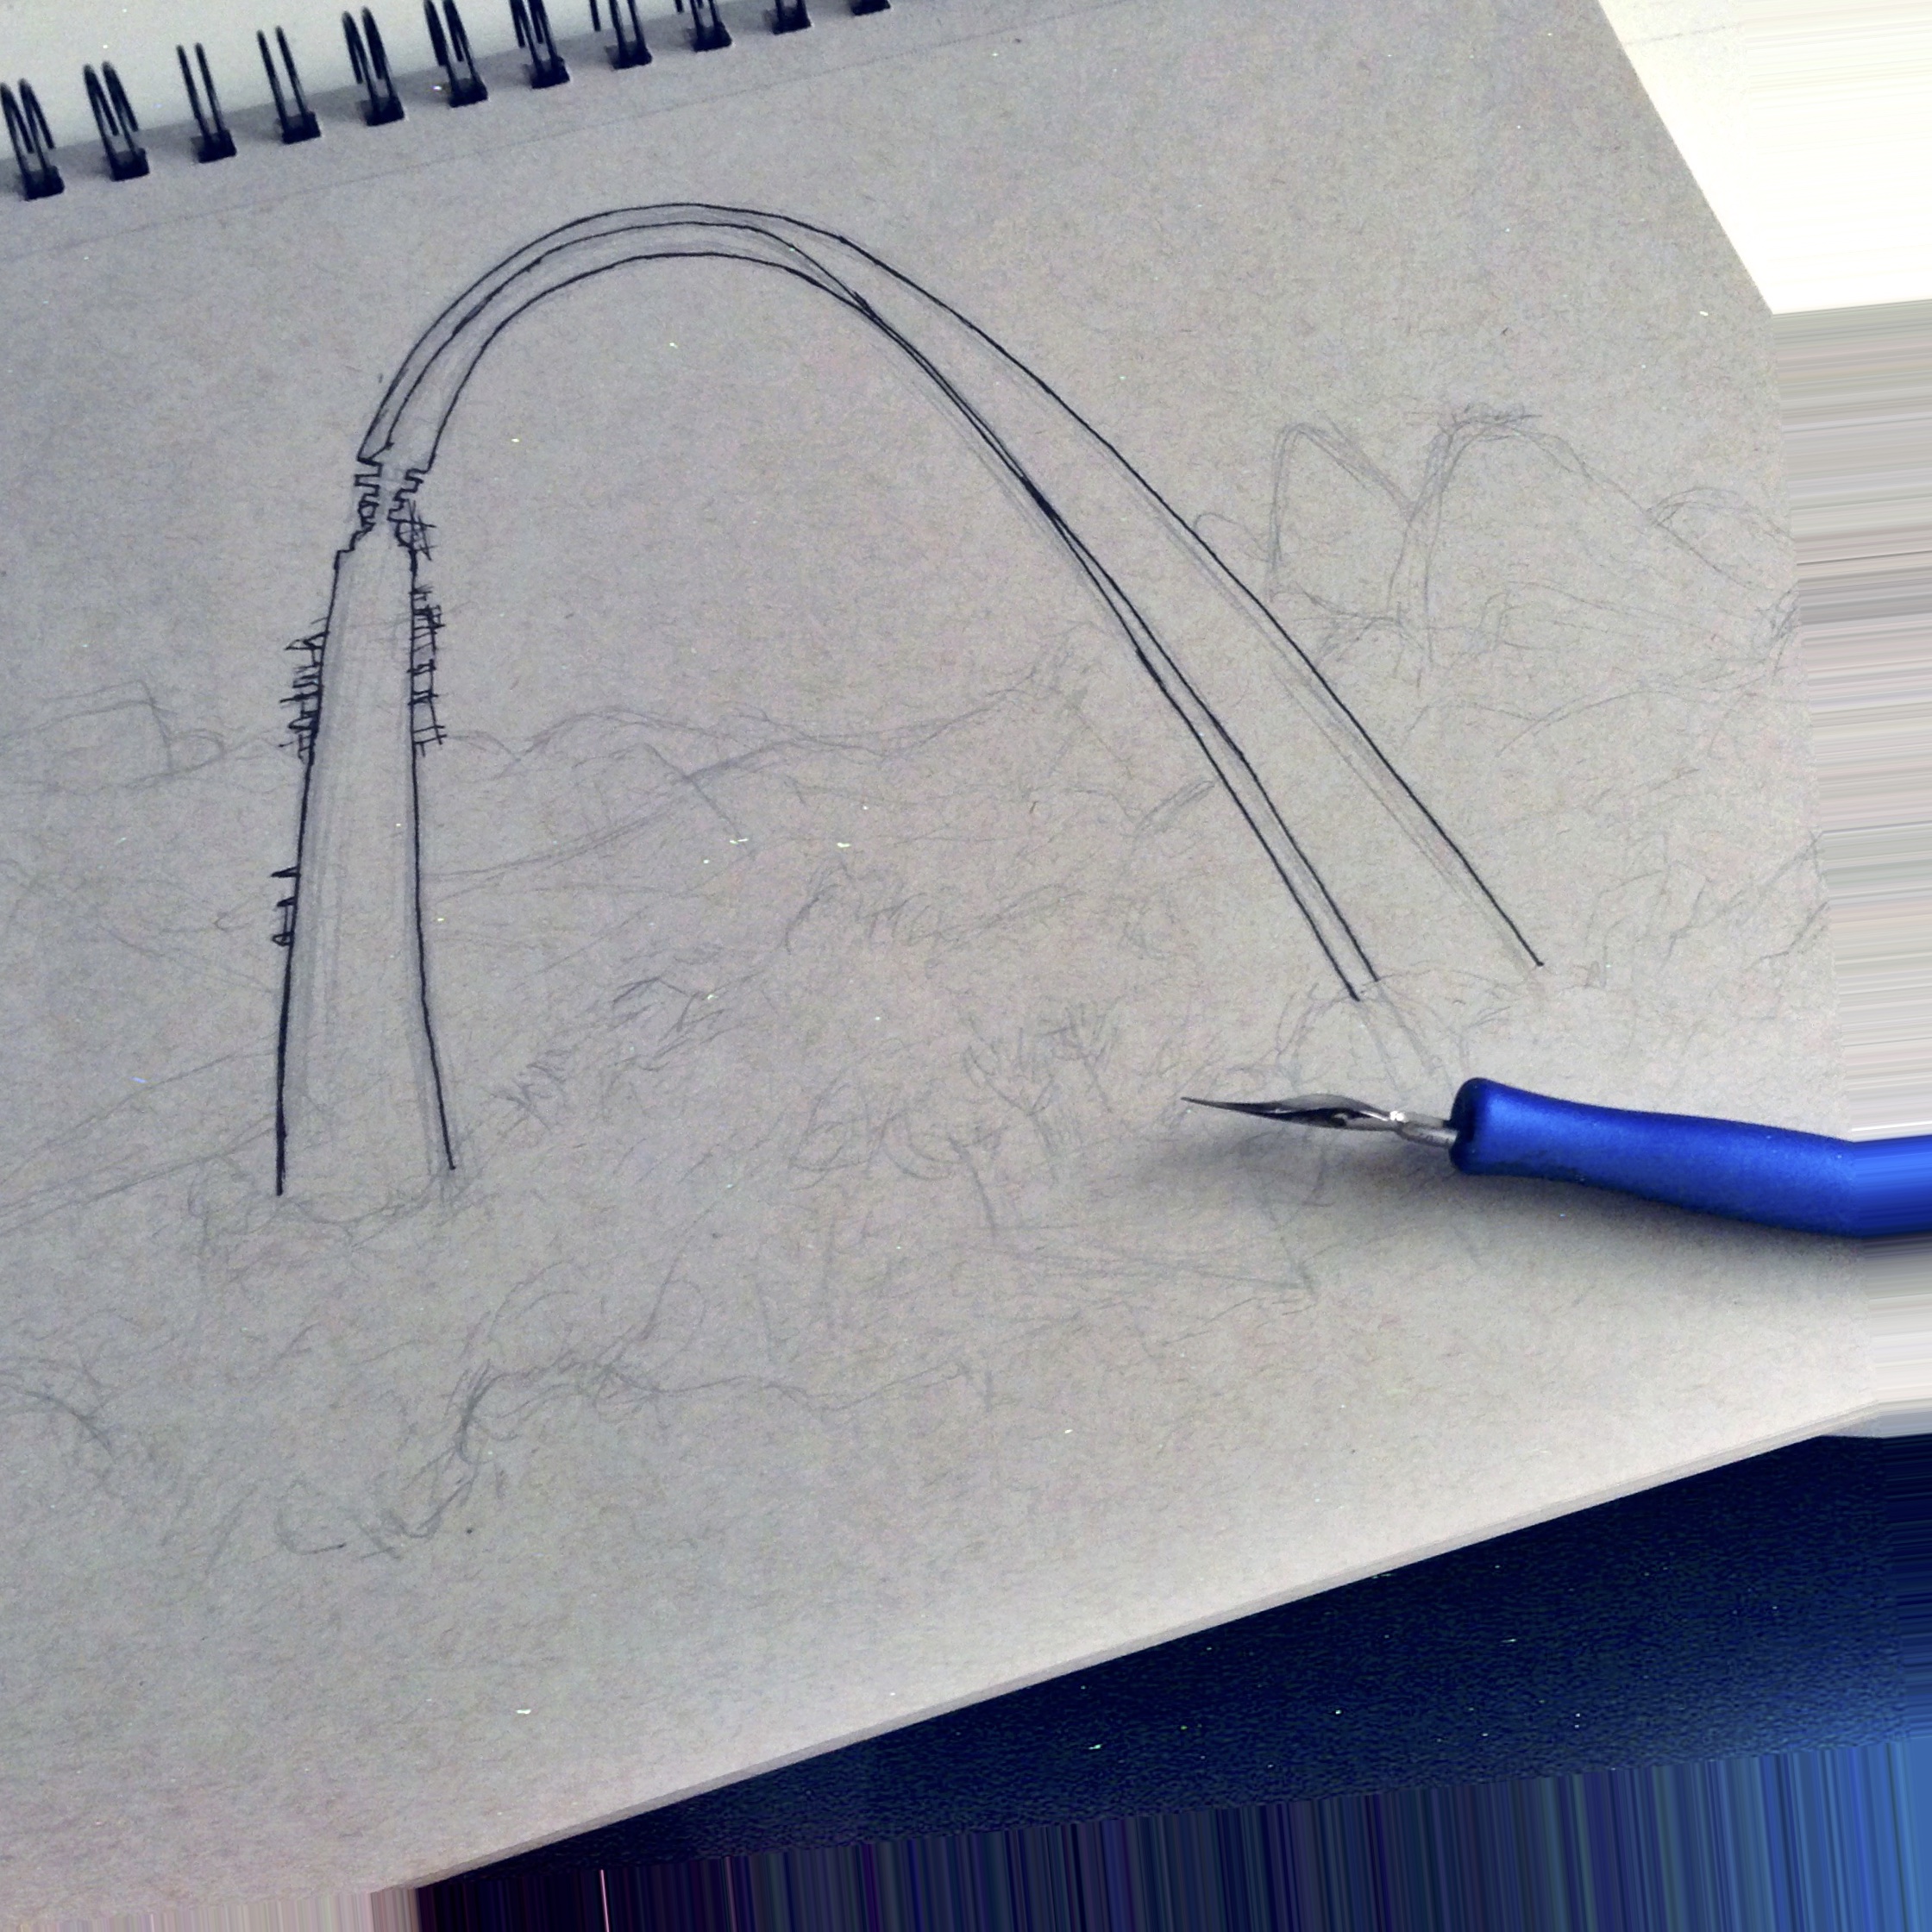
All sketches were done with a 2H pencil, my preference for sketching.
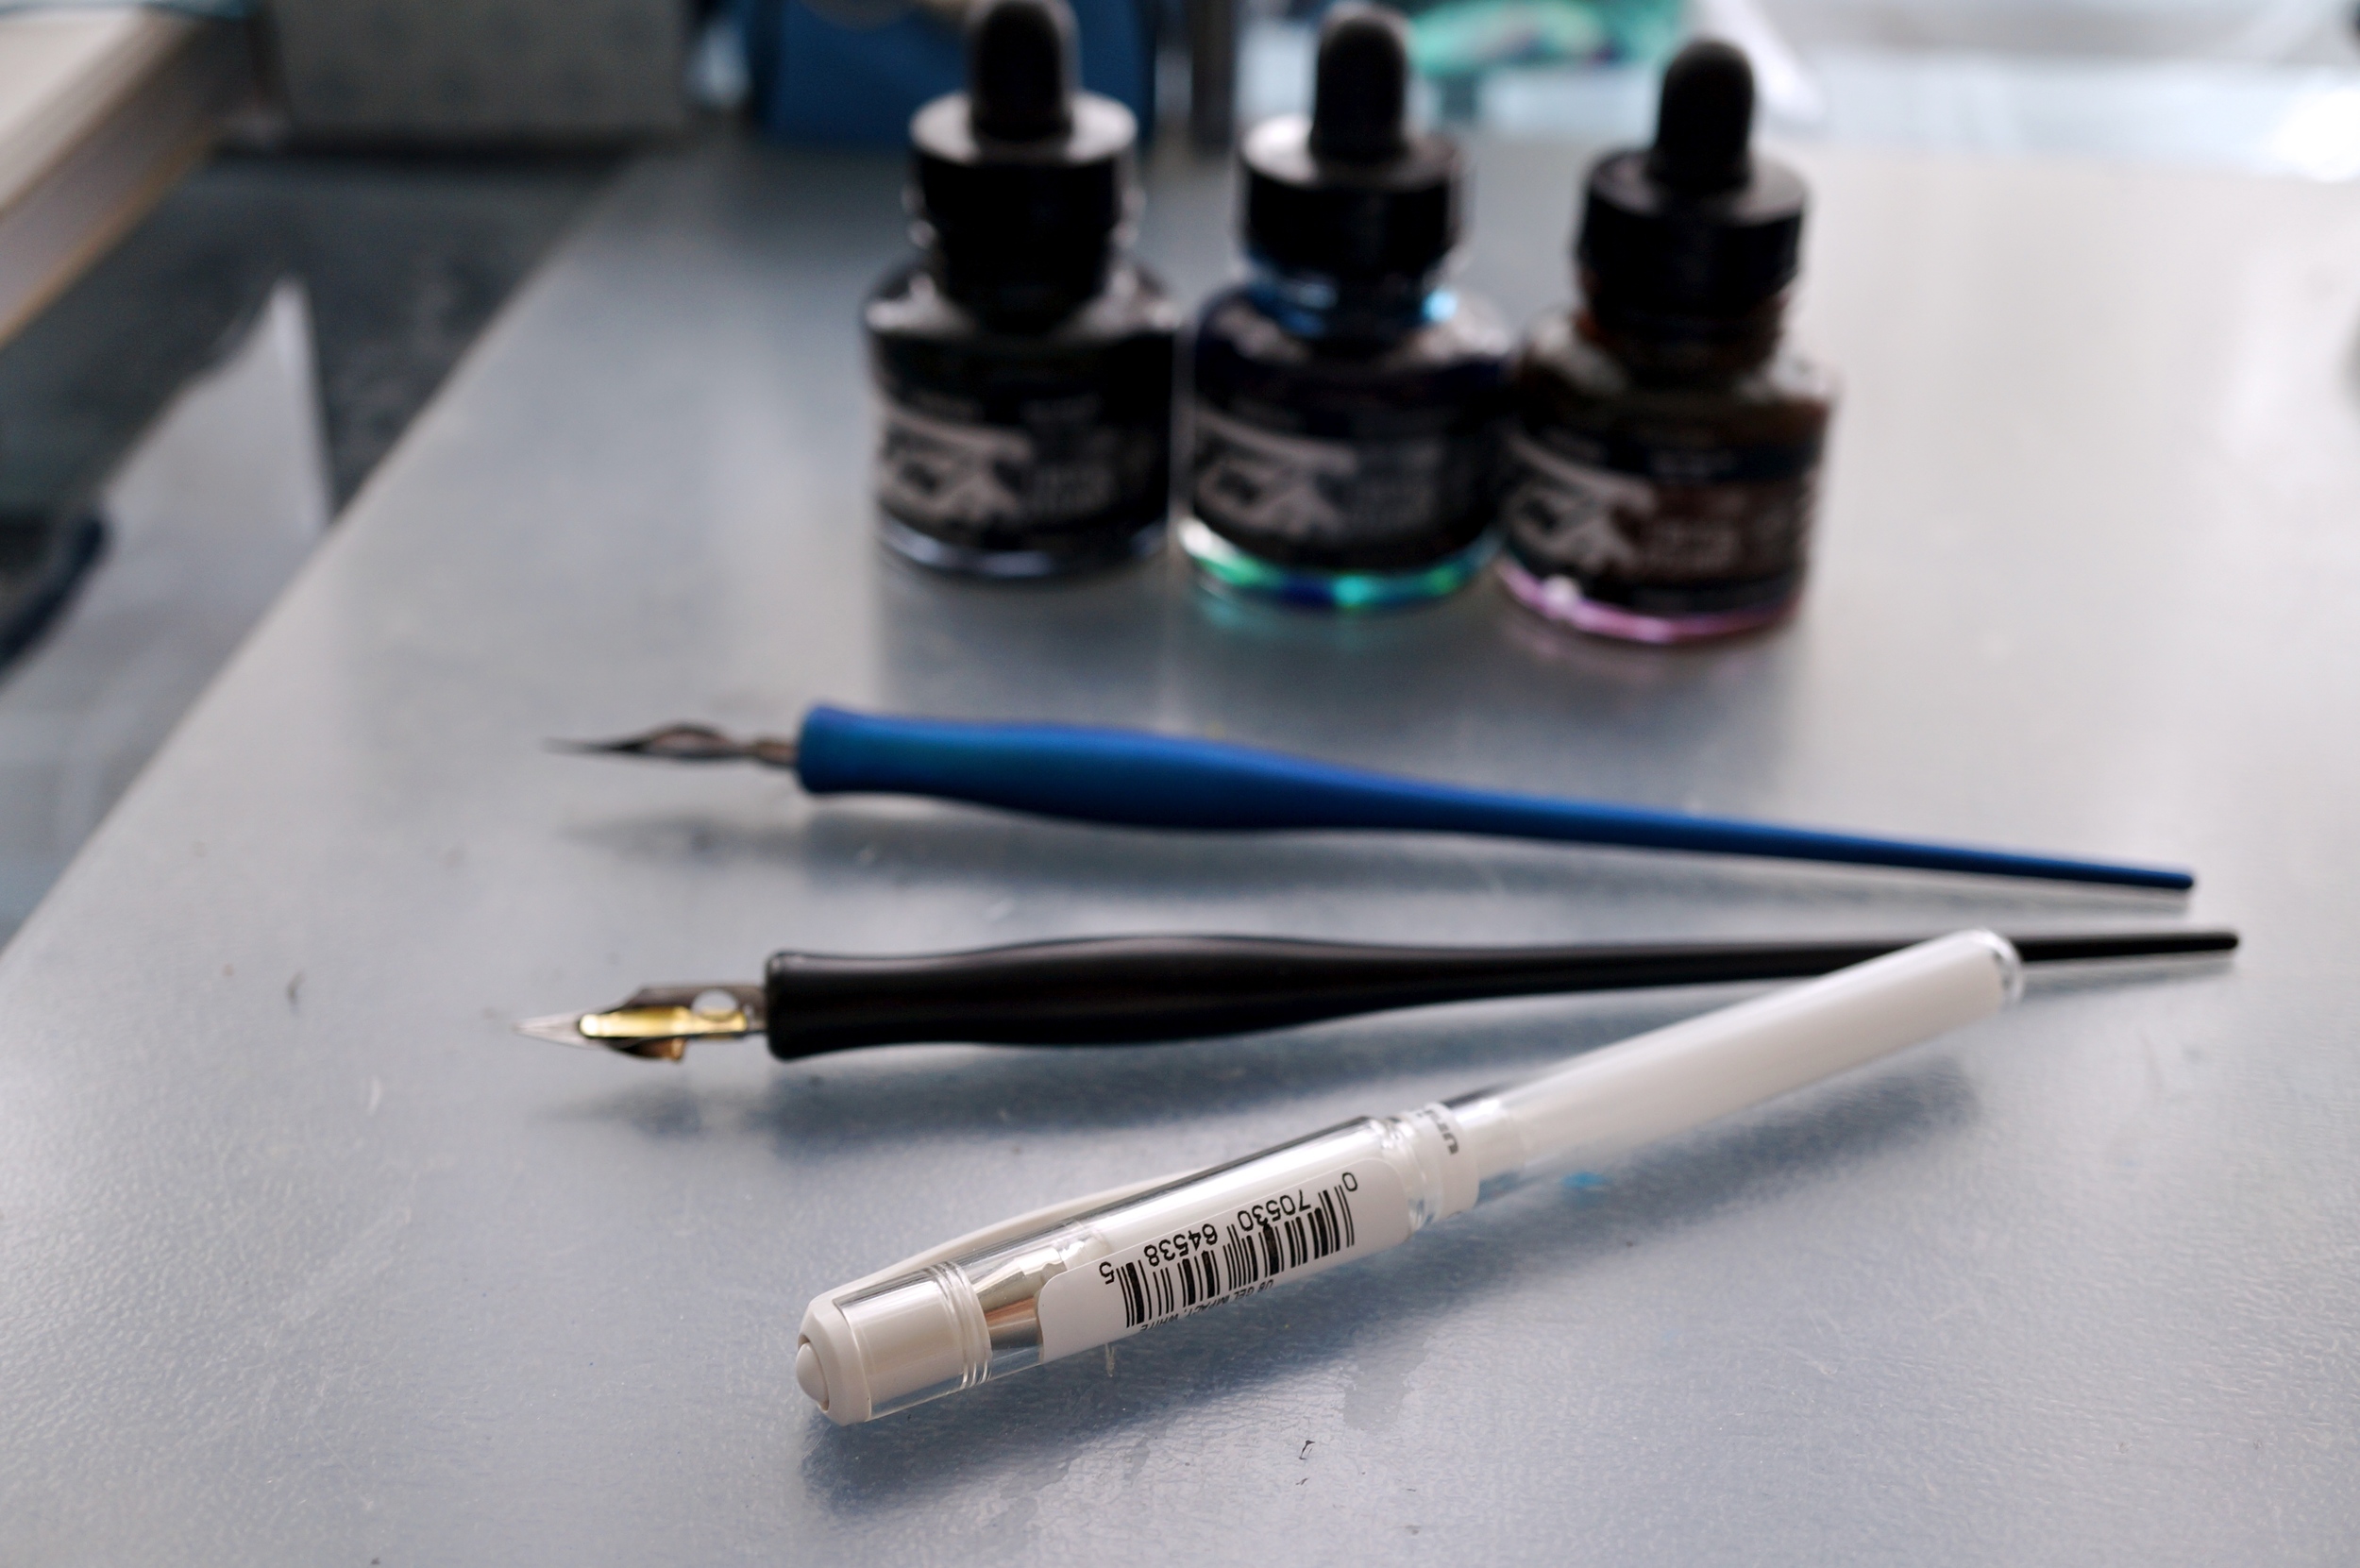
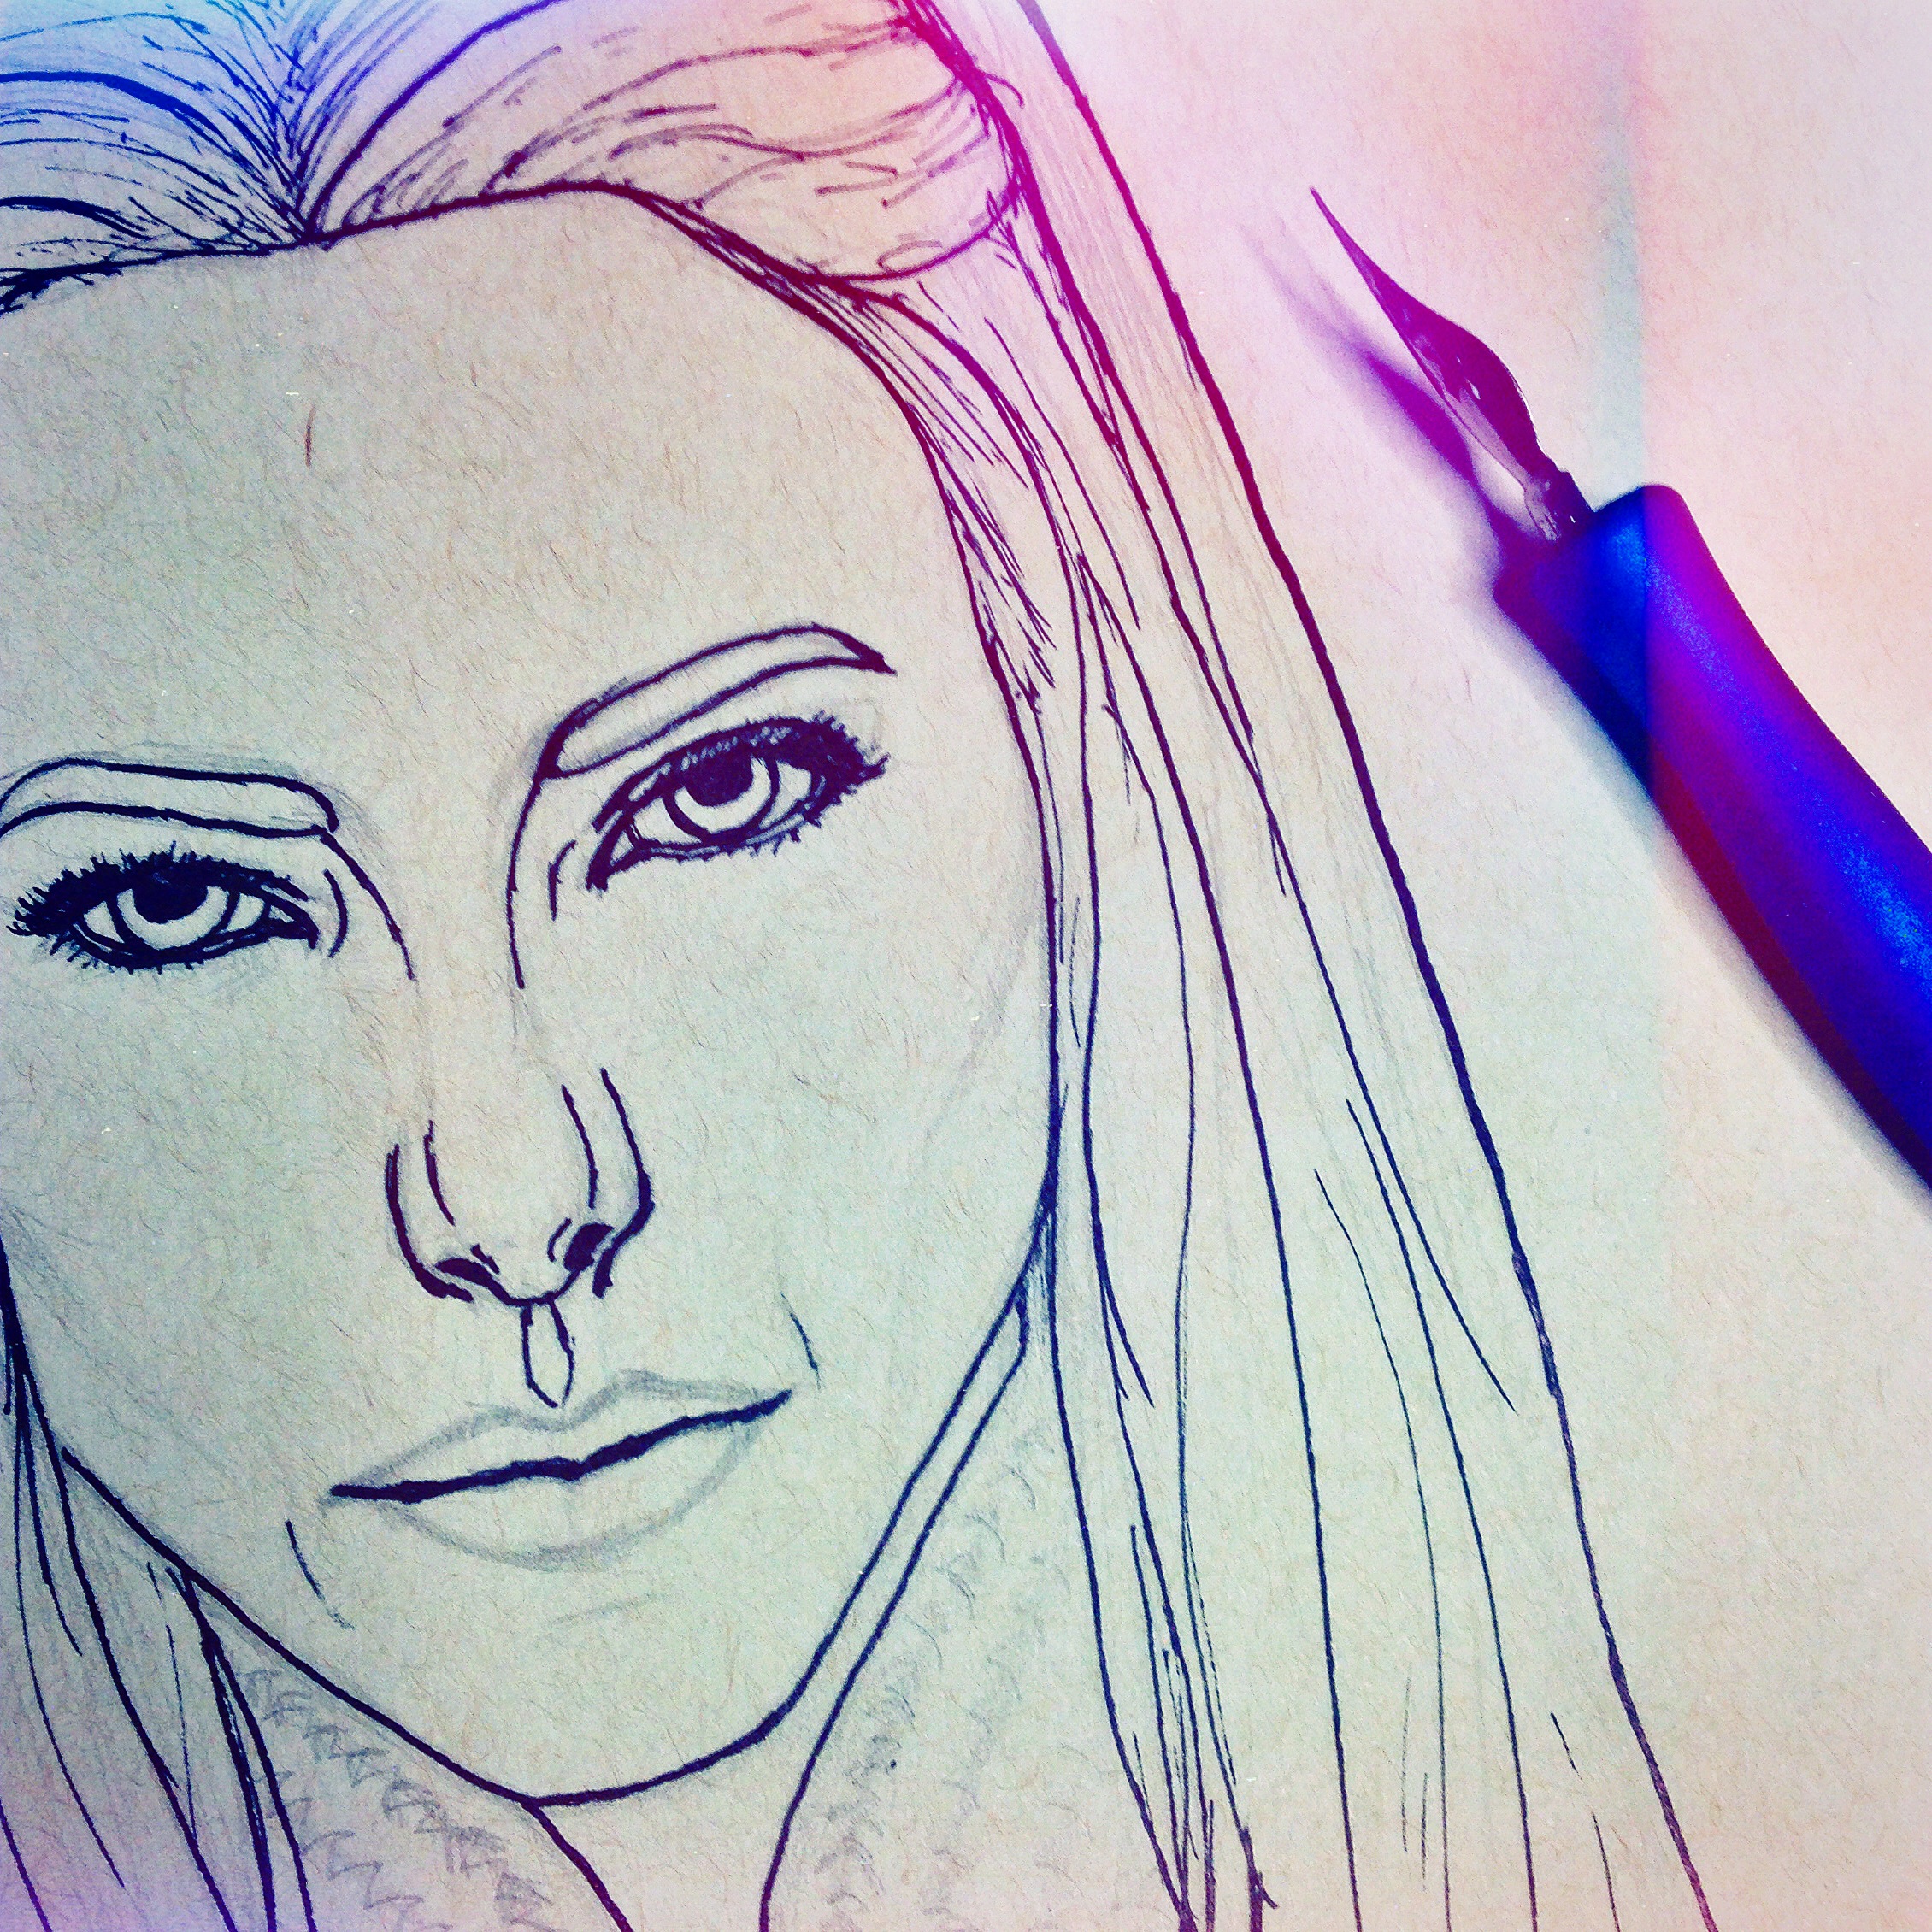
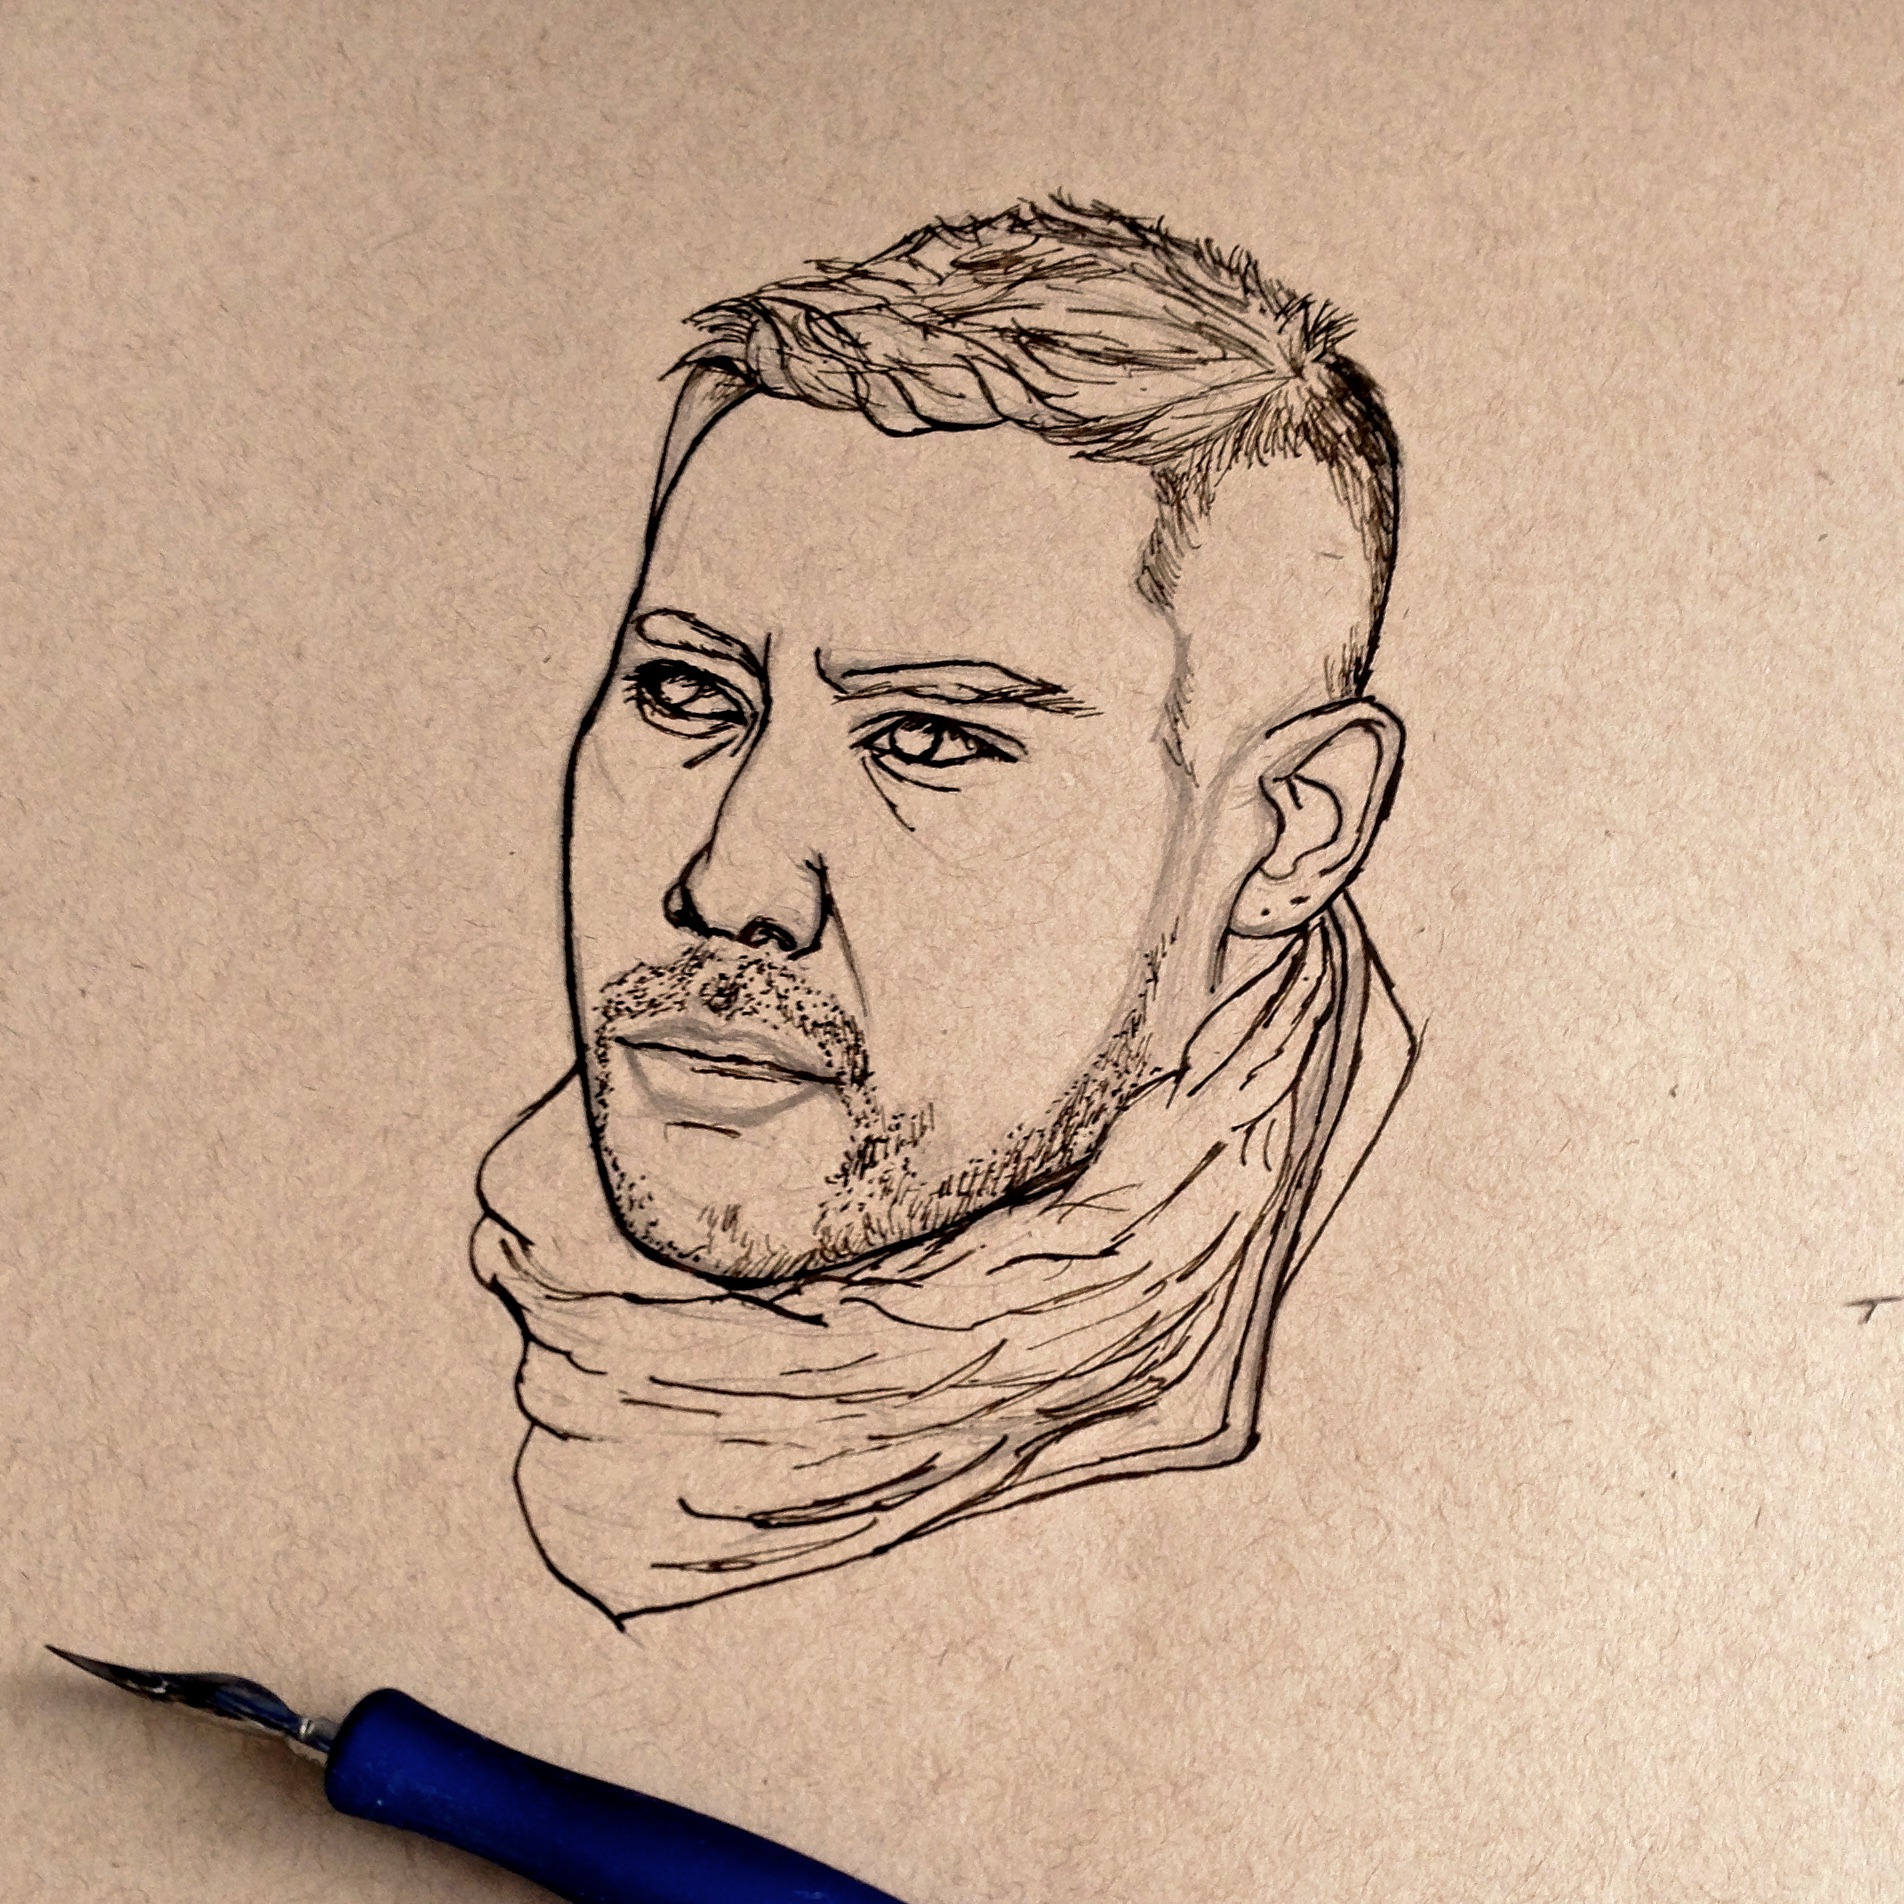
The sketches were then gone over with acrylic ink, either in indigo or sepia (depending on paper colour) using a fine nib.


Colouring the illustrations was done using Prismacolor Premier coloured pencils.
Once the illustrations had been coloured, strong highlights were added using a white gel pen.
The outline of the illustrations were then gone over with acrylic ink using a thicker nib.

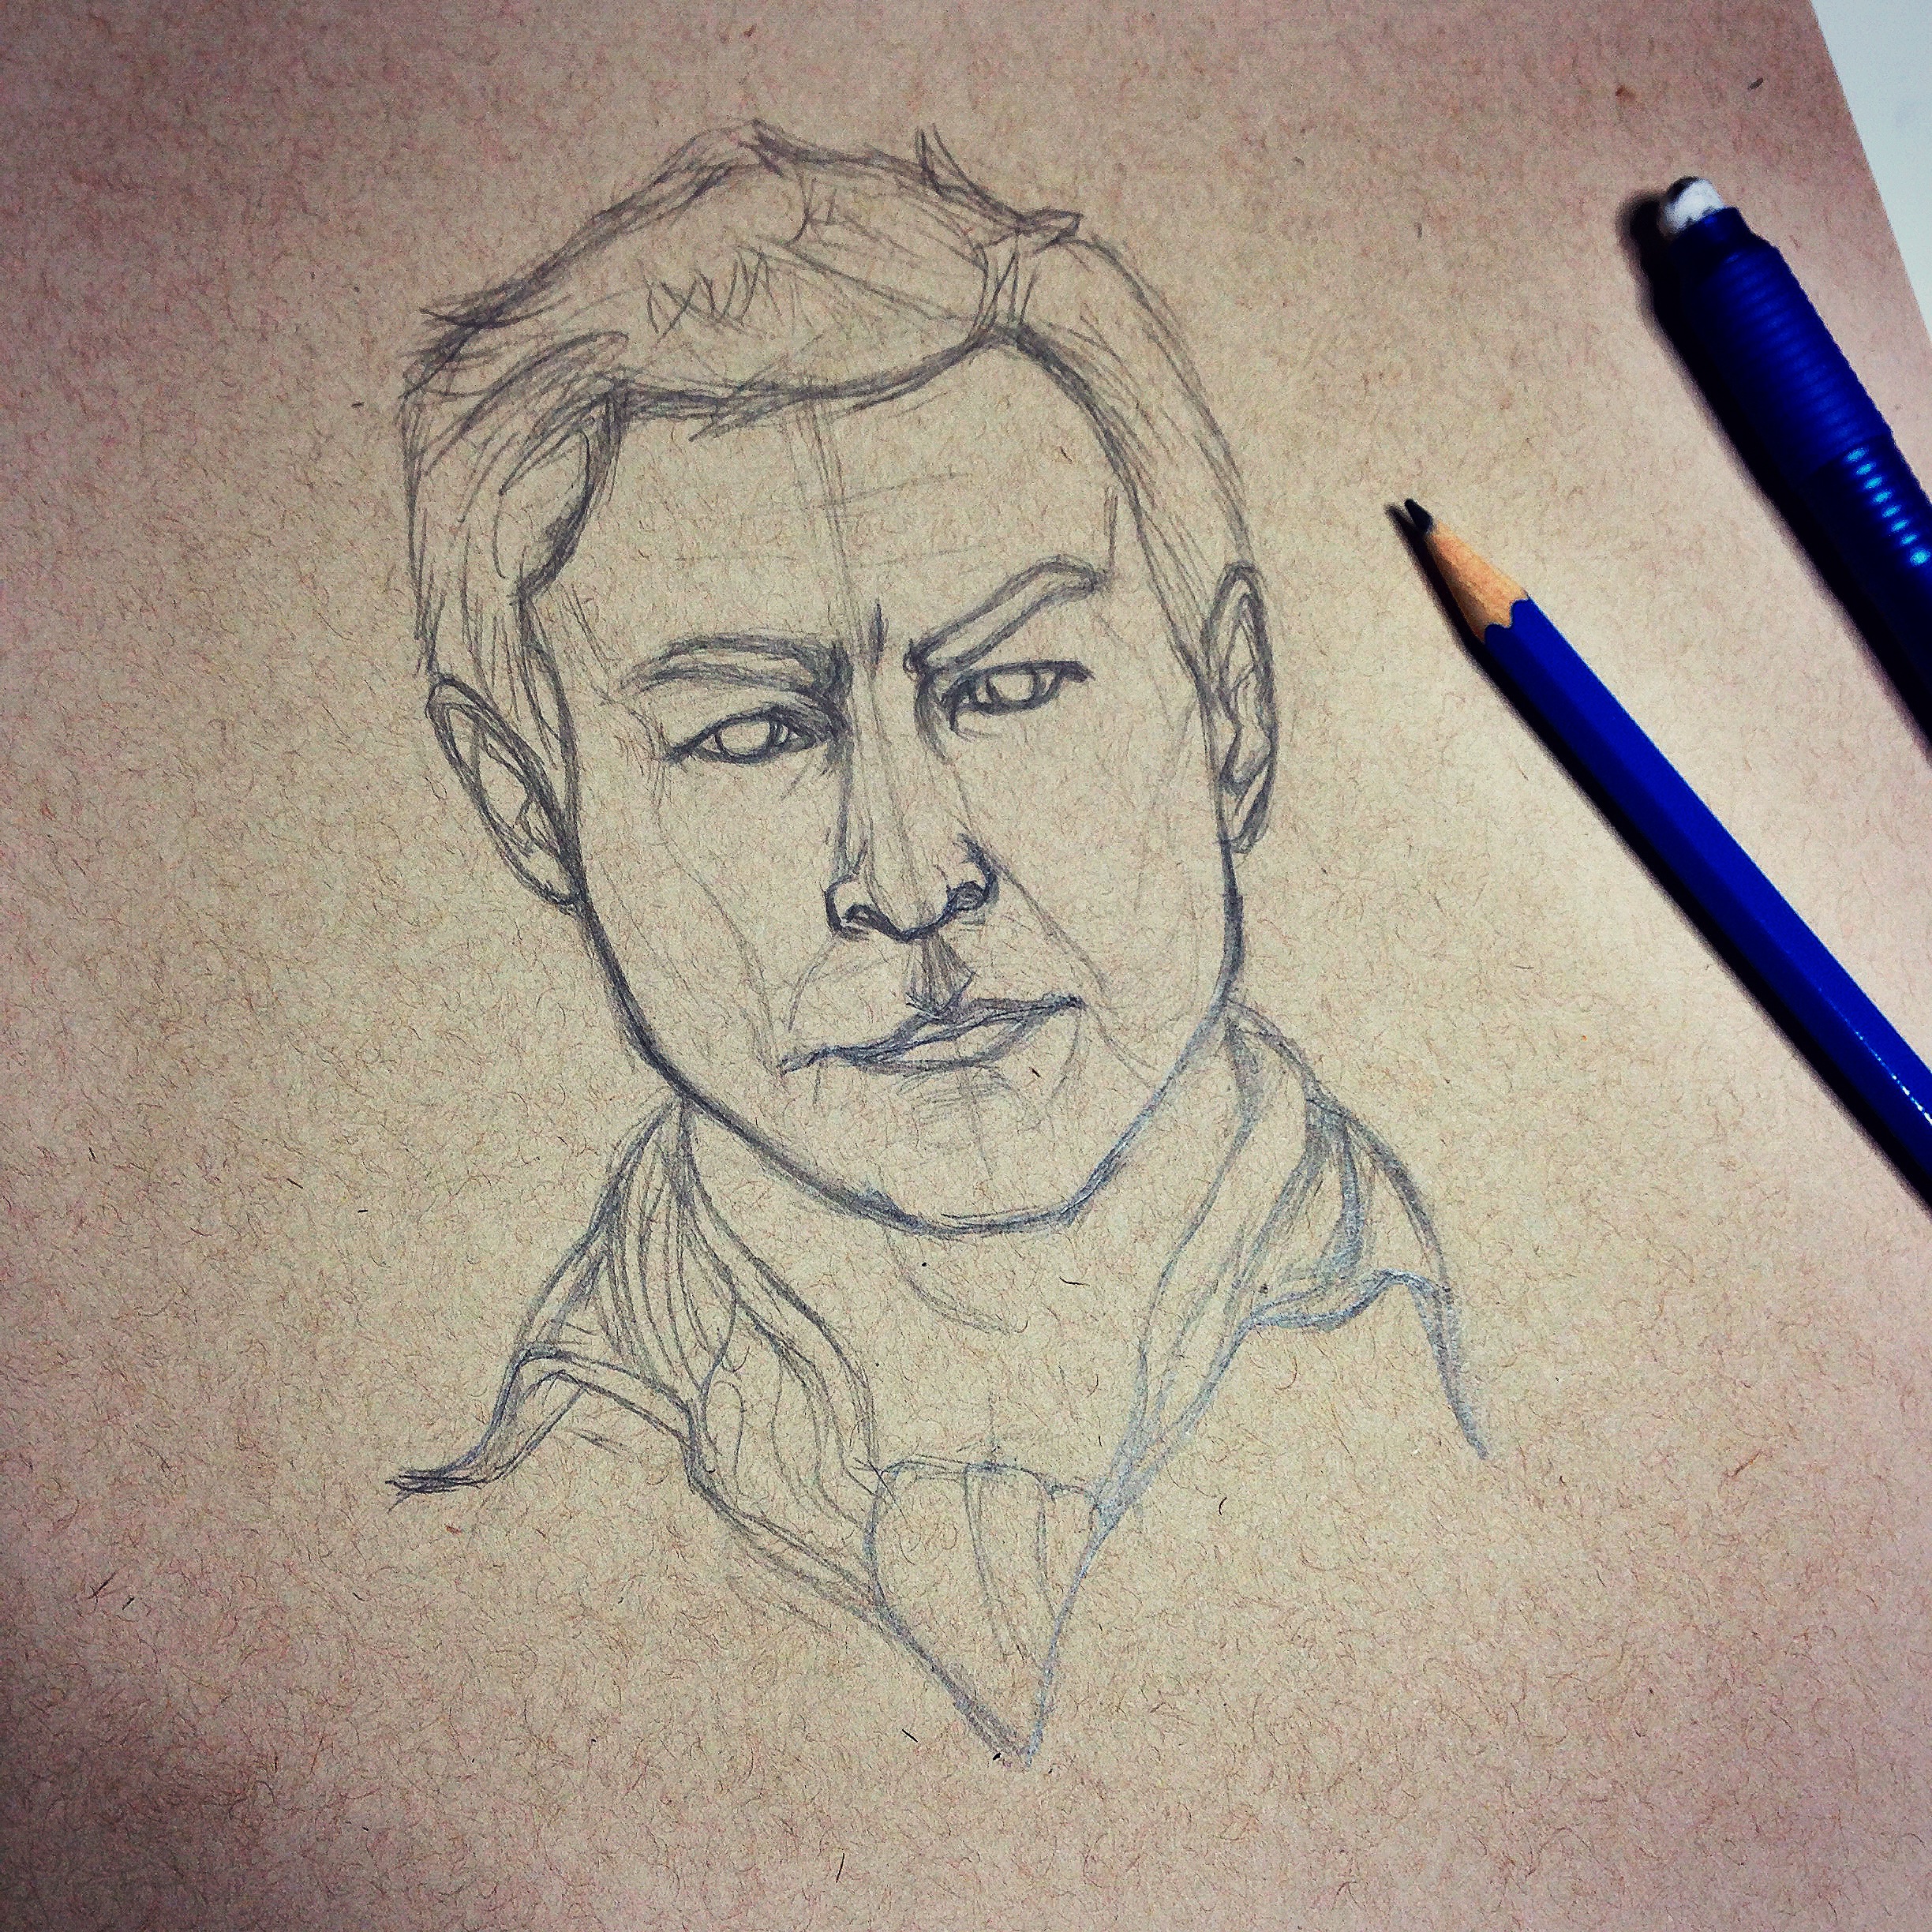
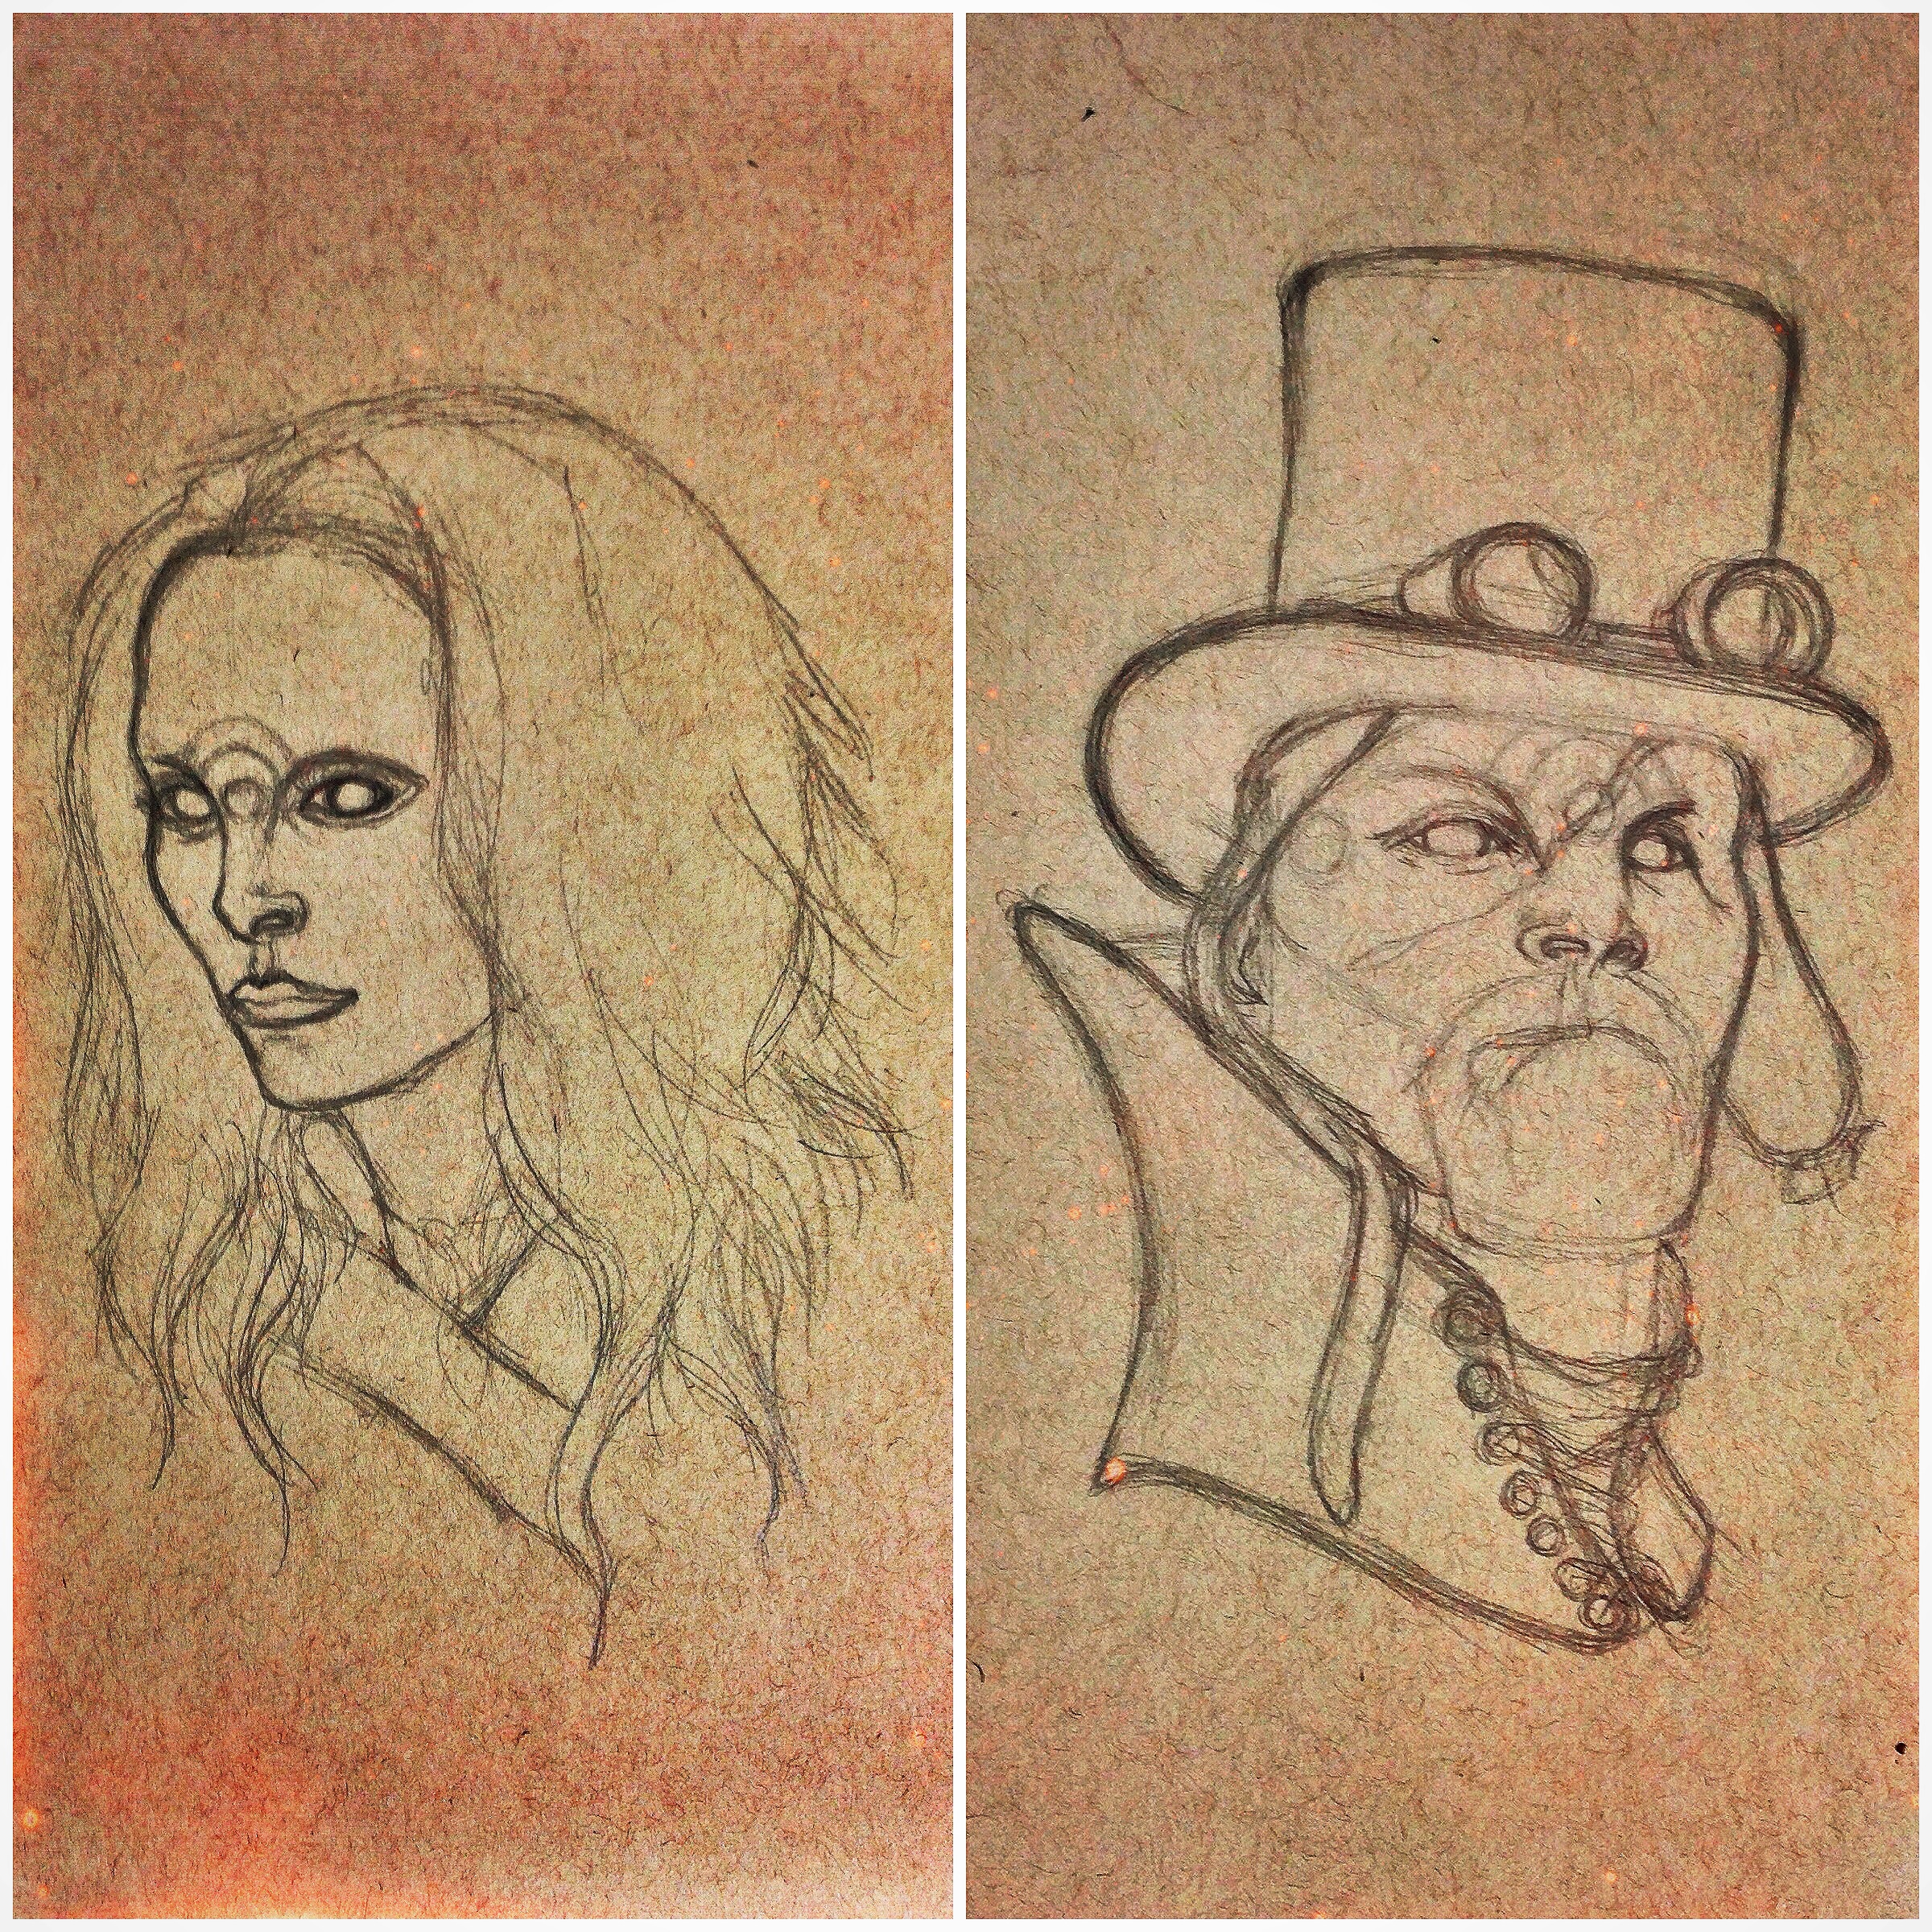
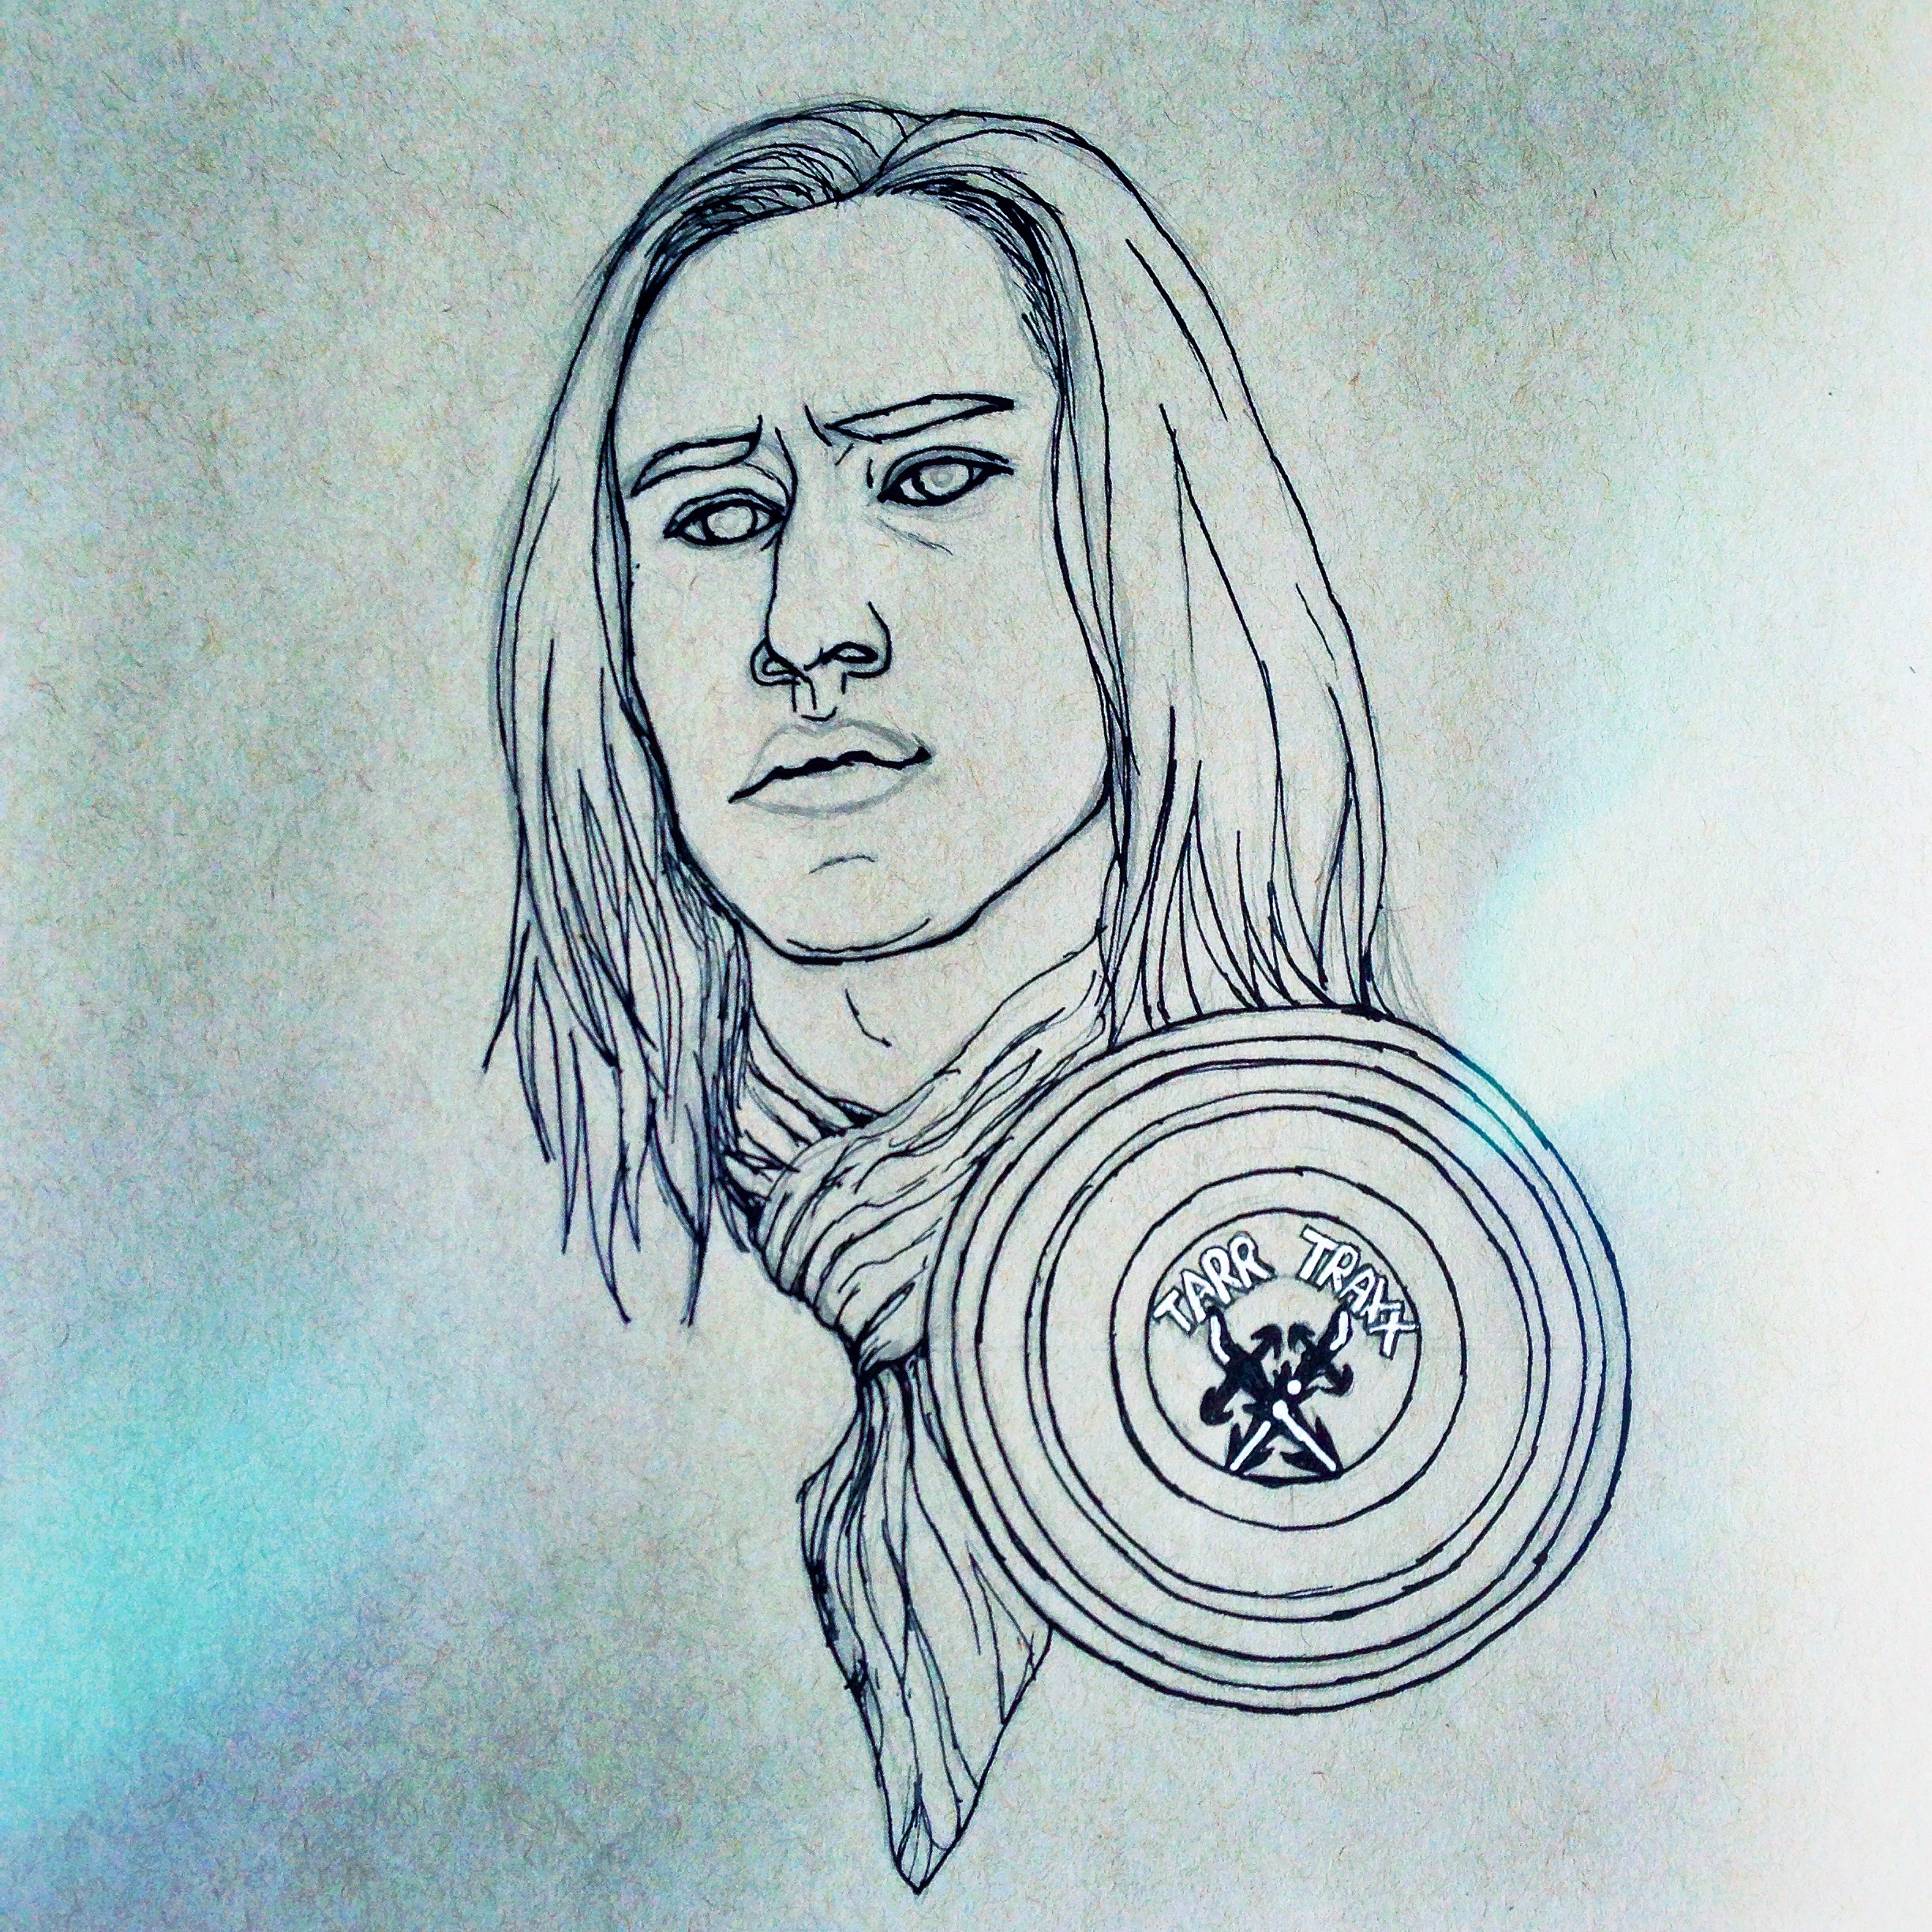
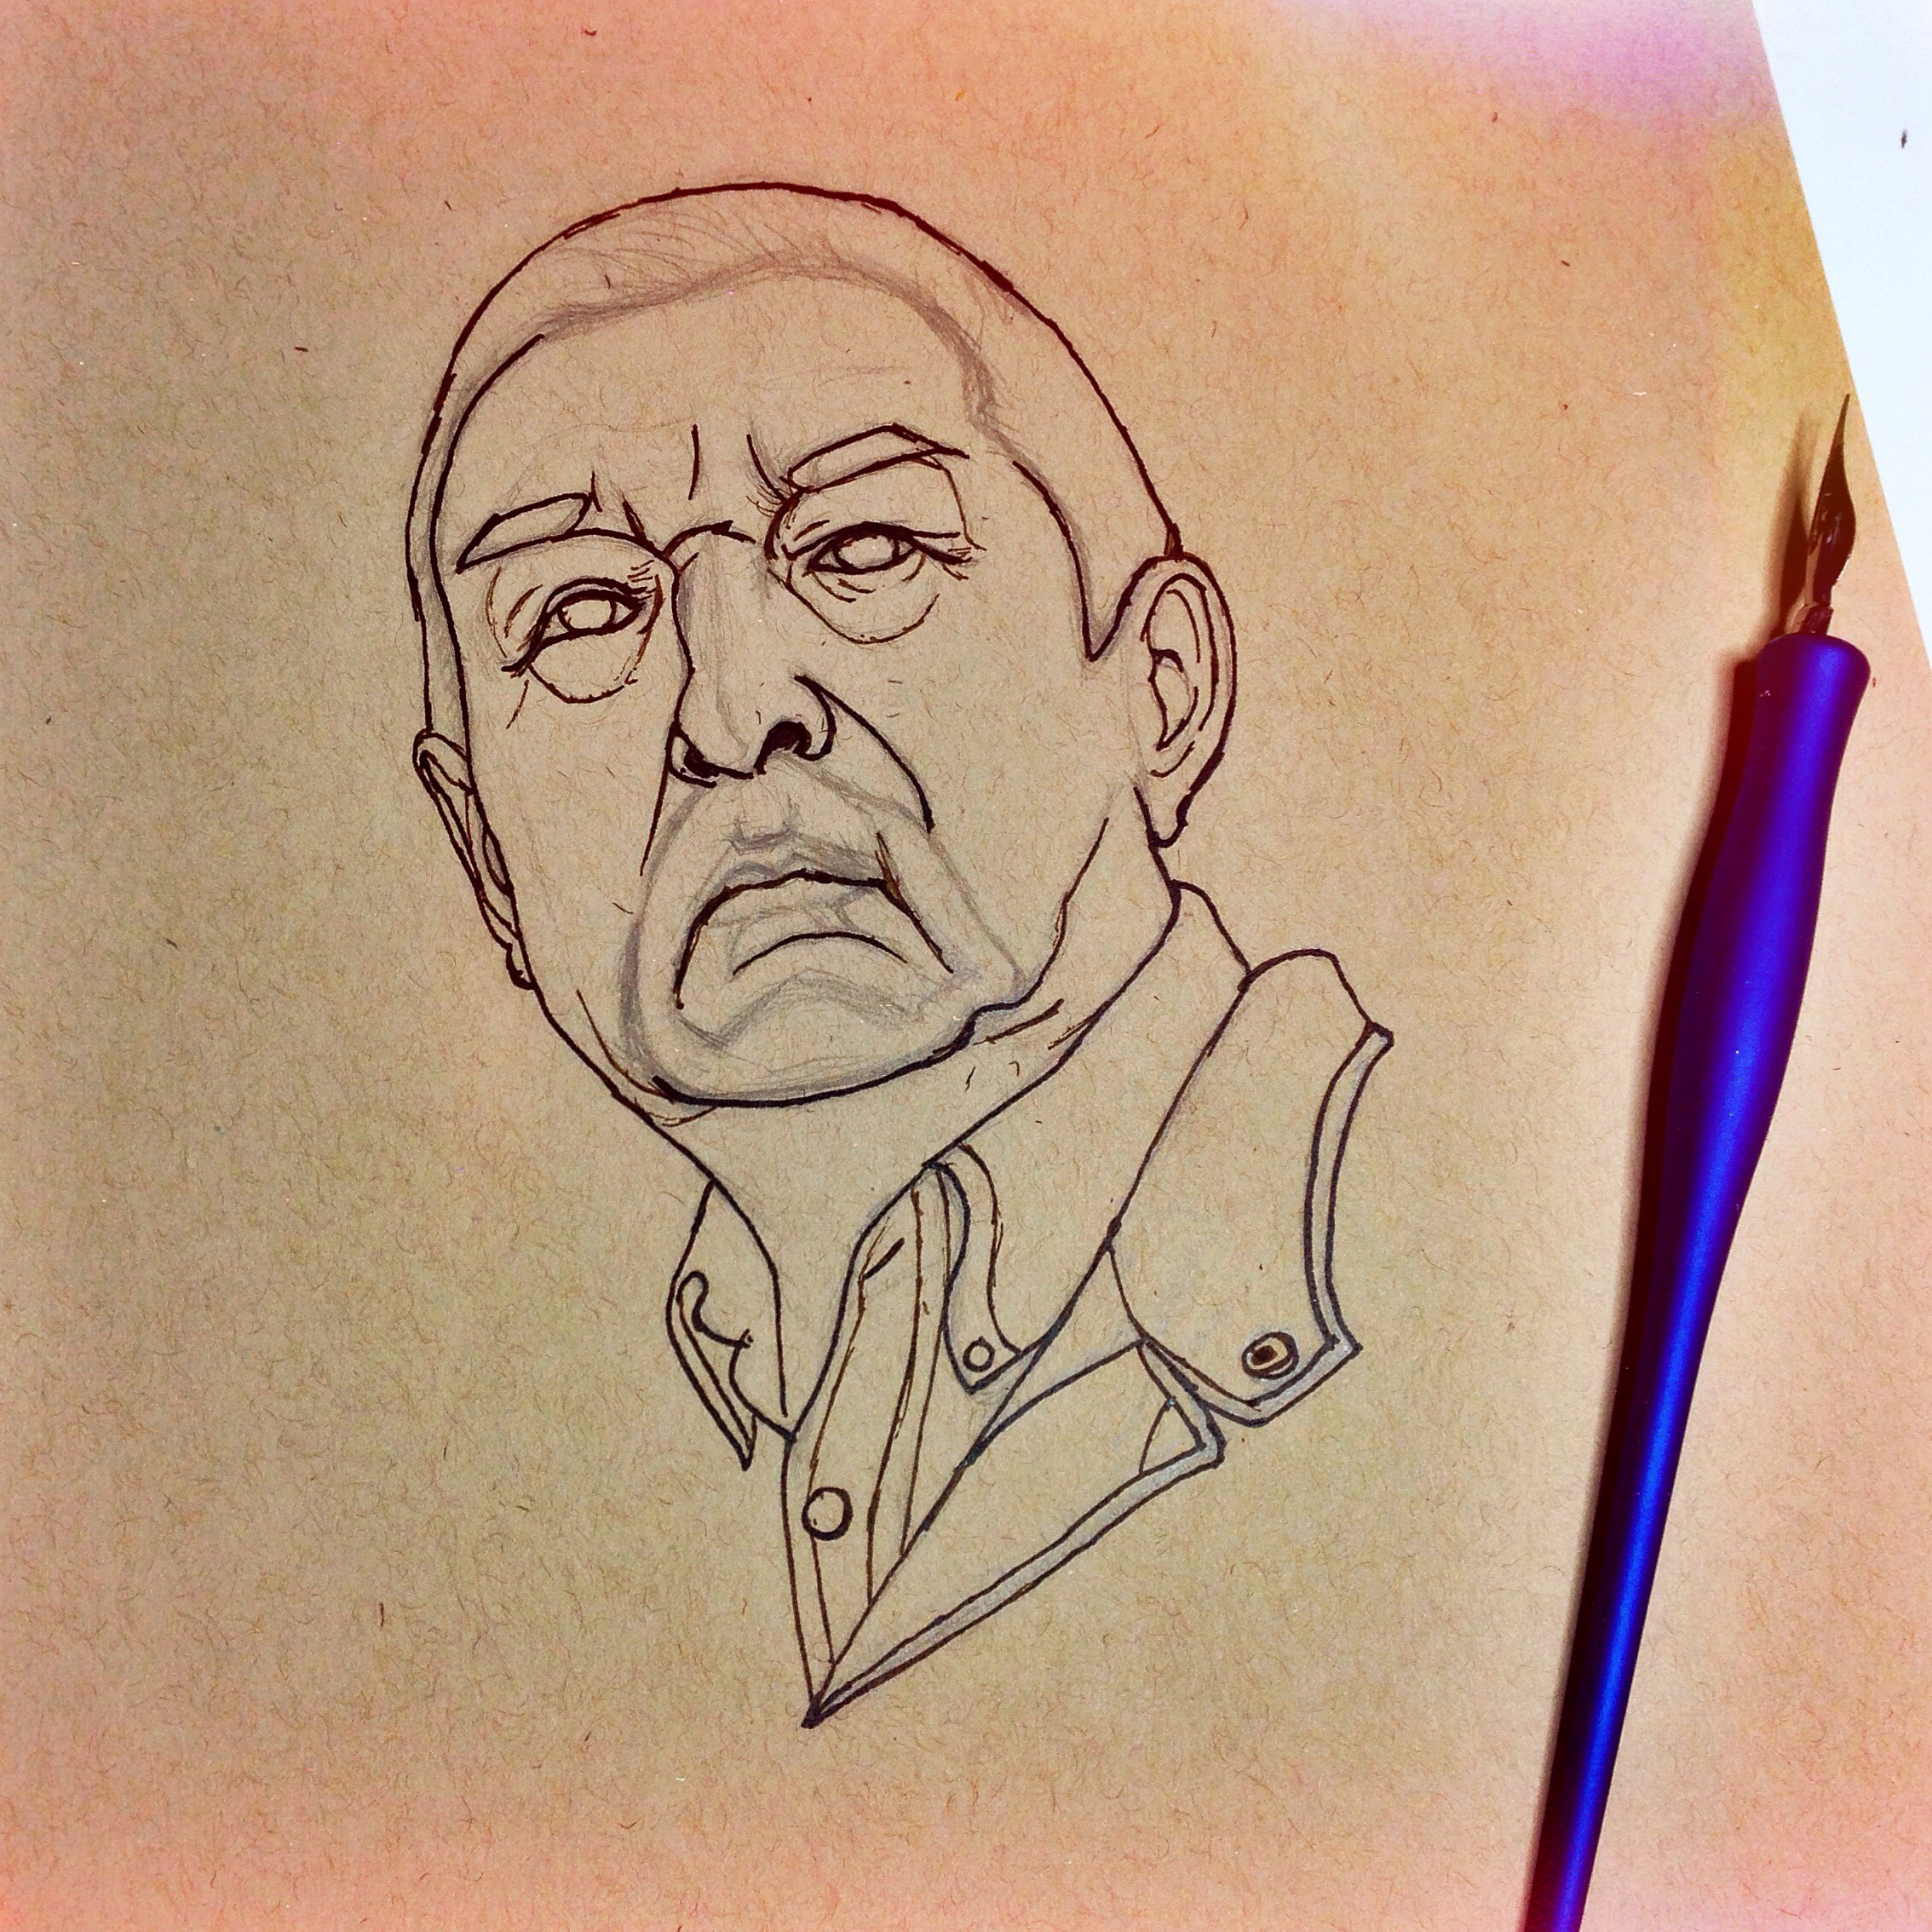
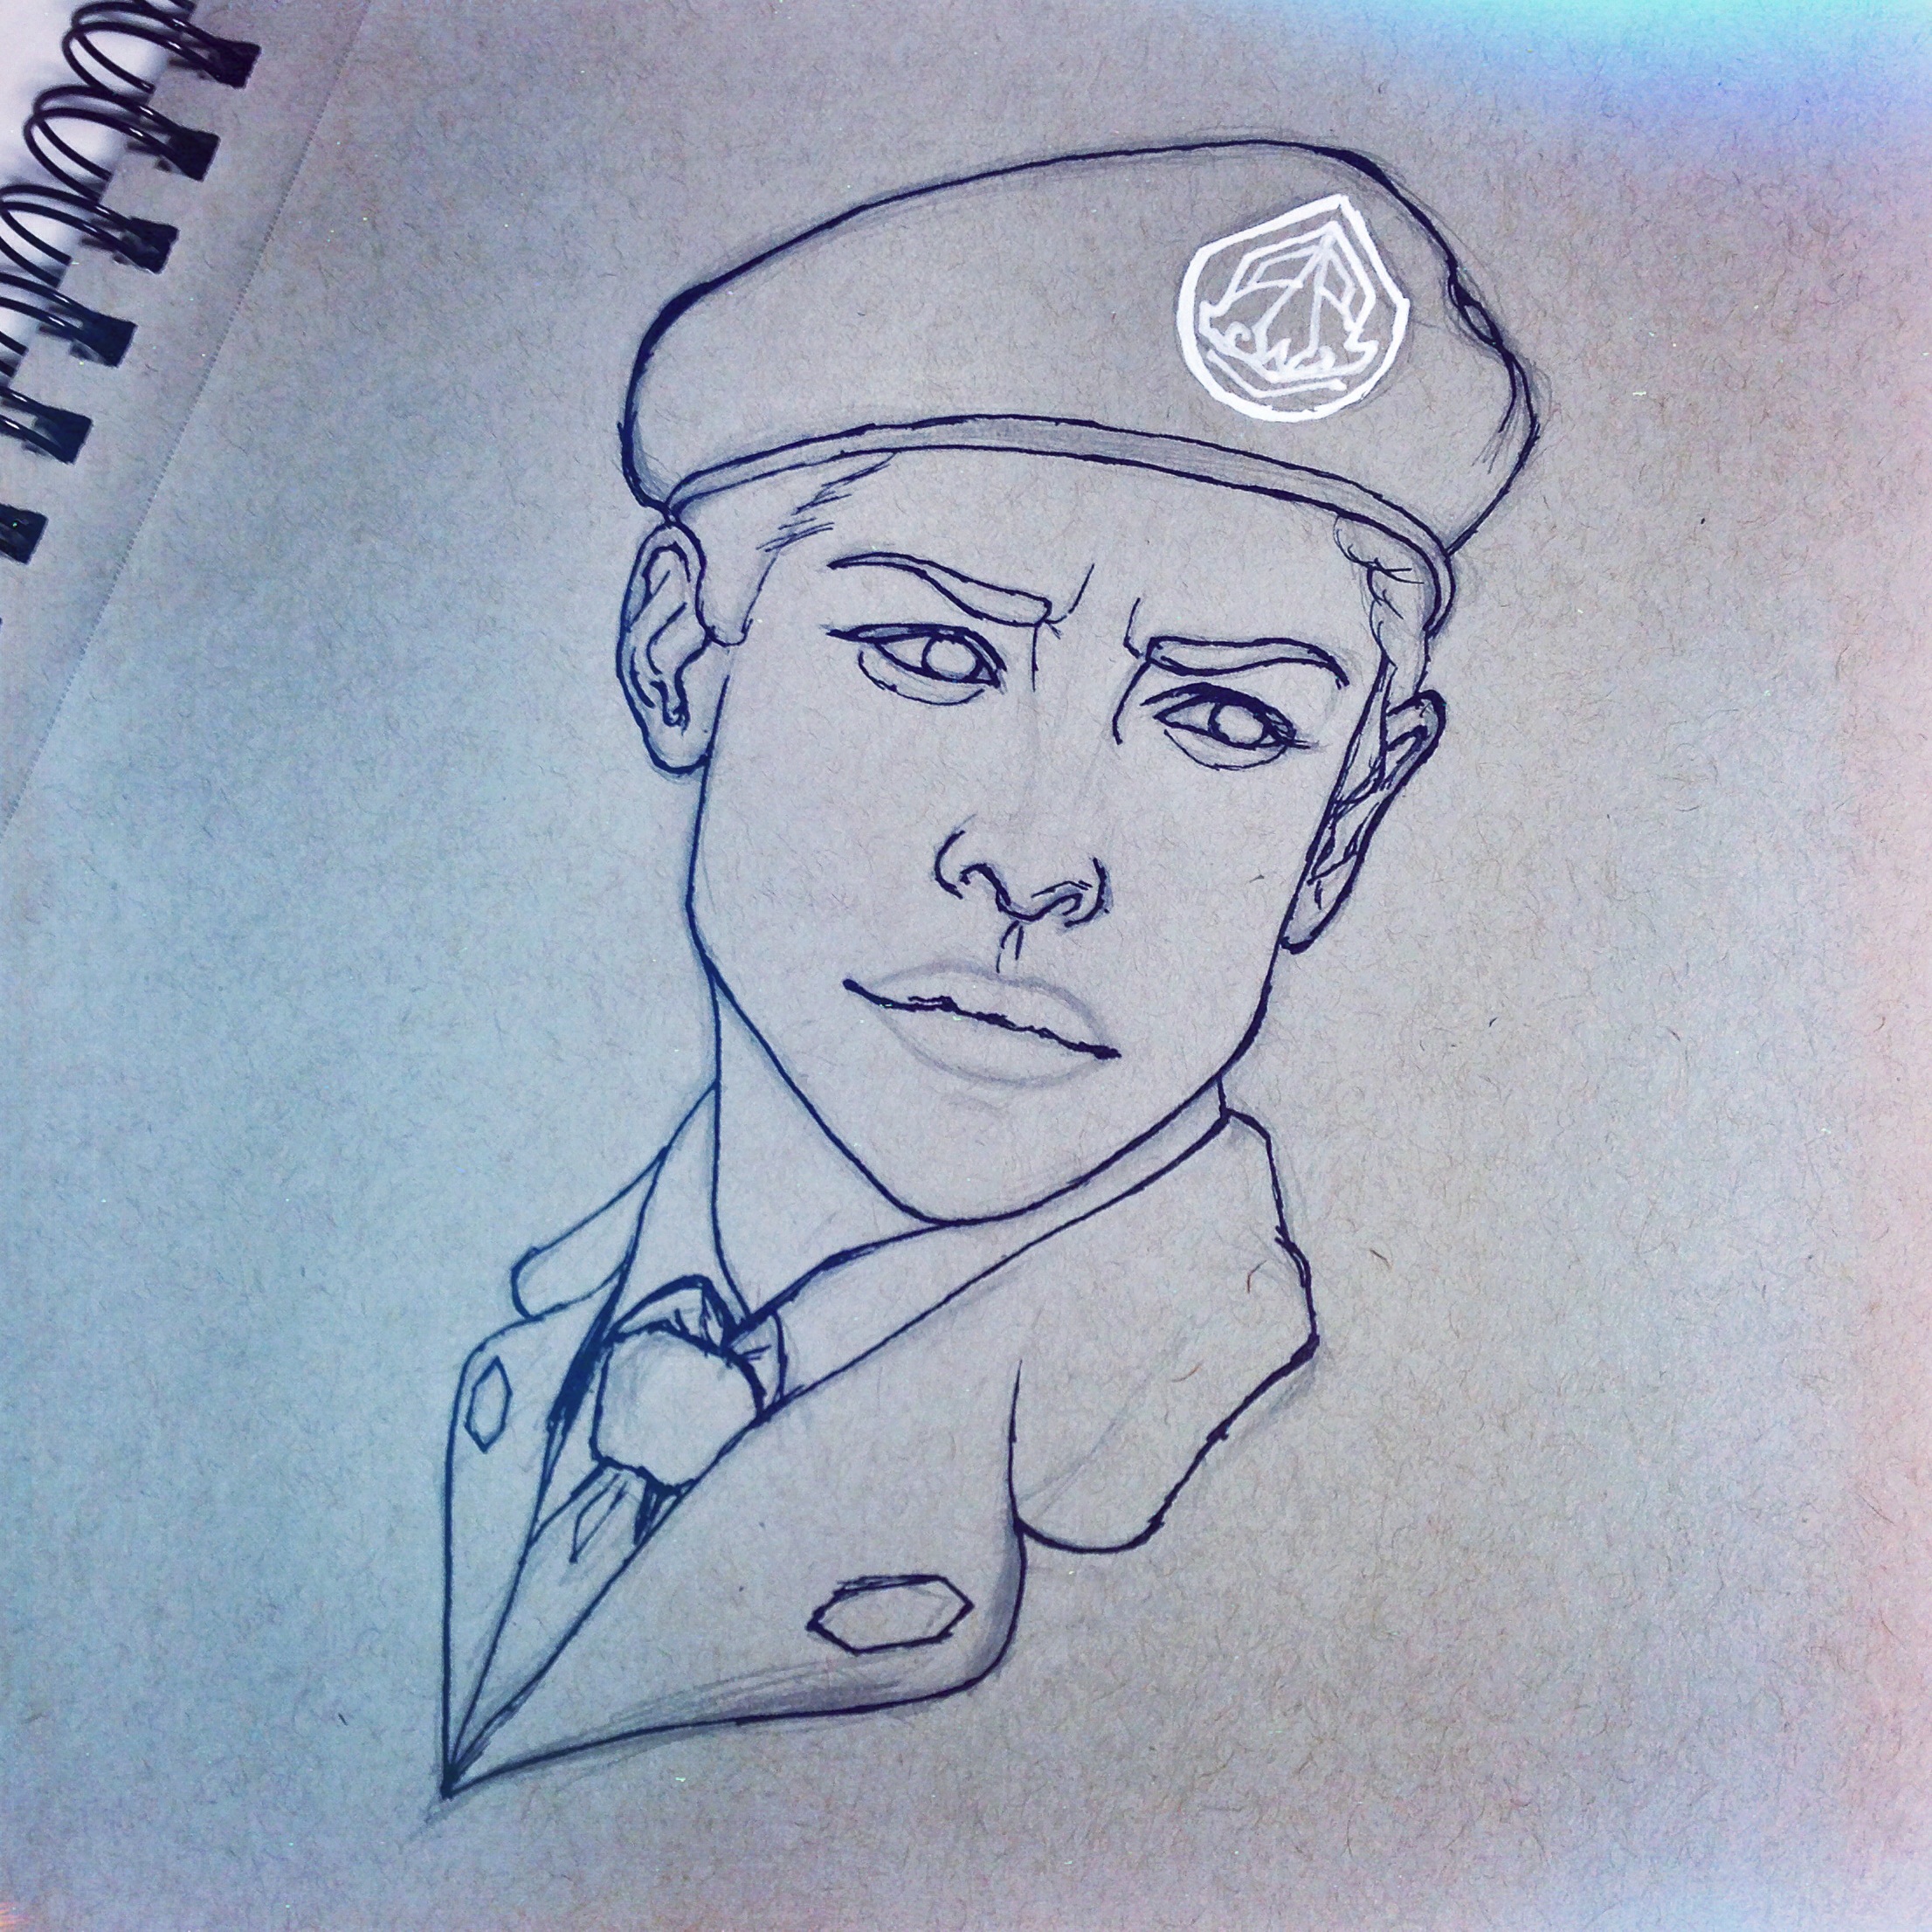
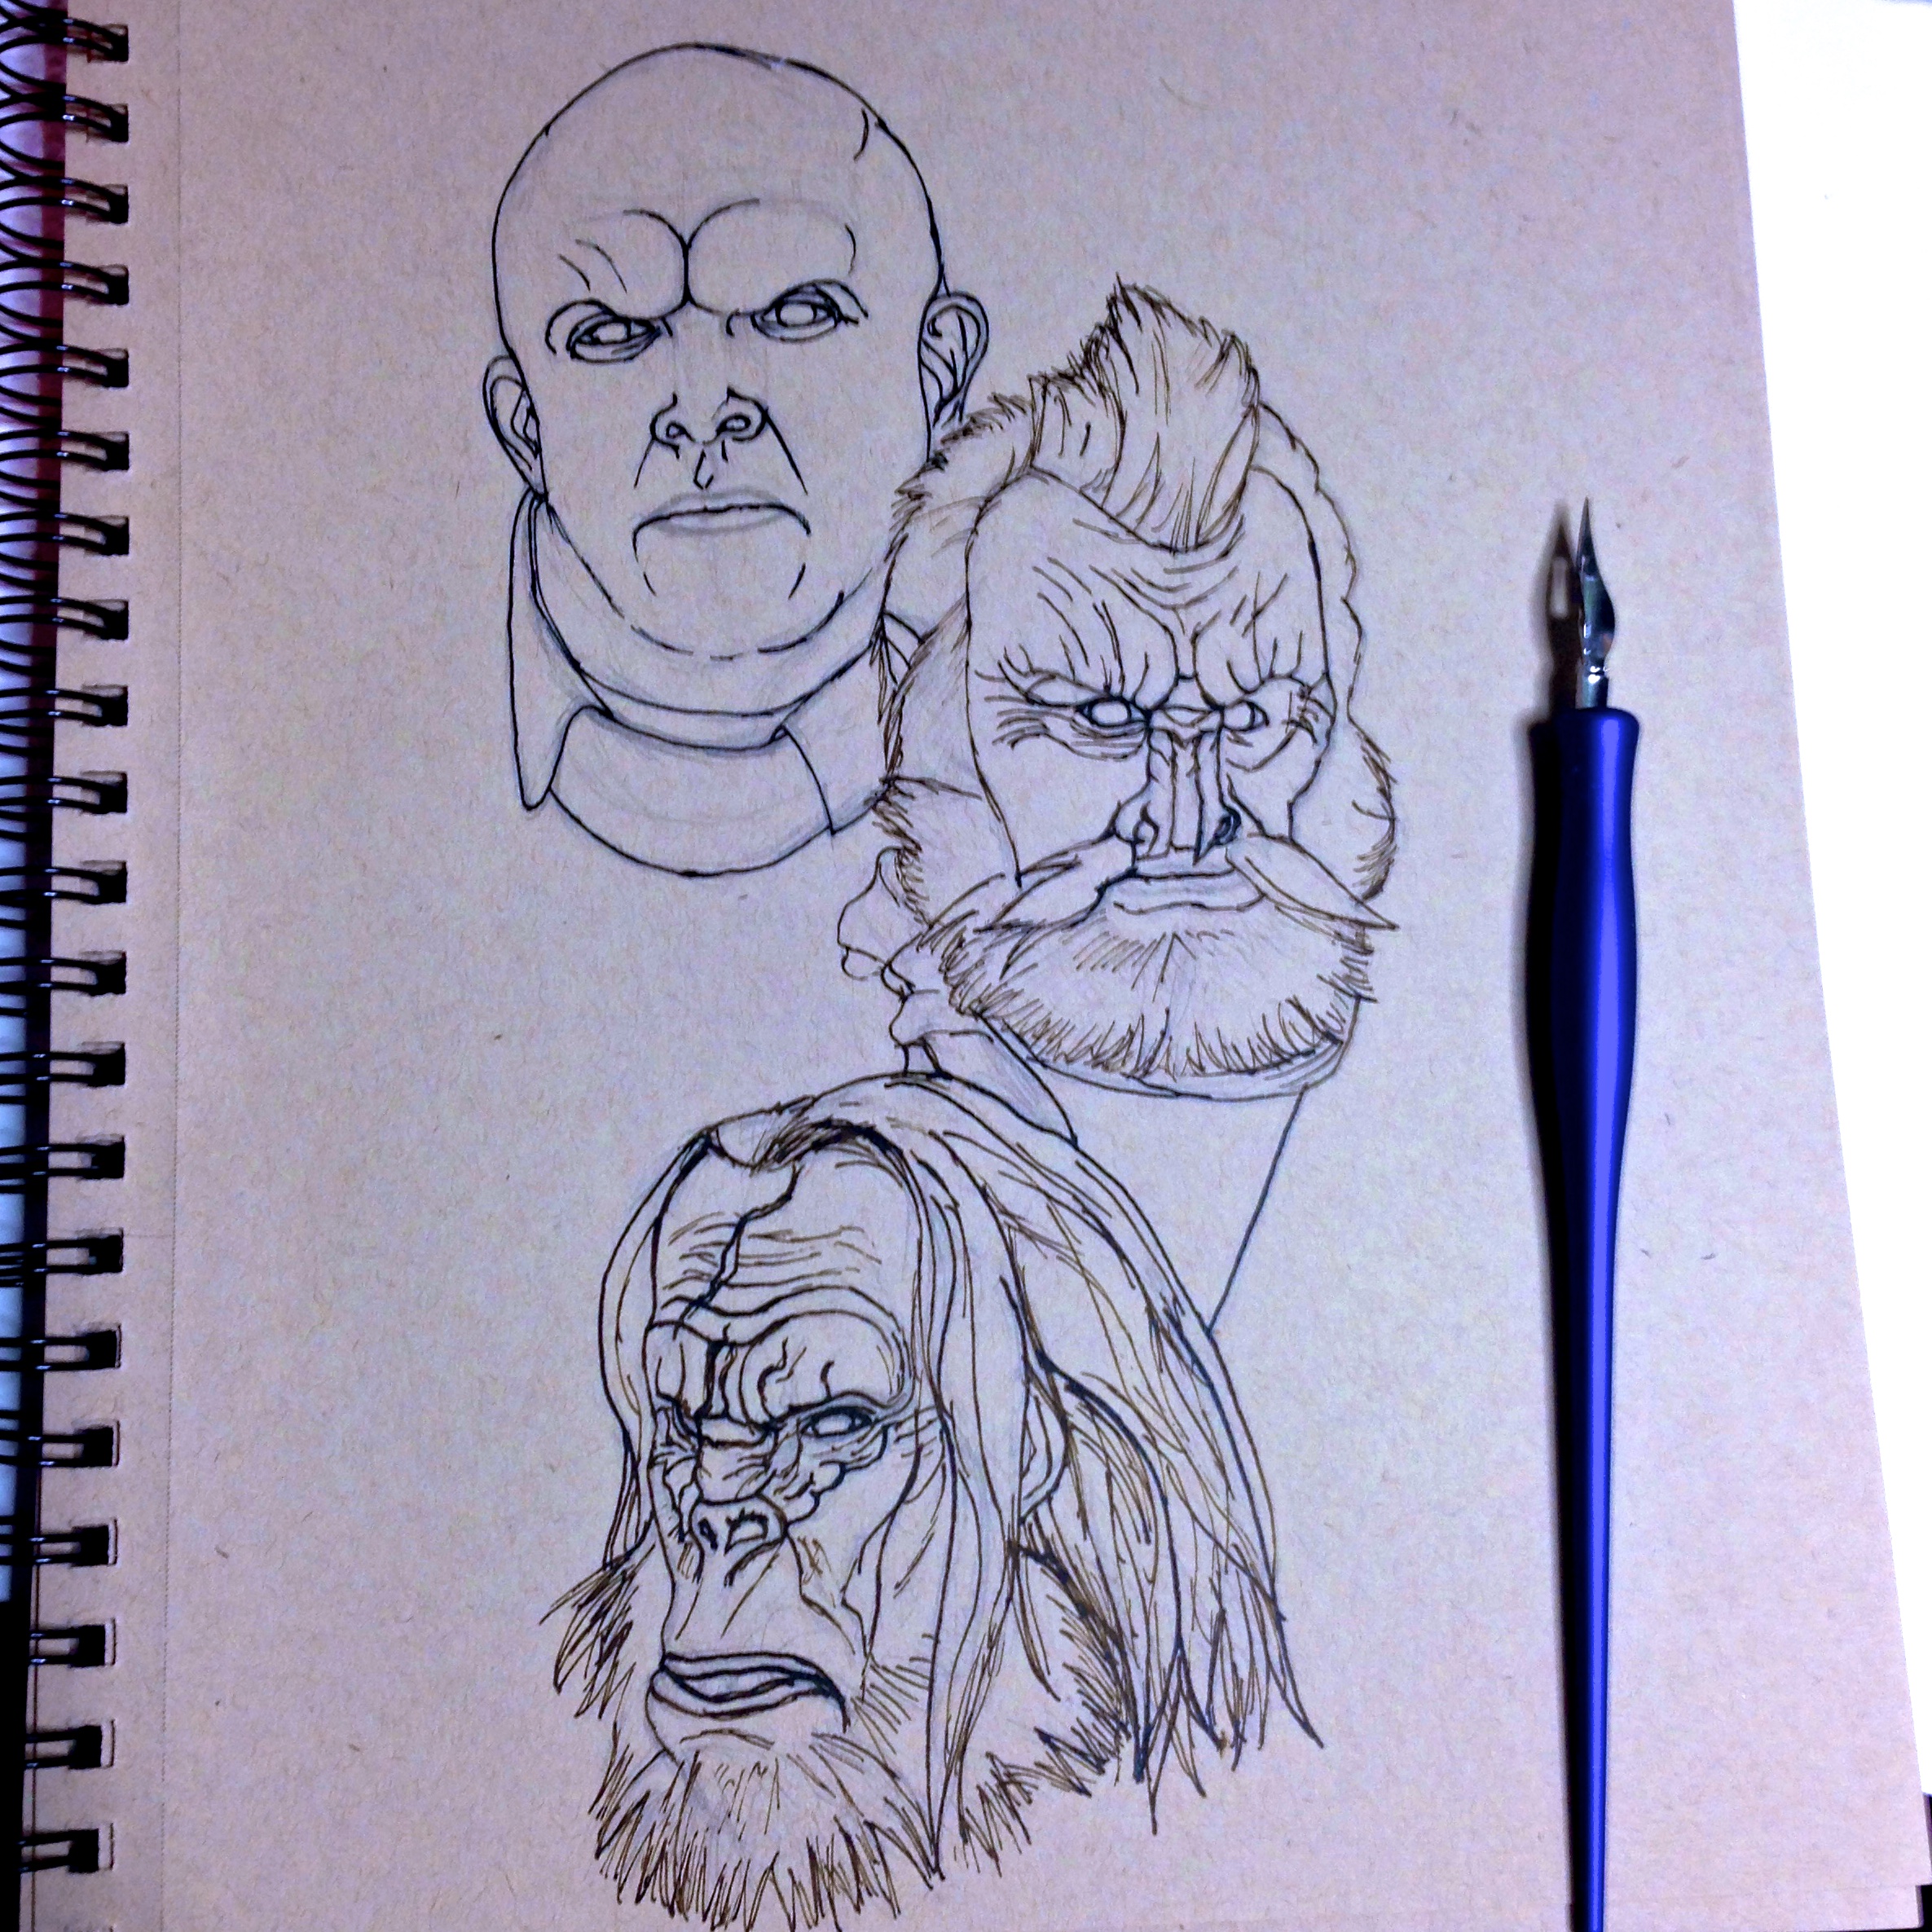
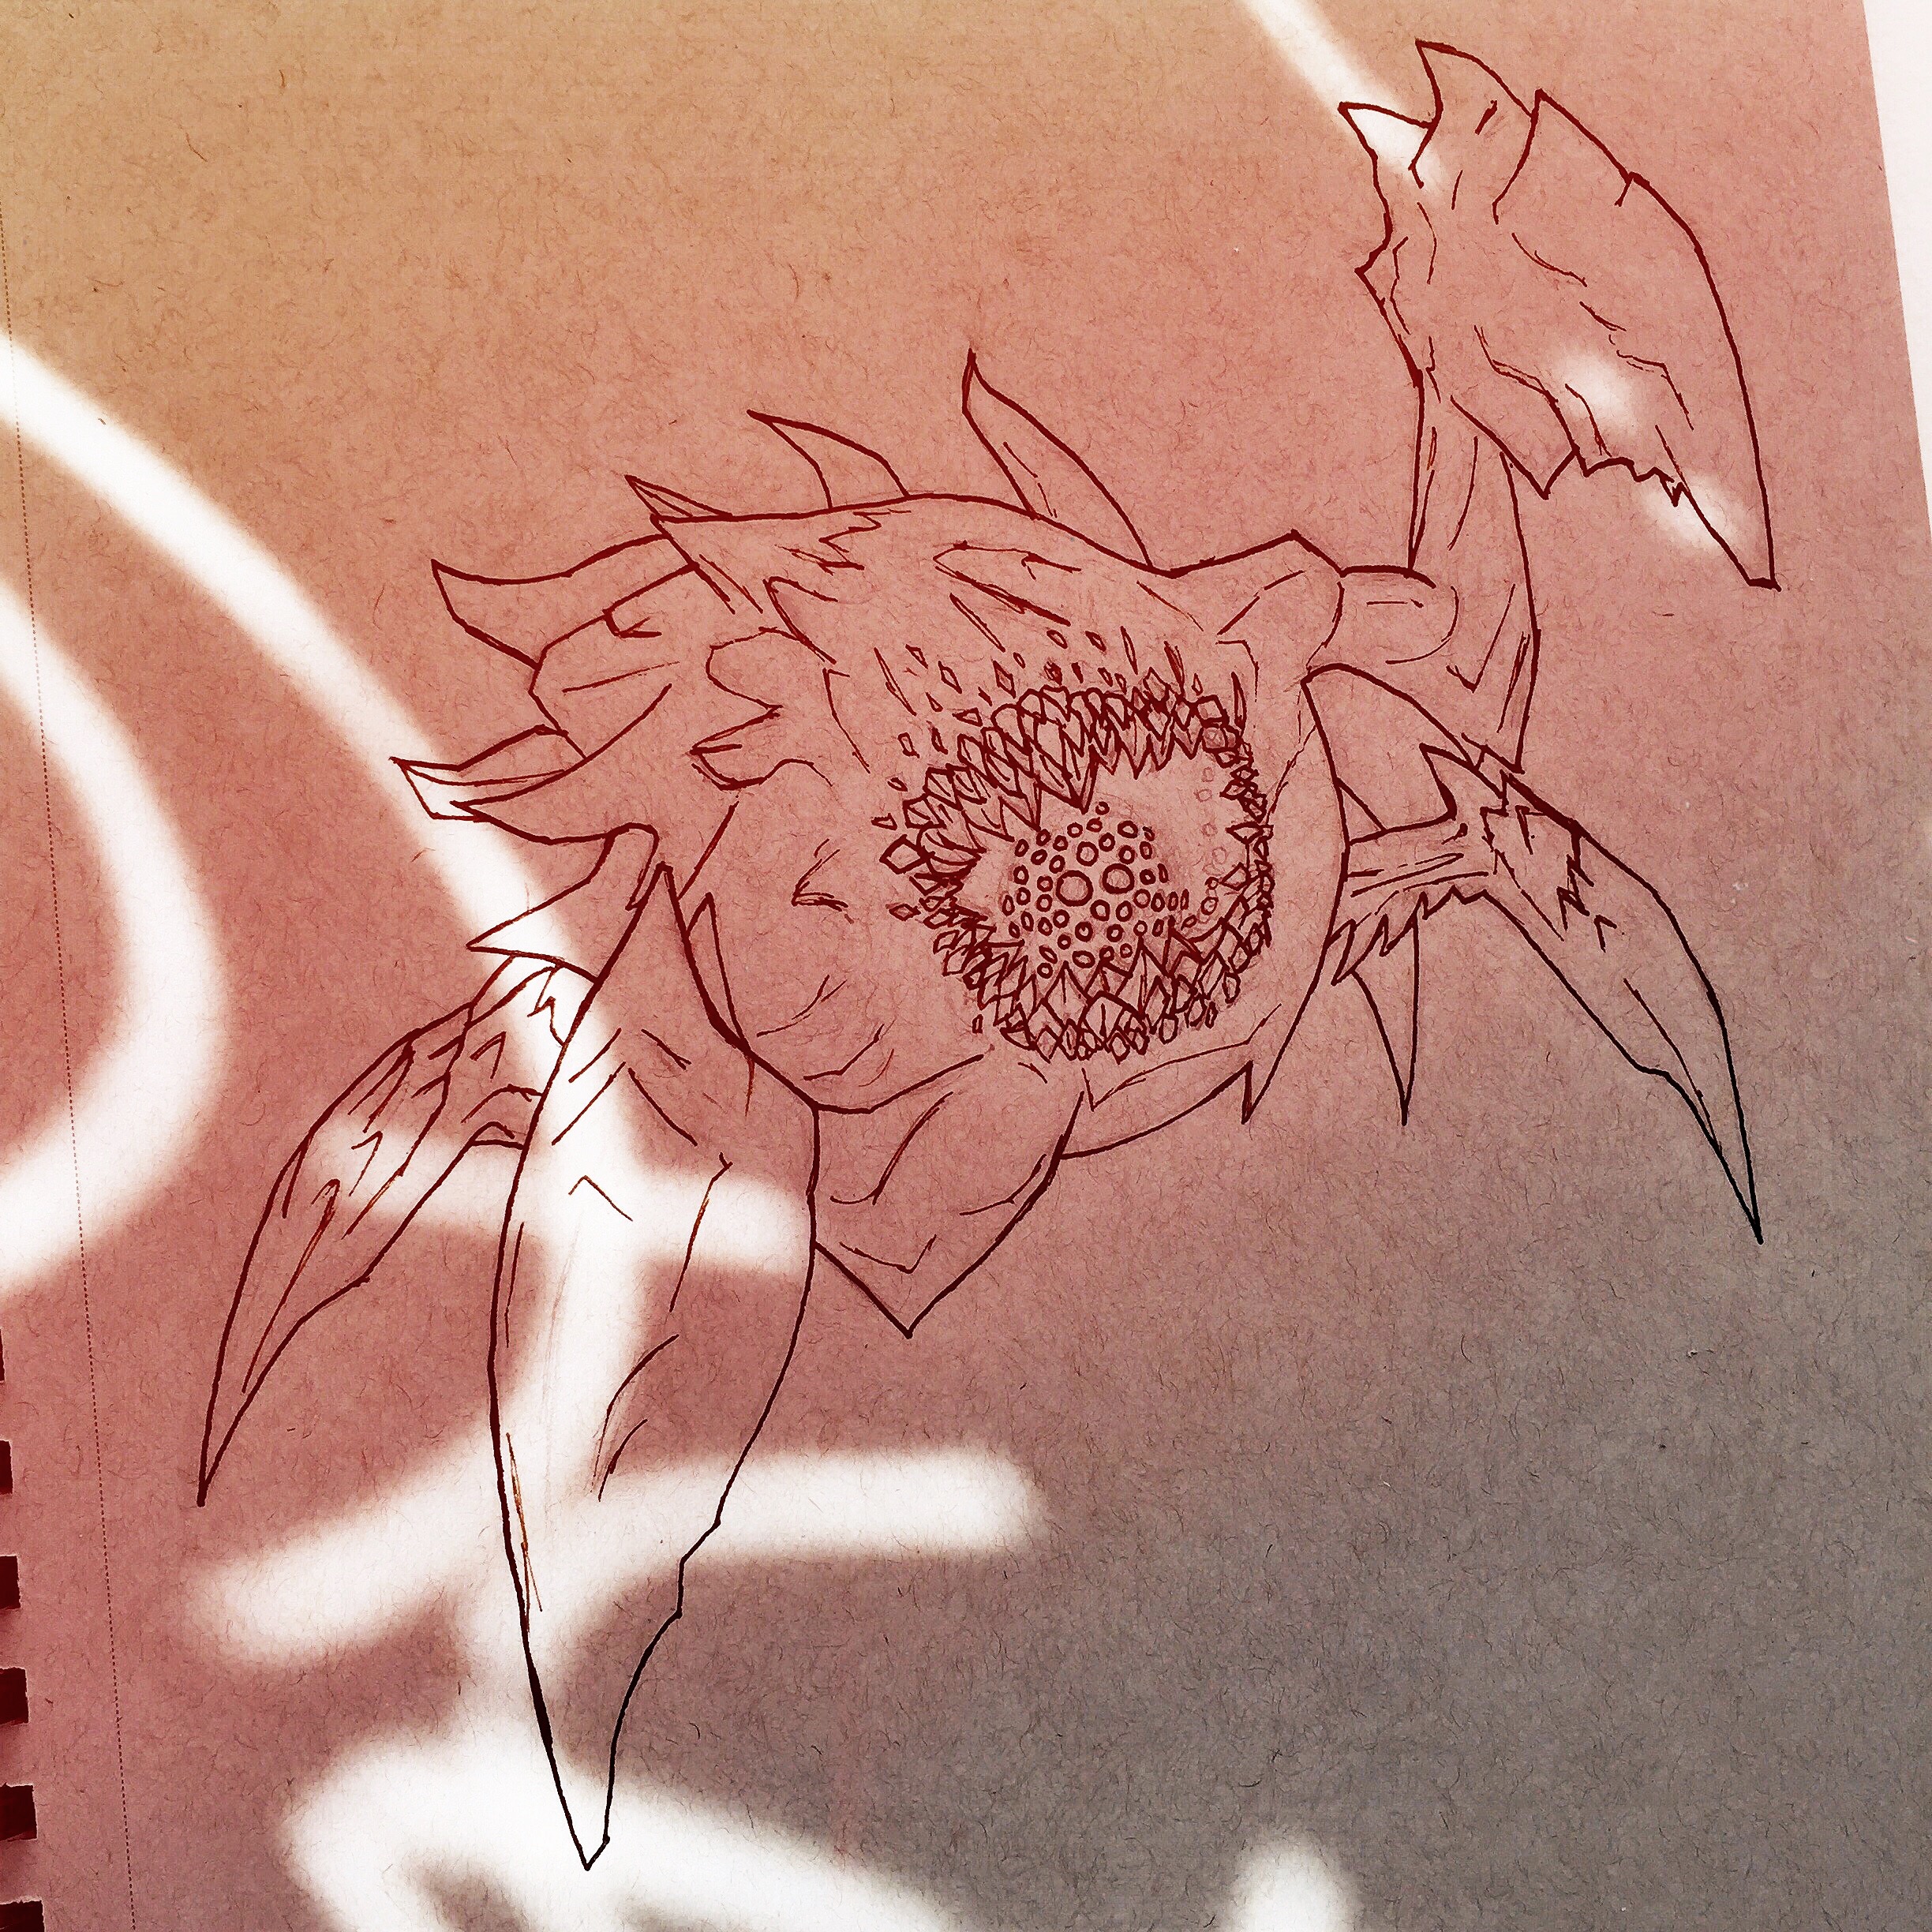
Sketches

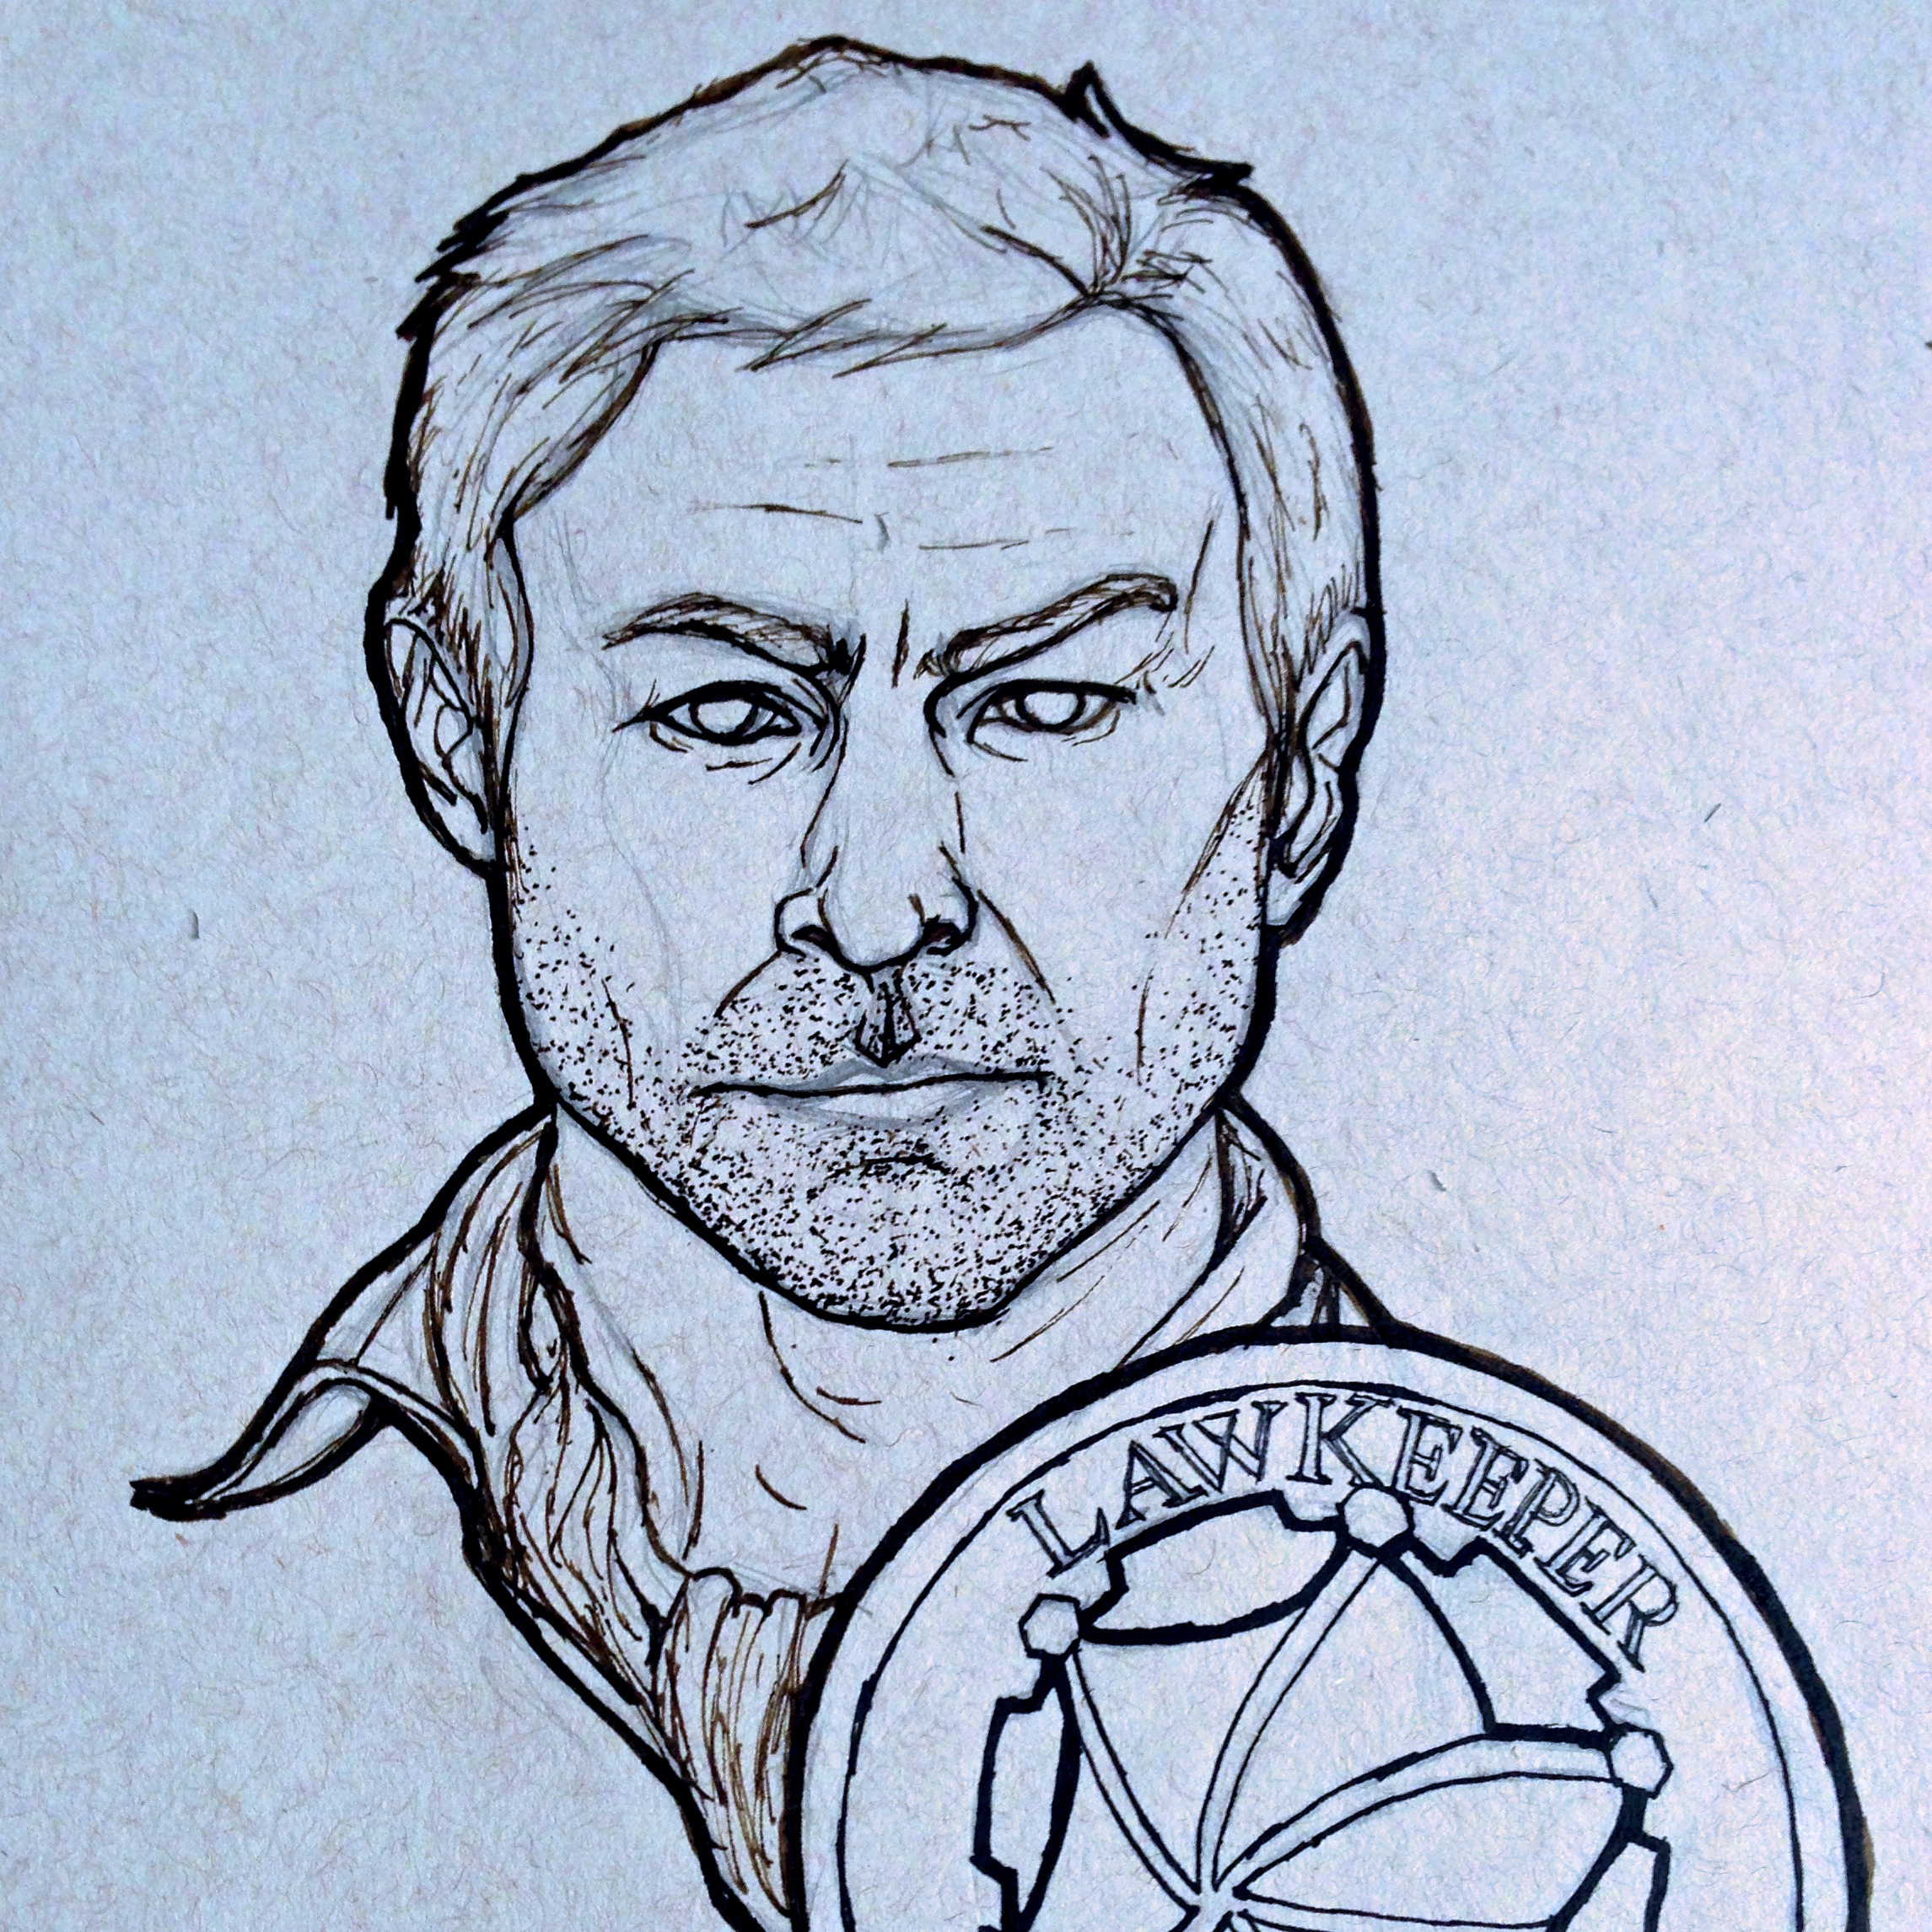
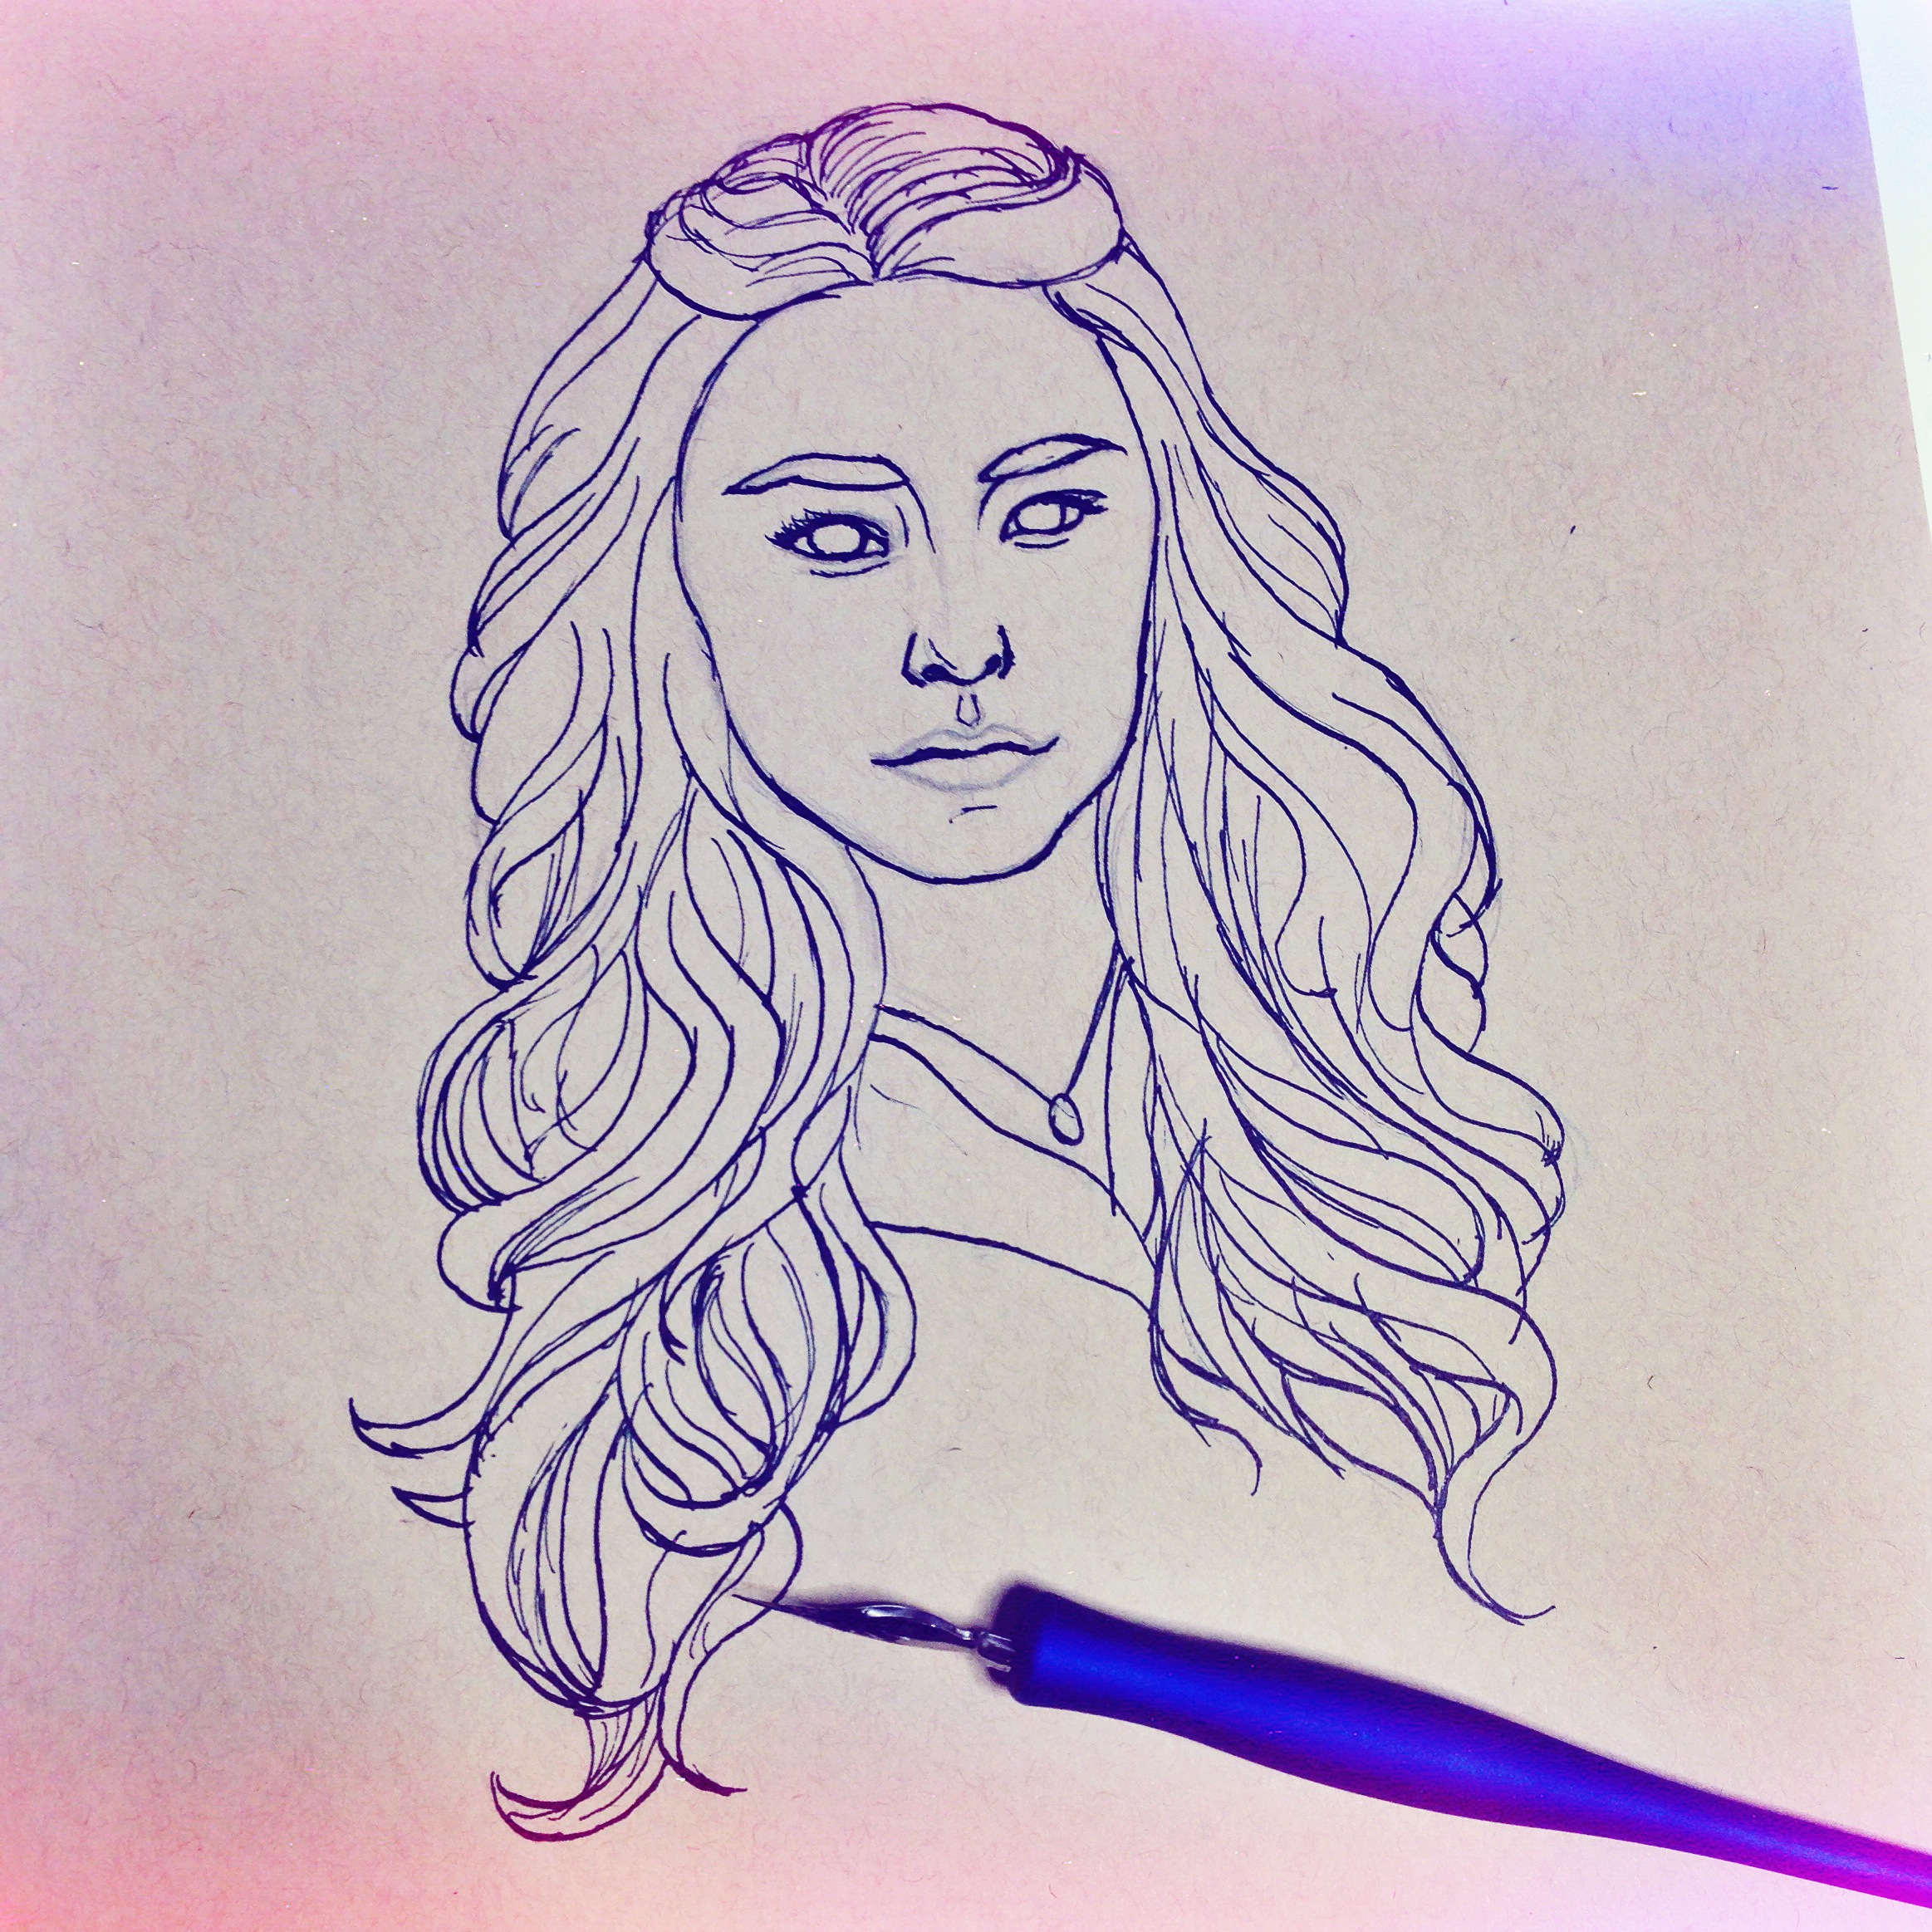
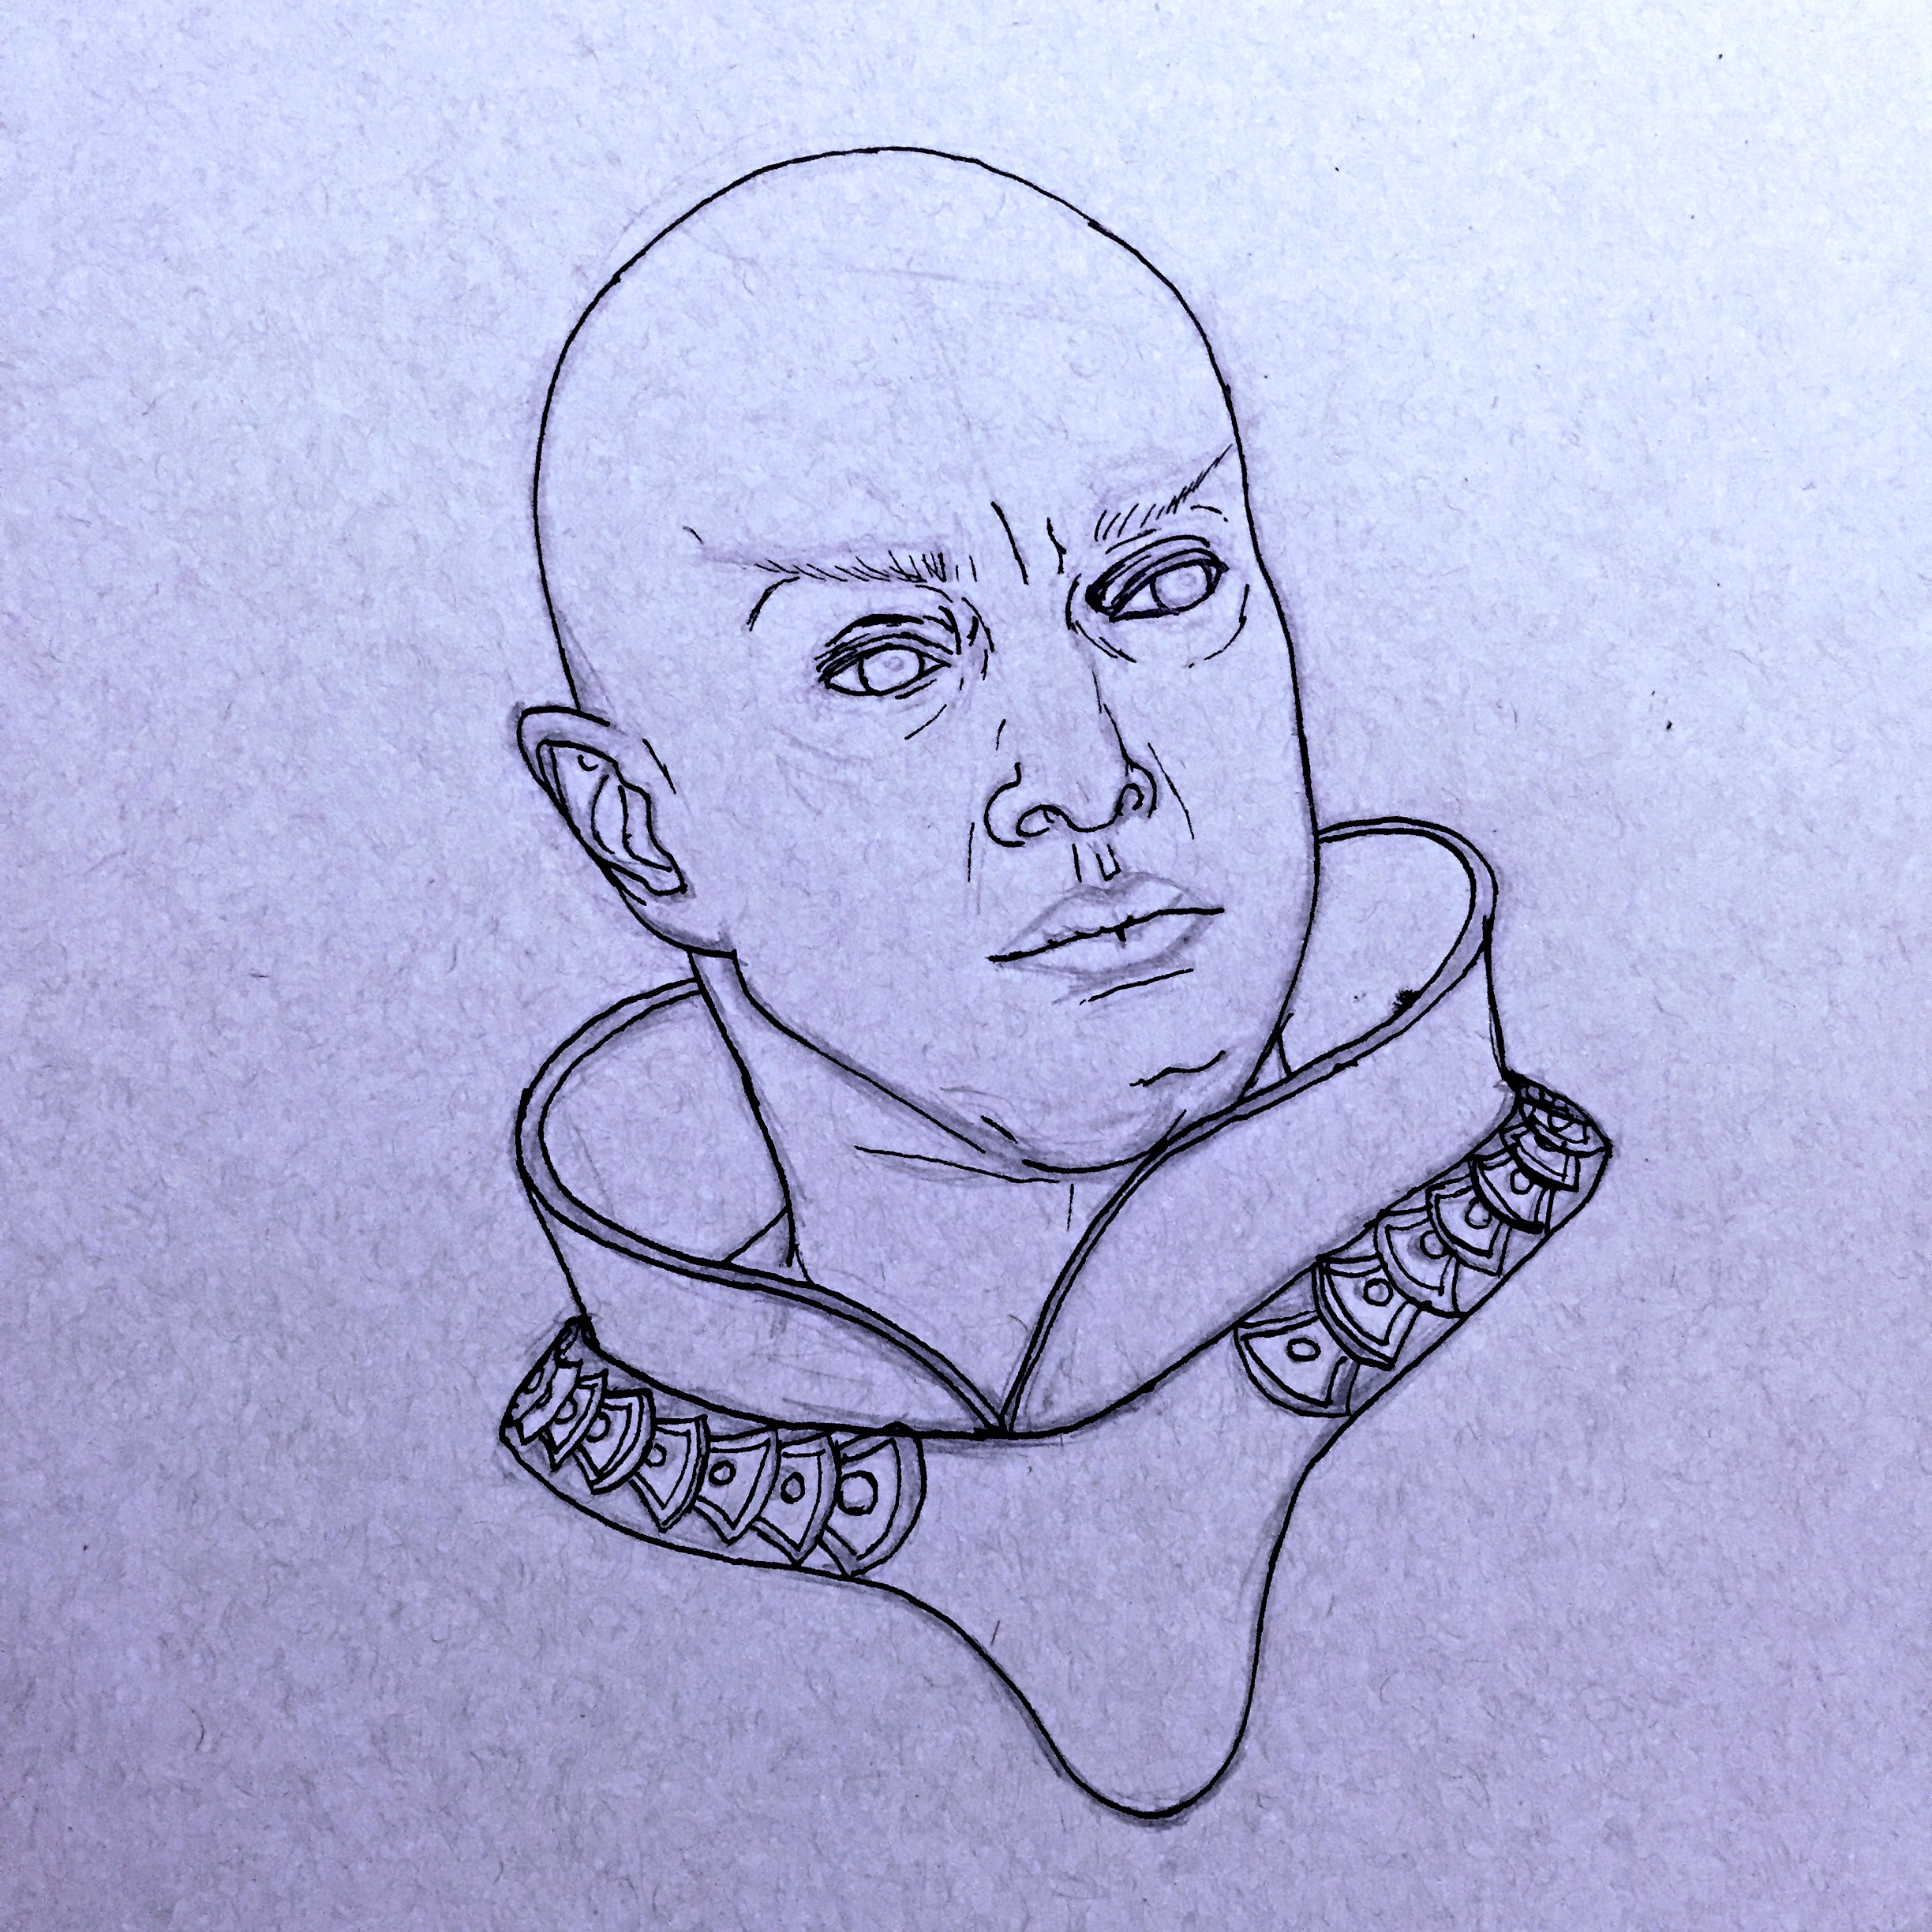
Lineart
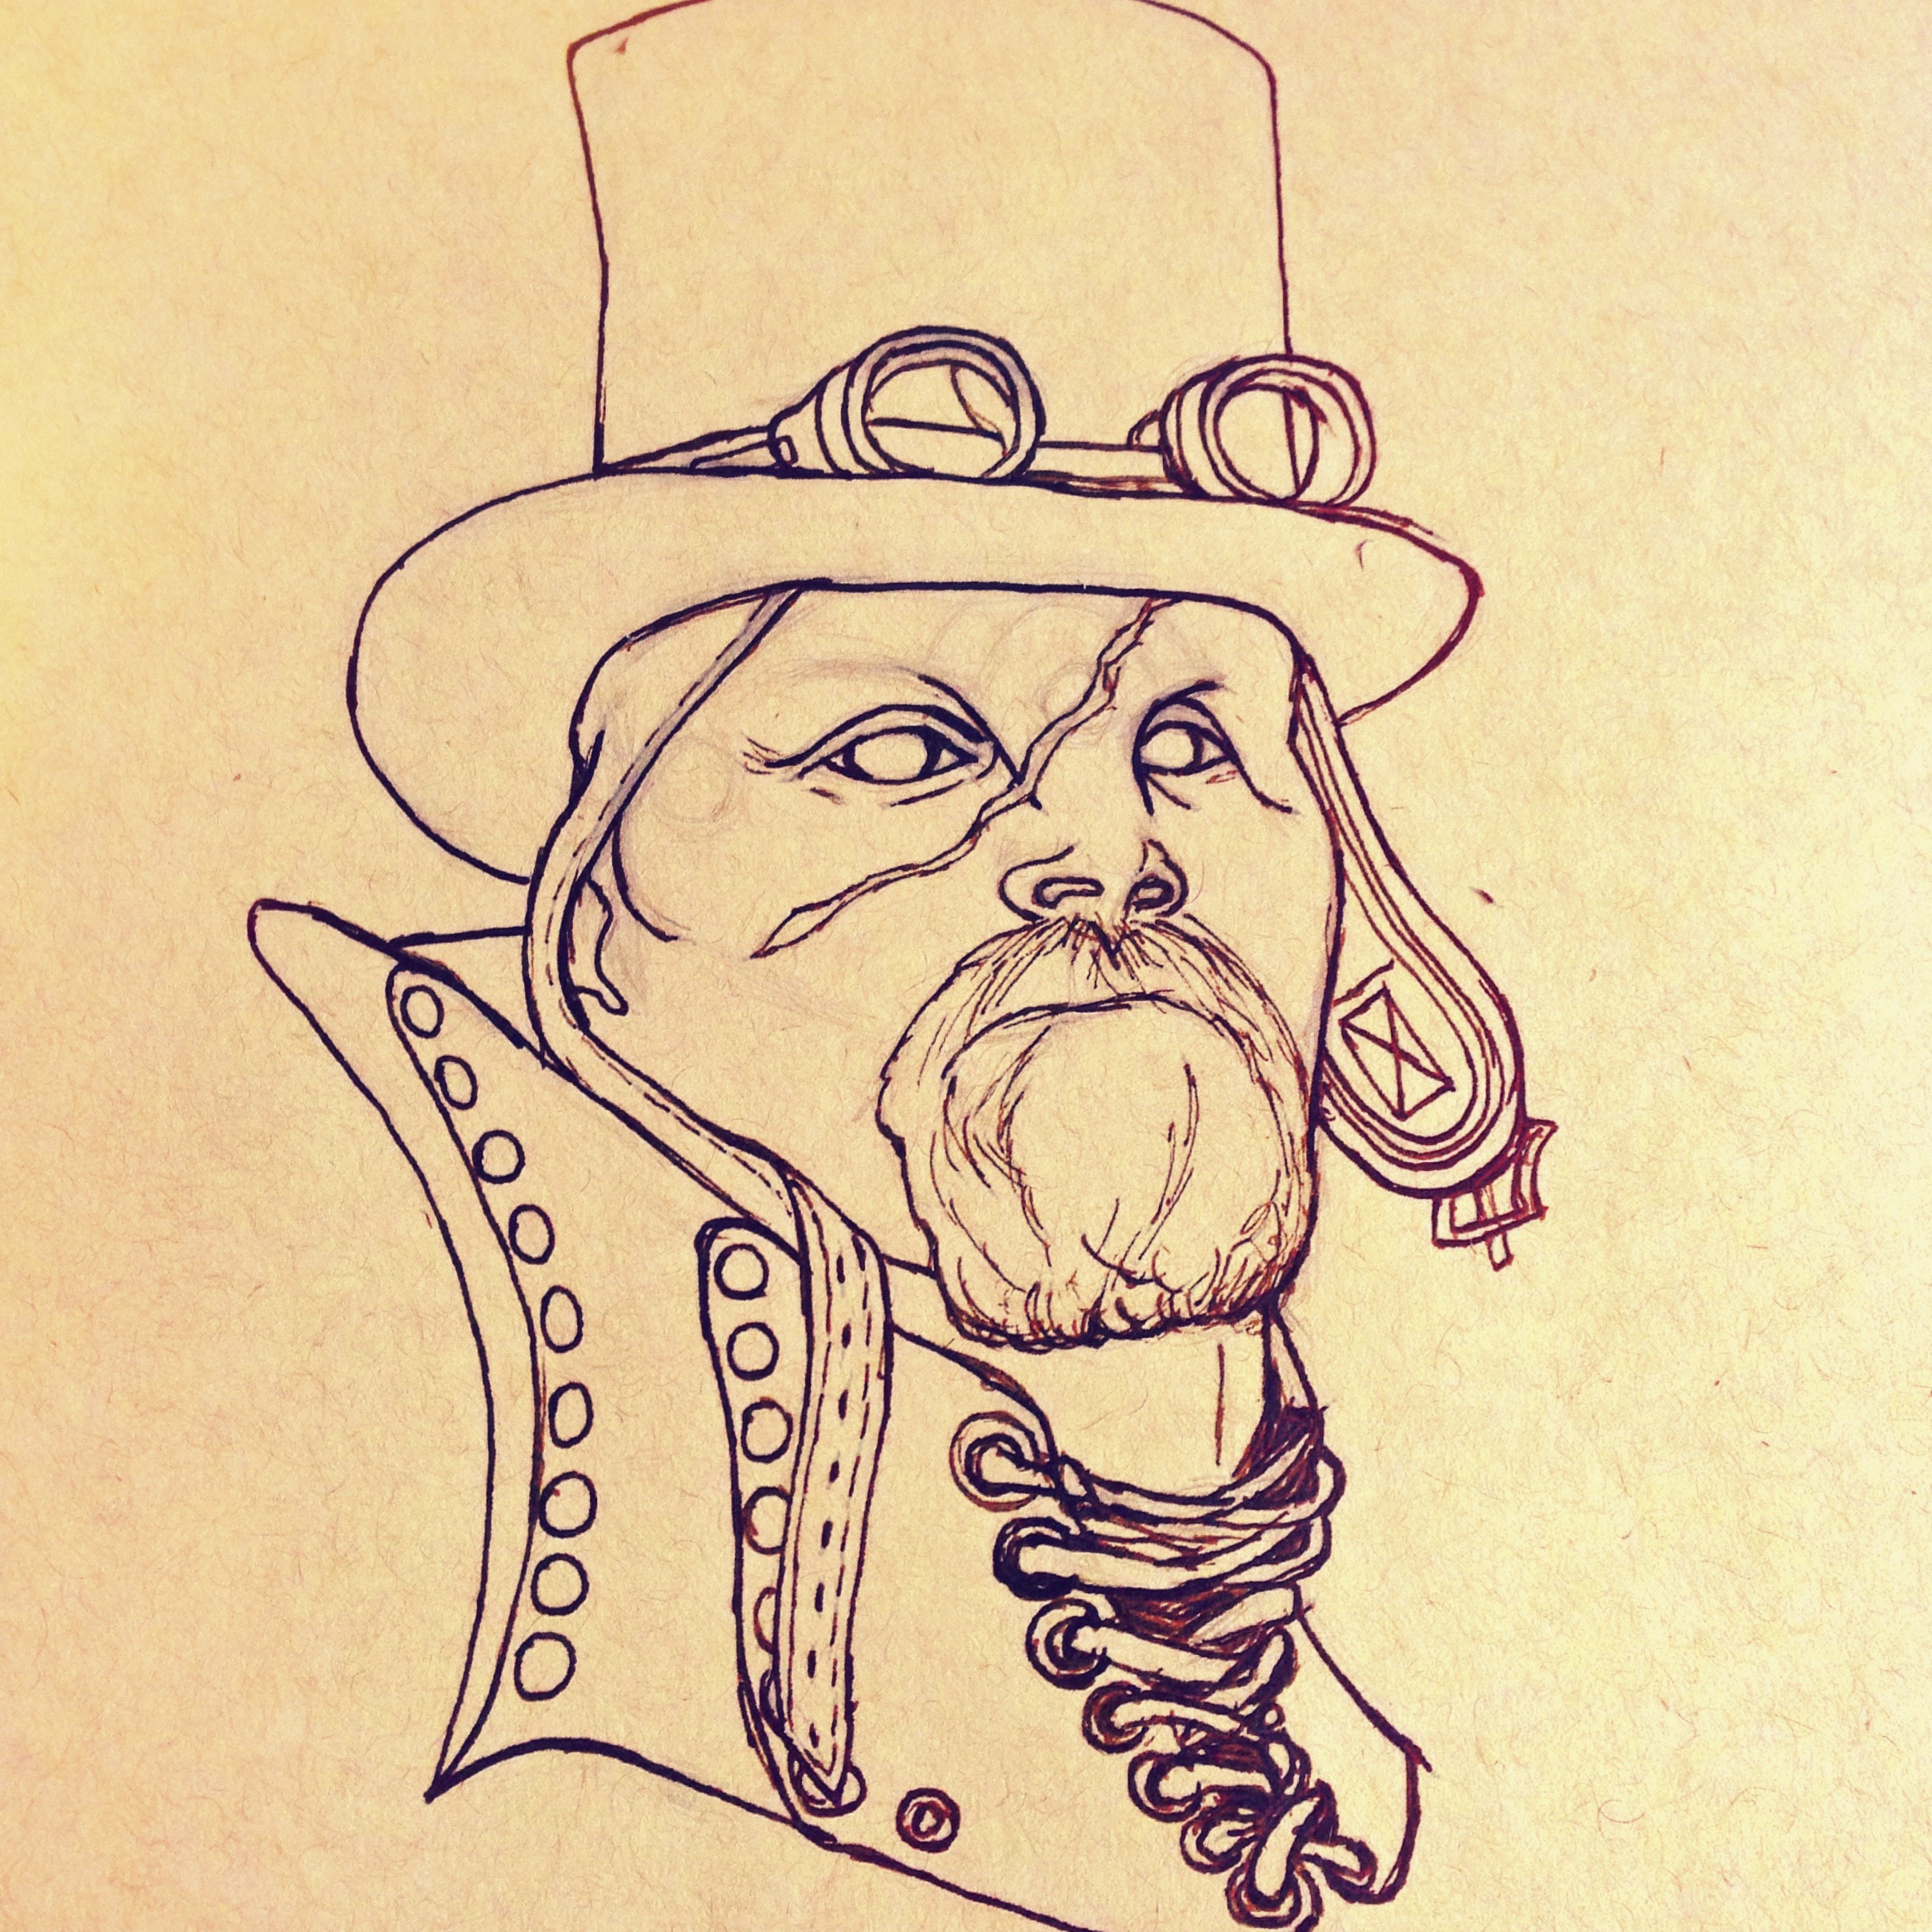
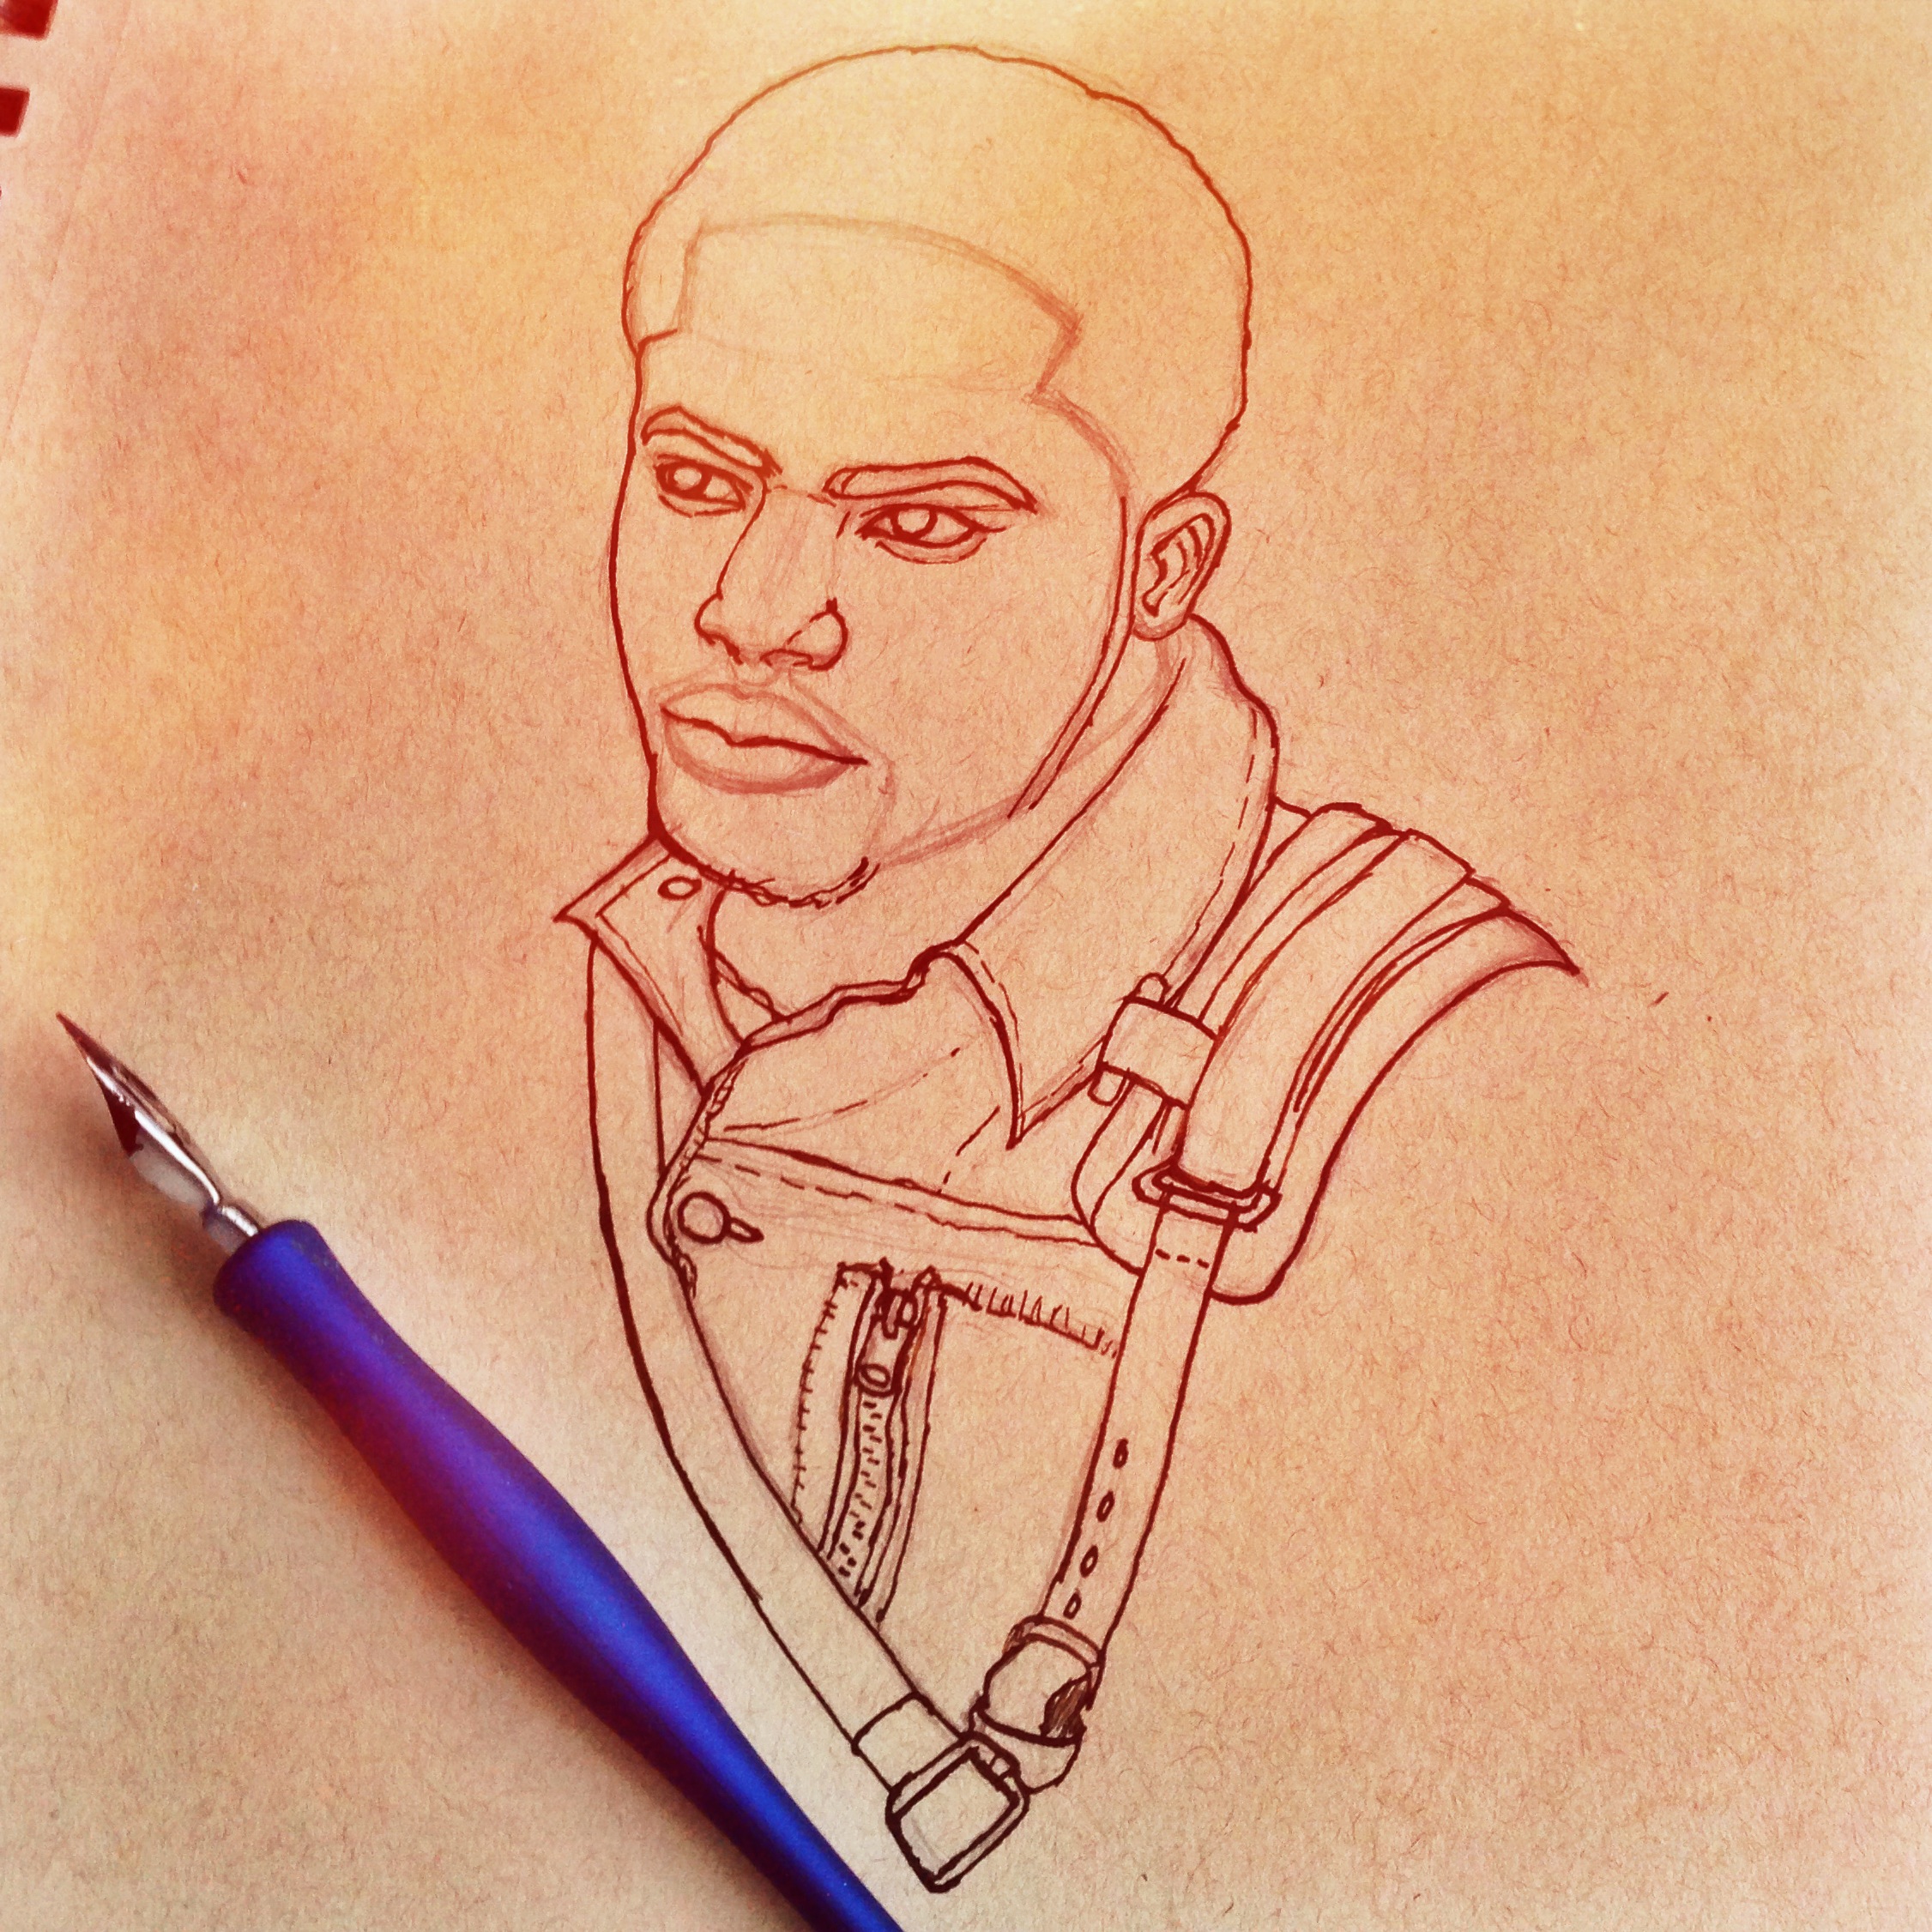
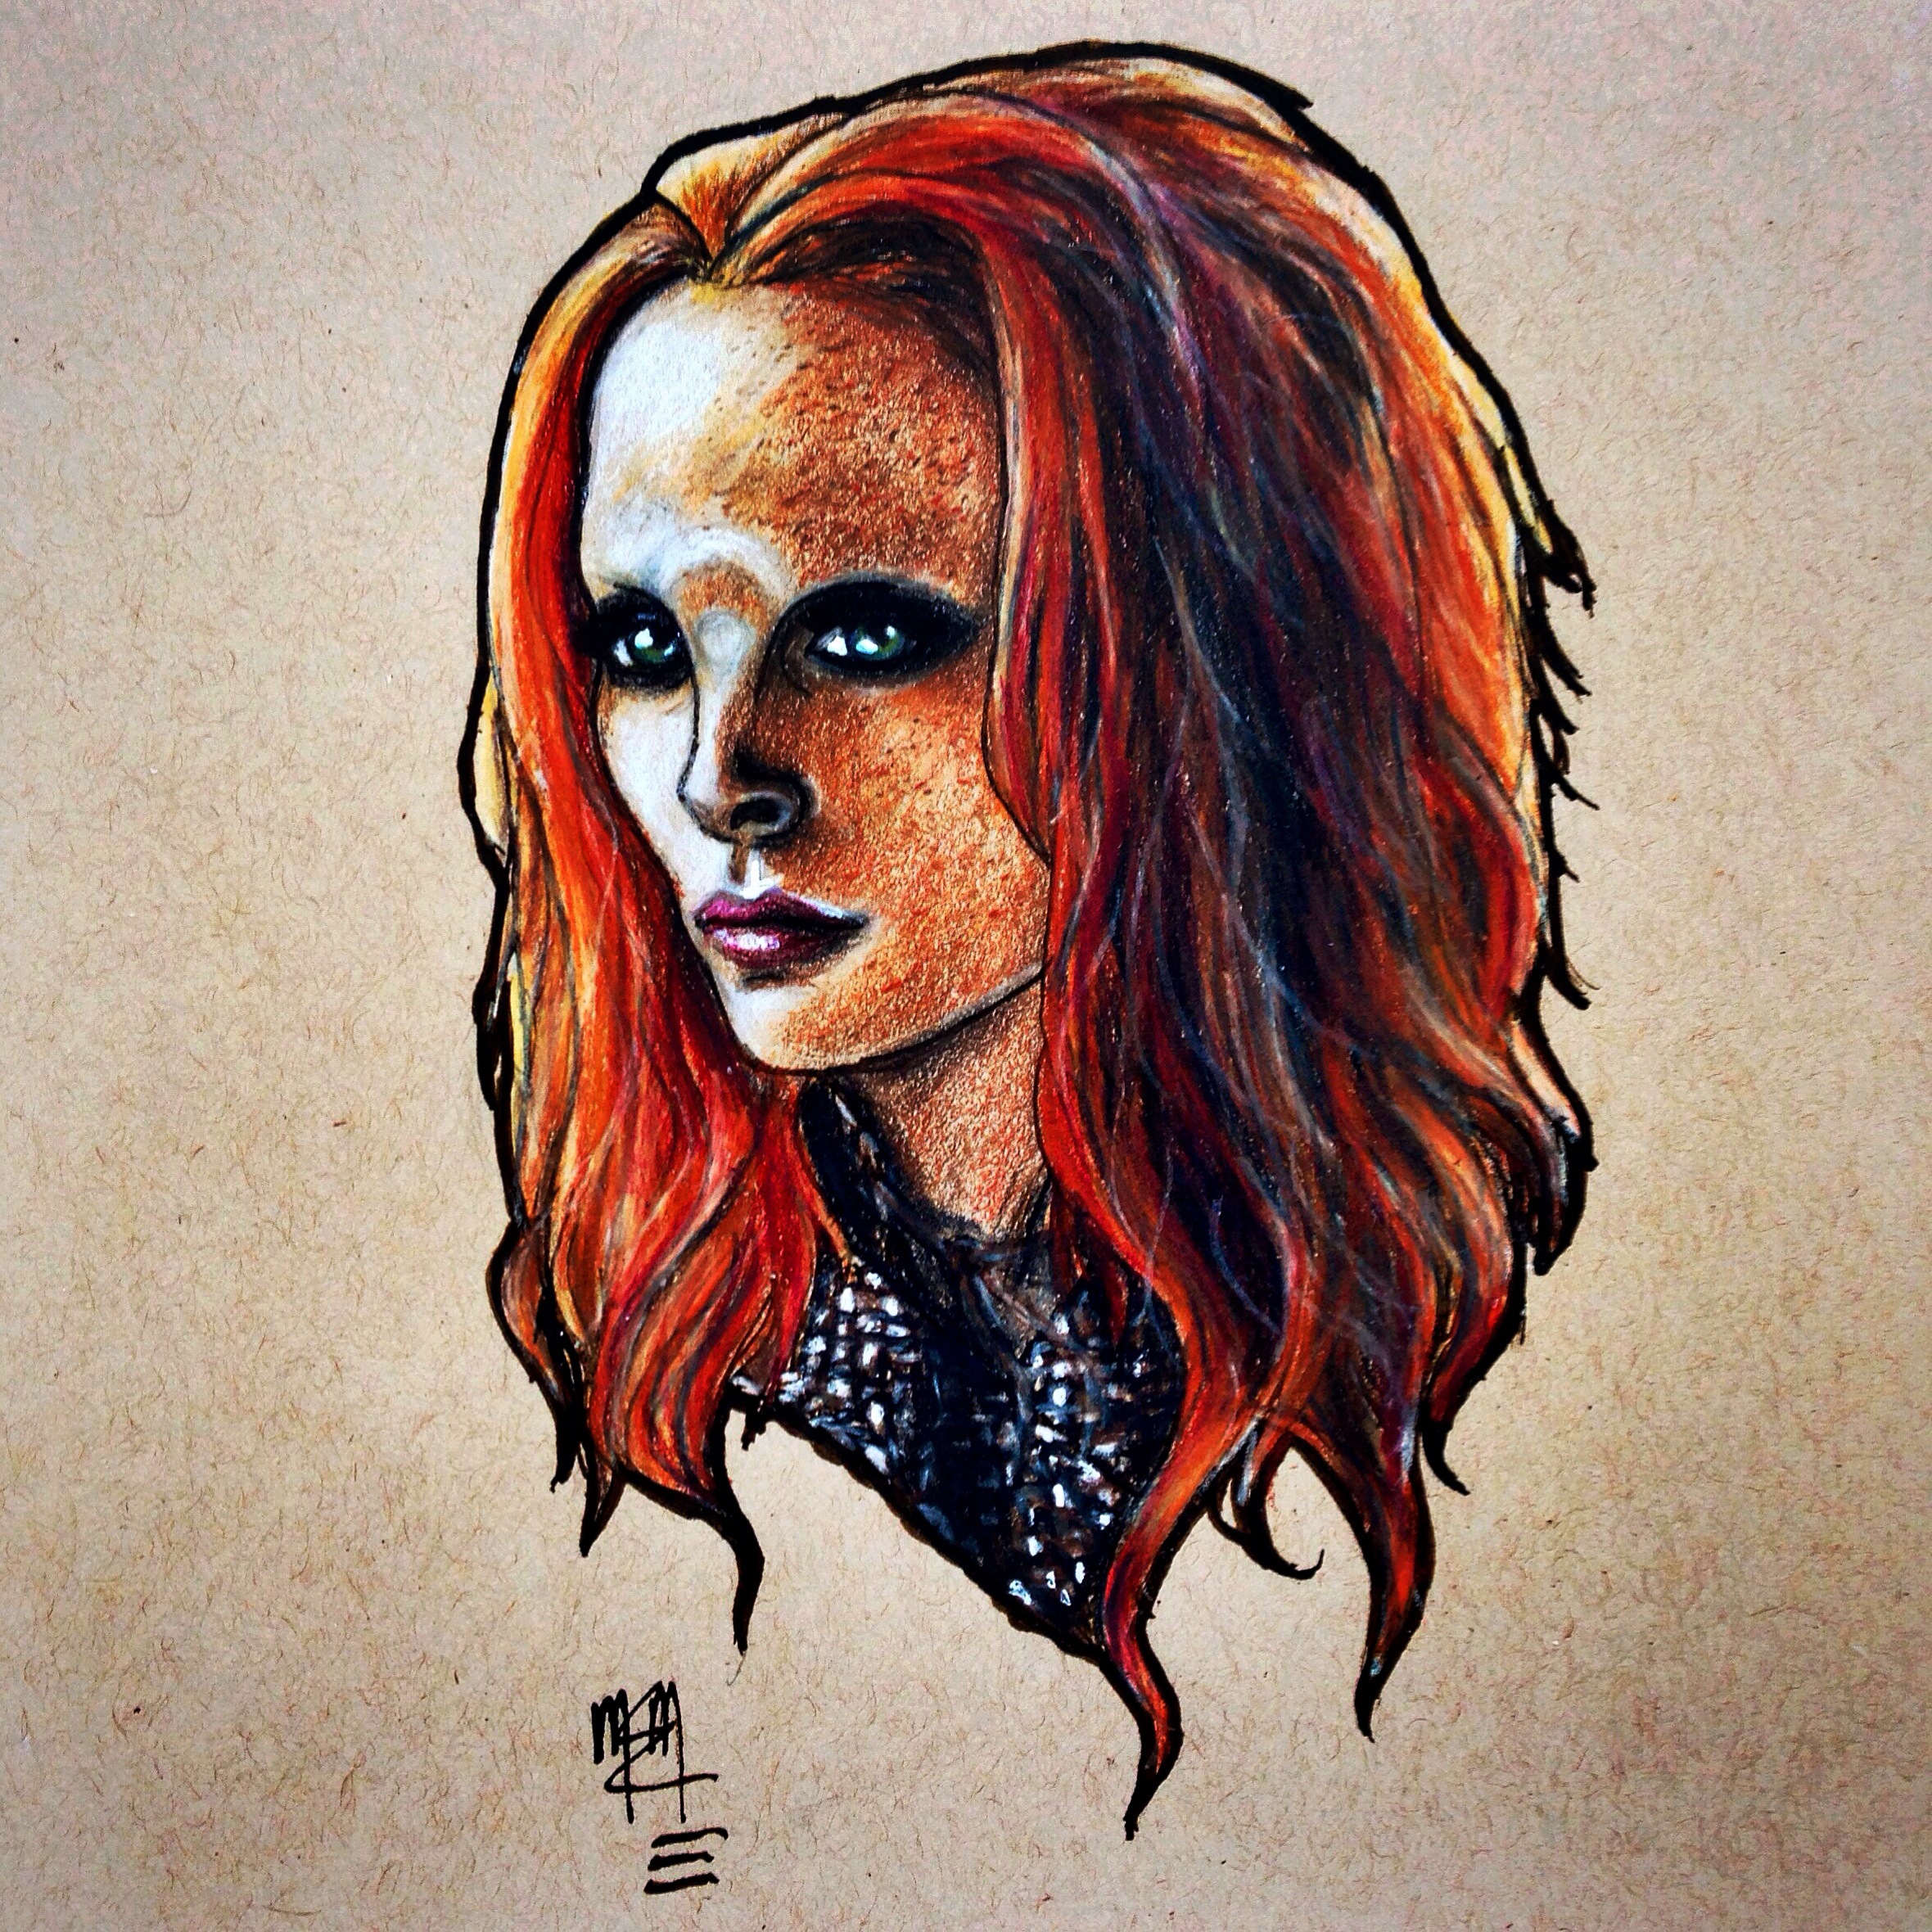
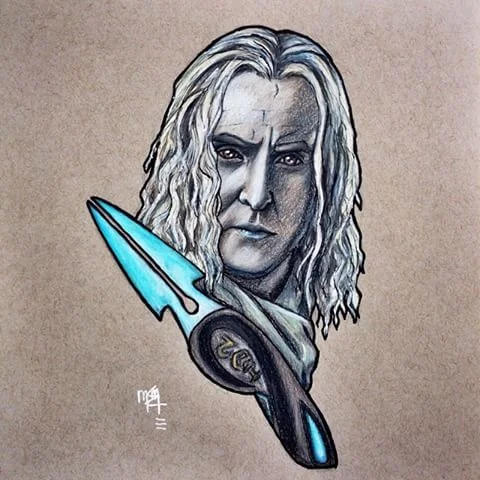
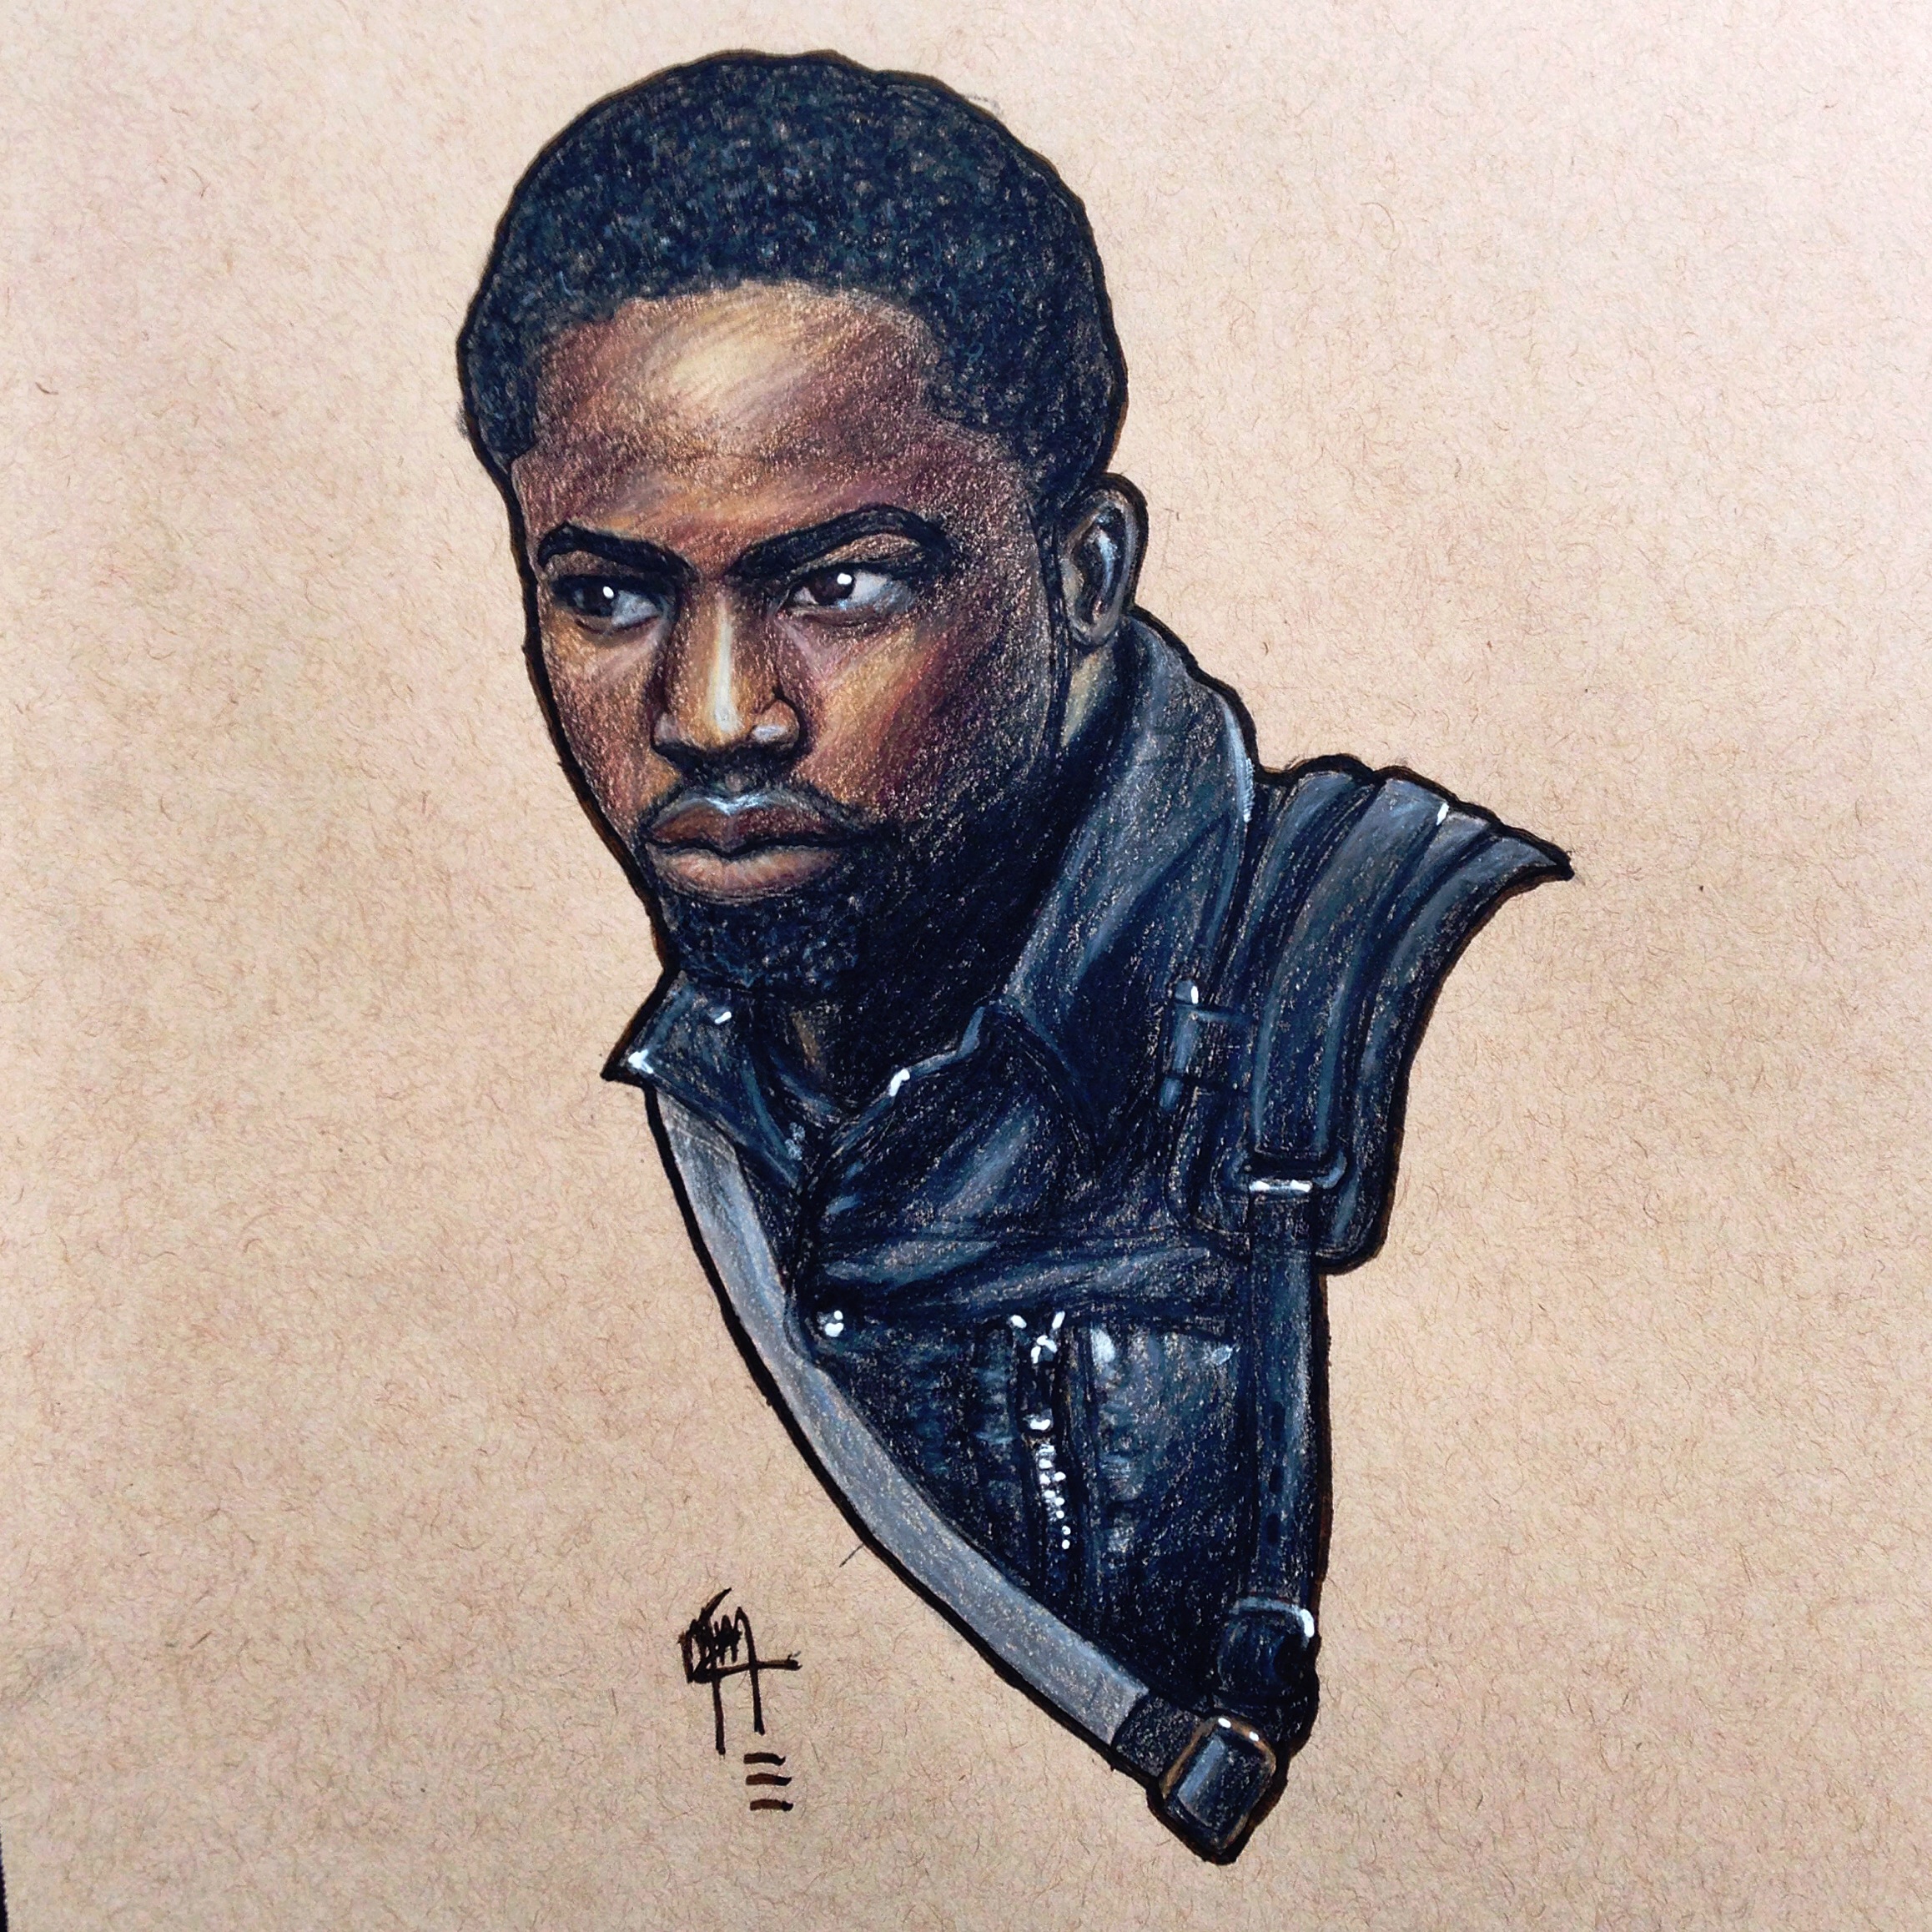
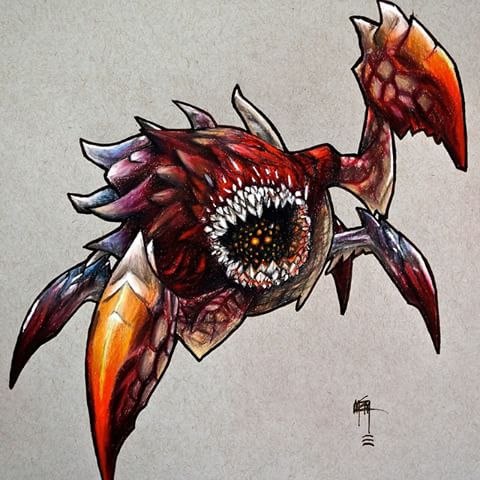
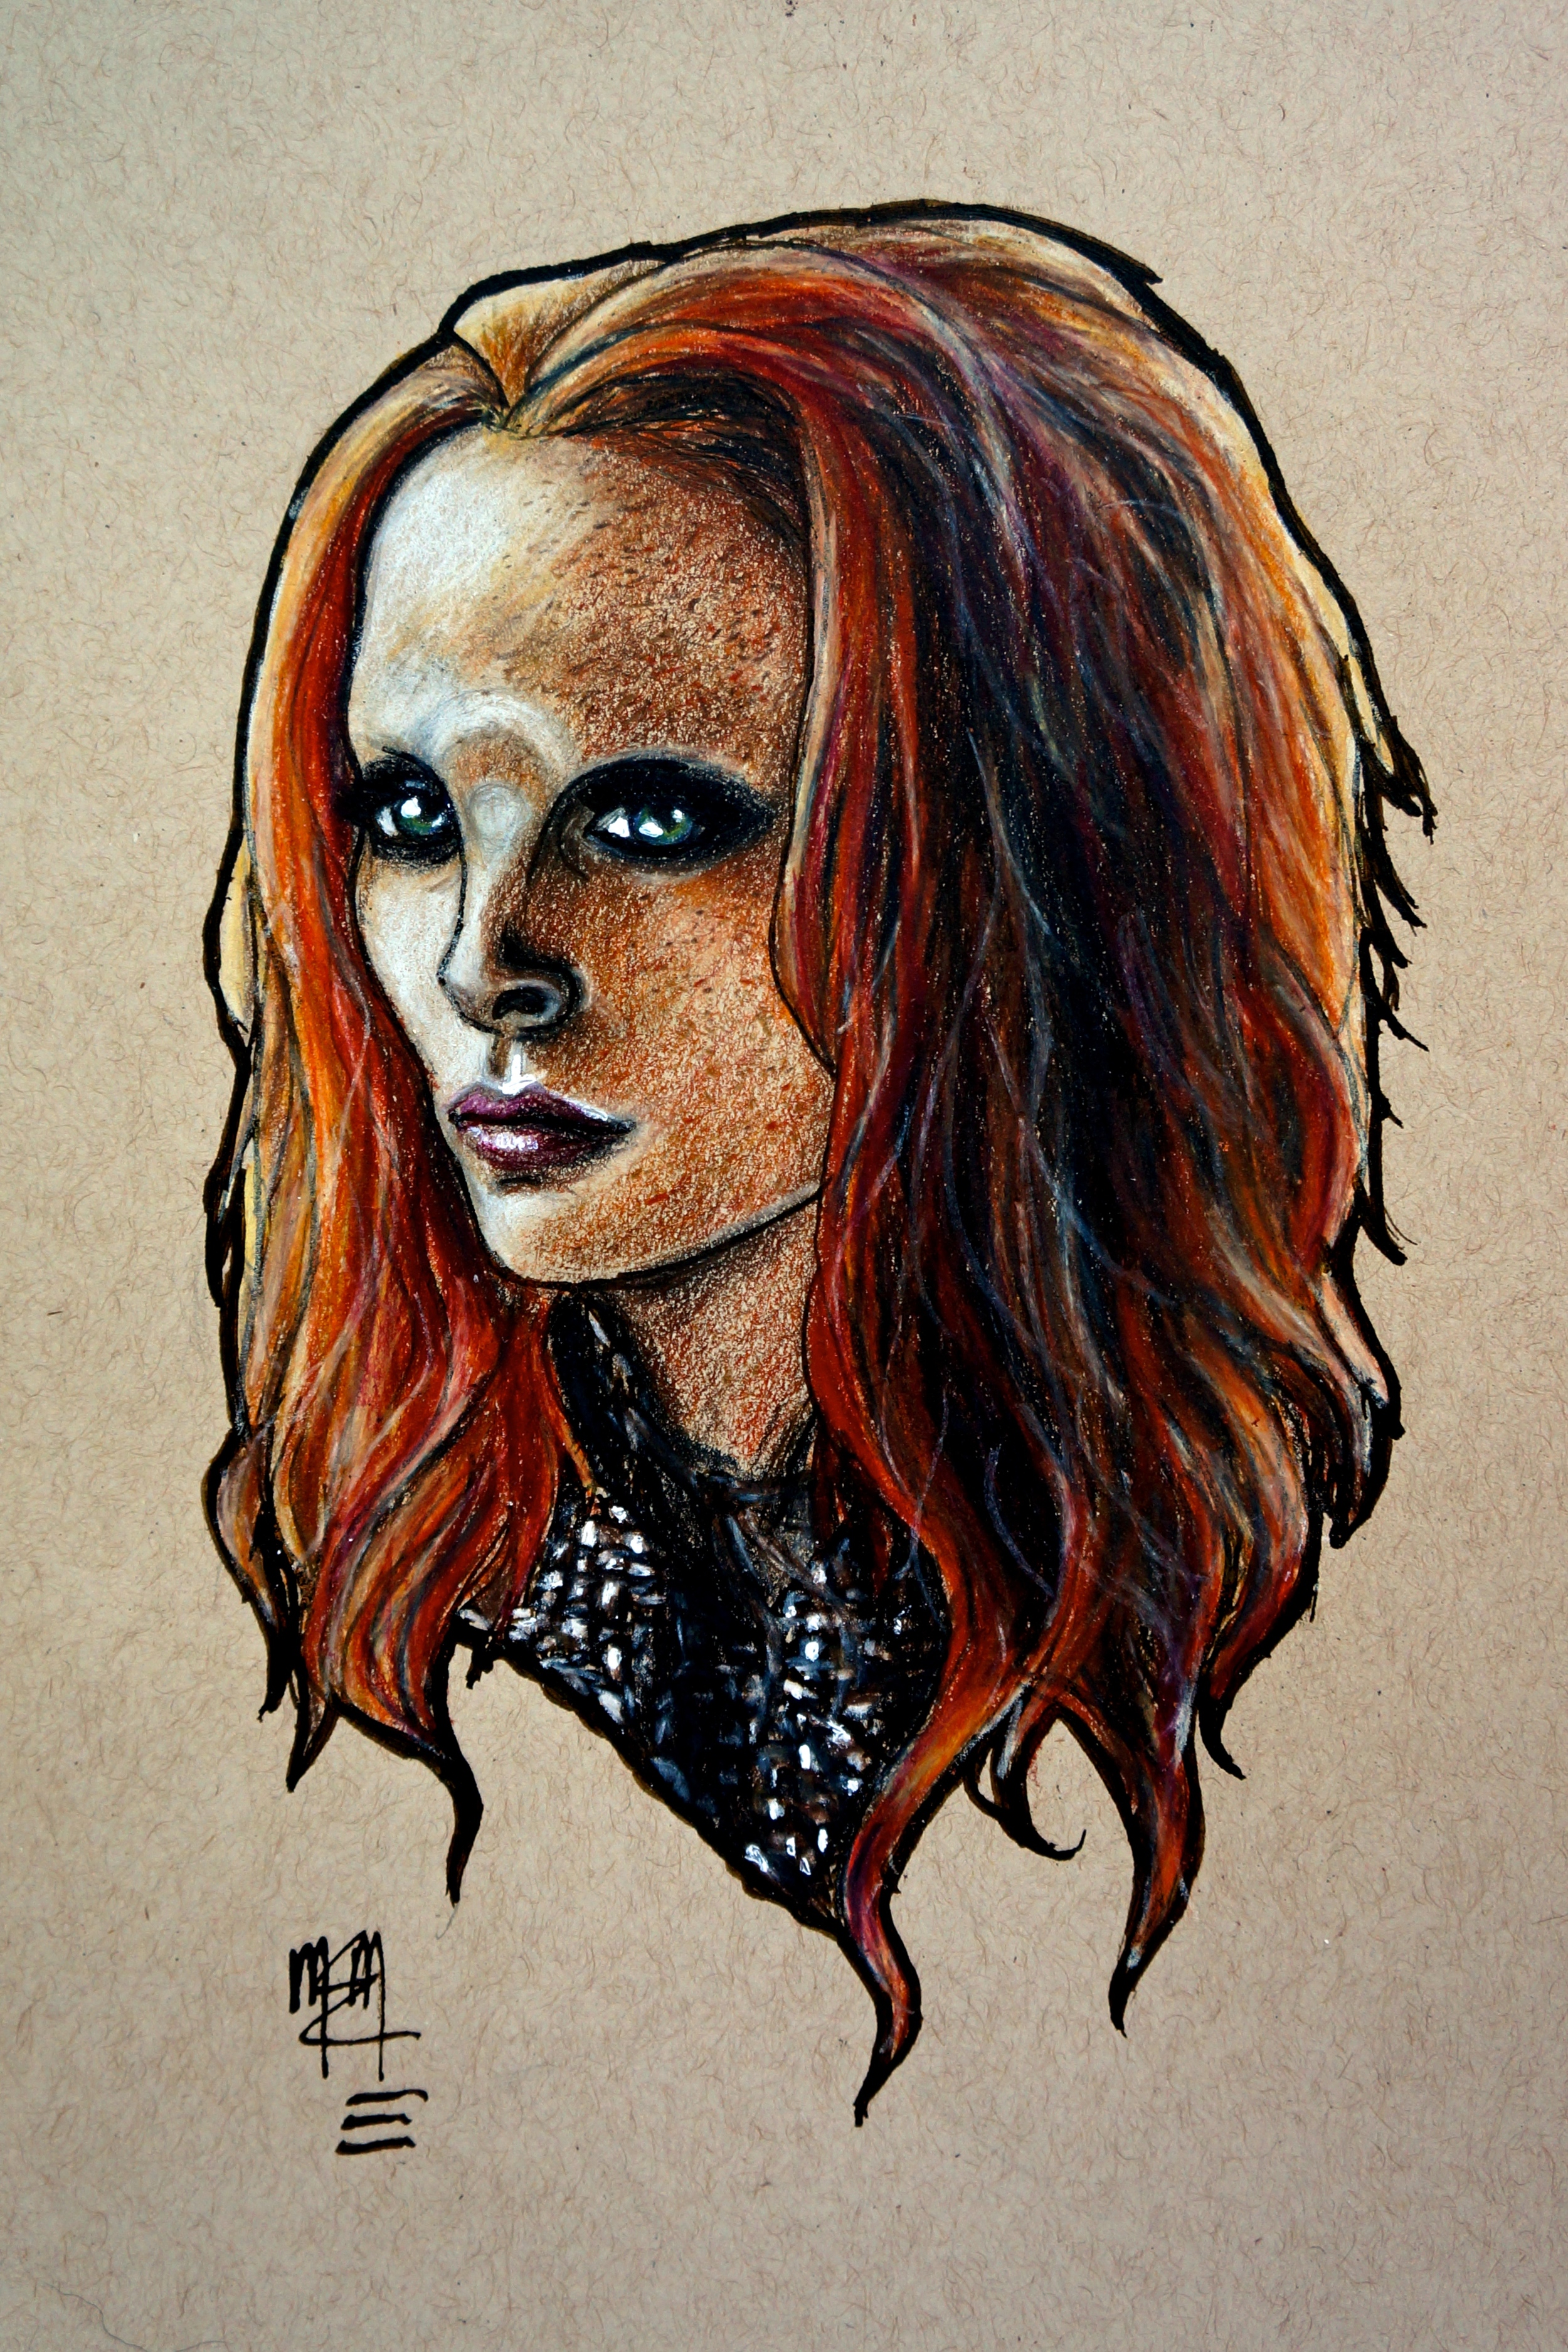
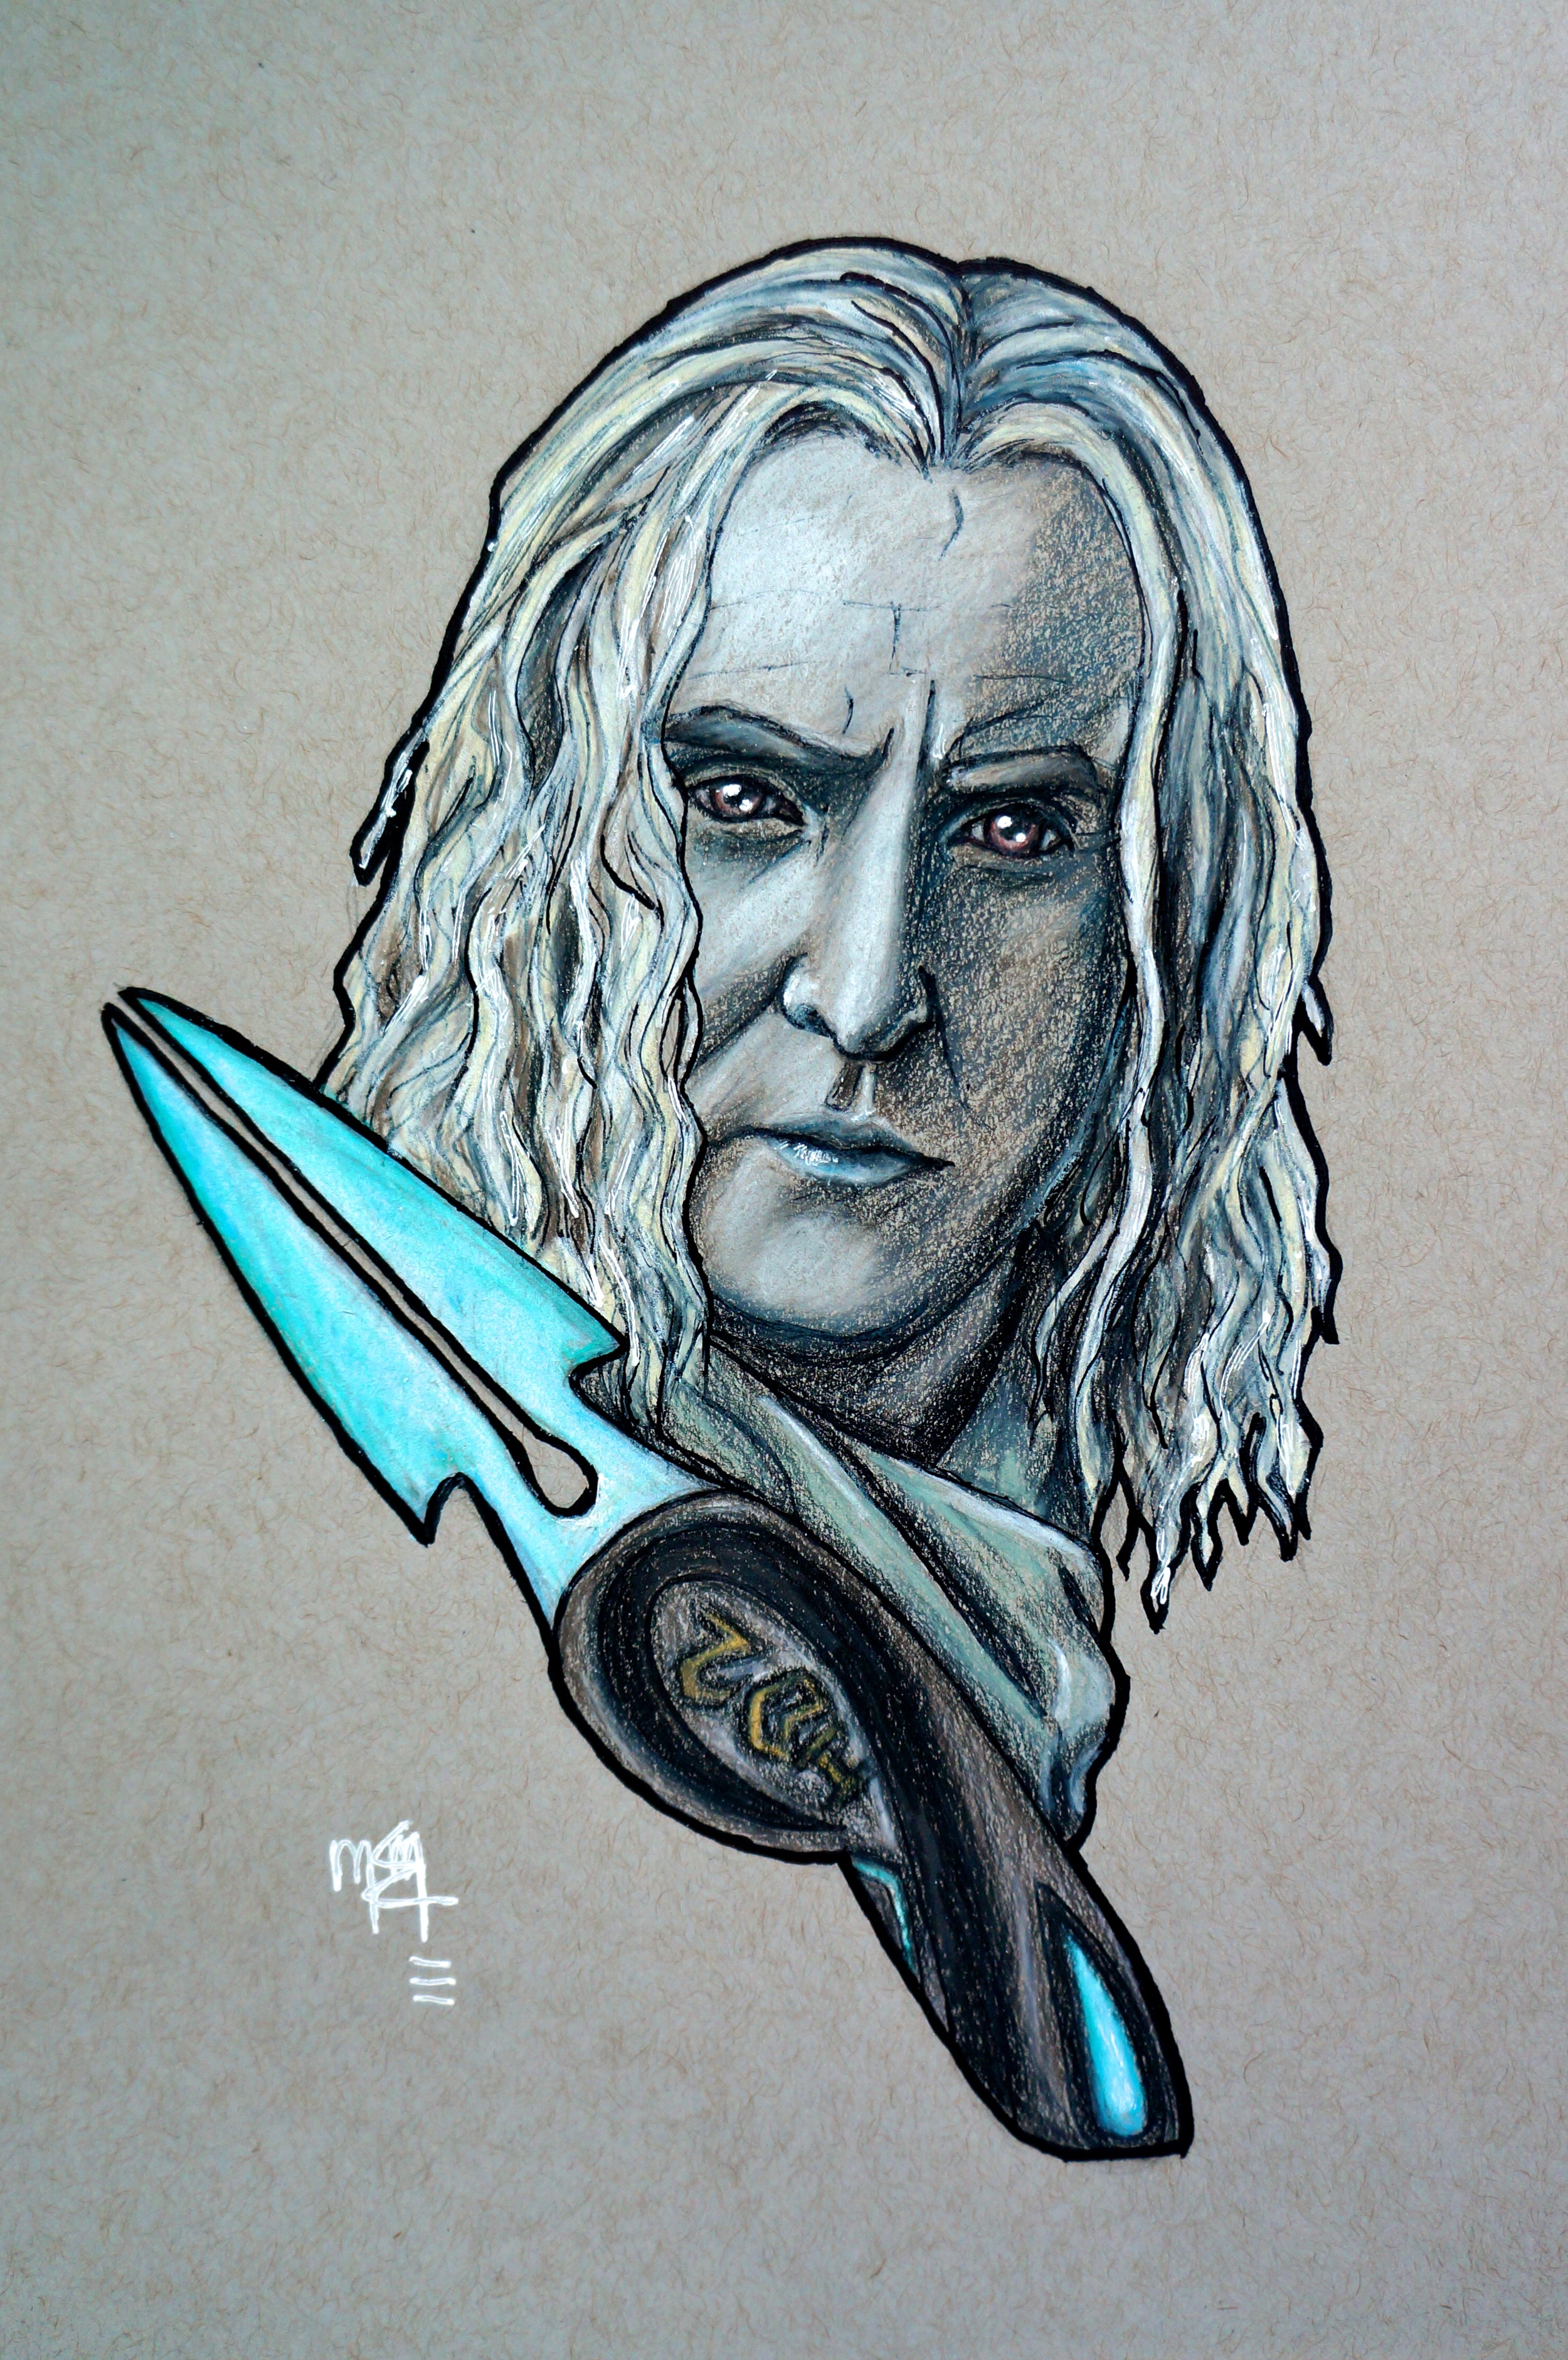
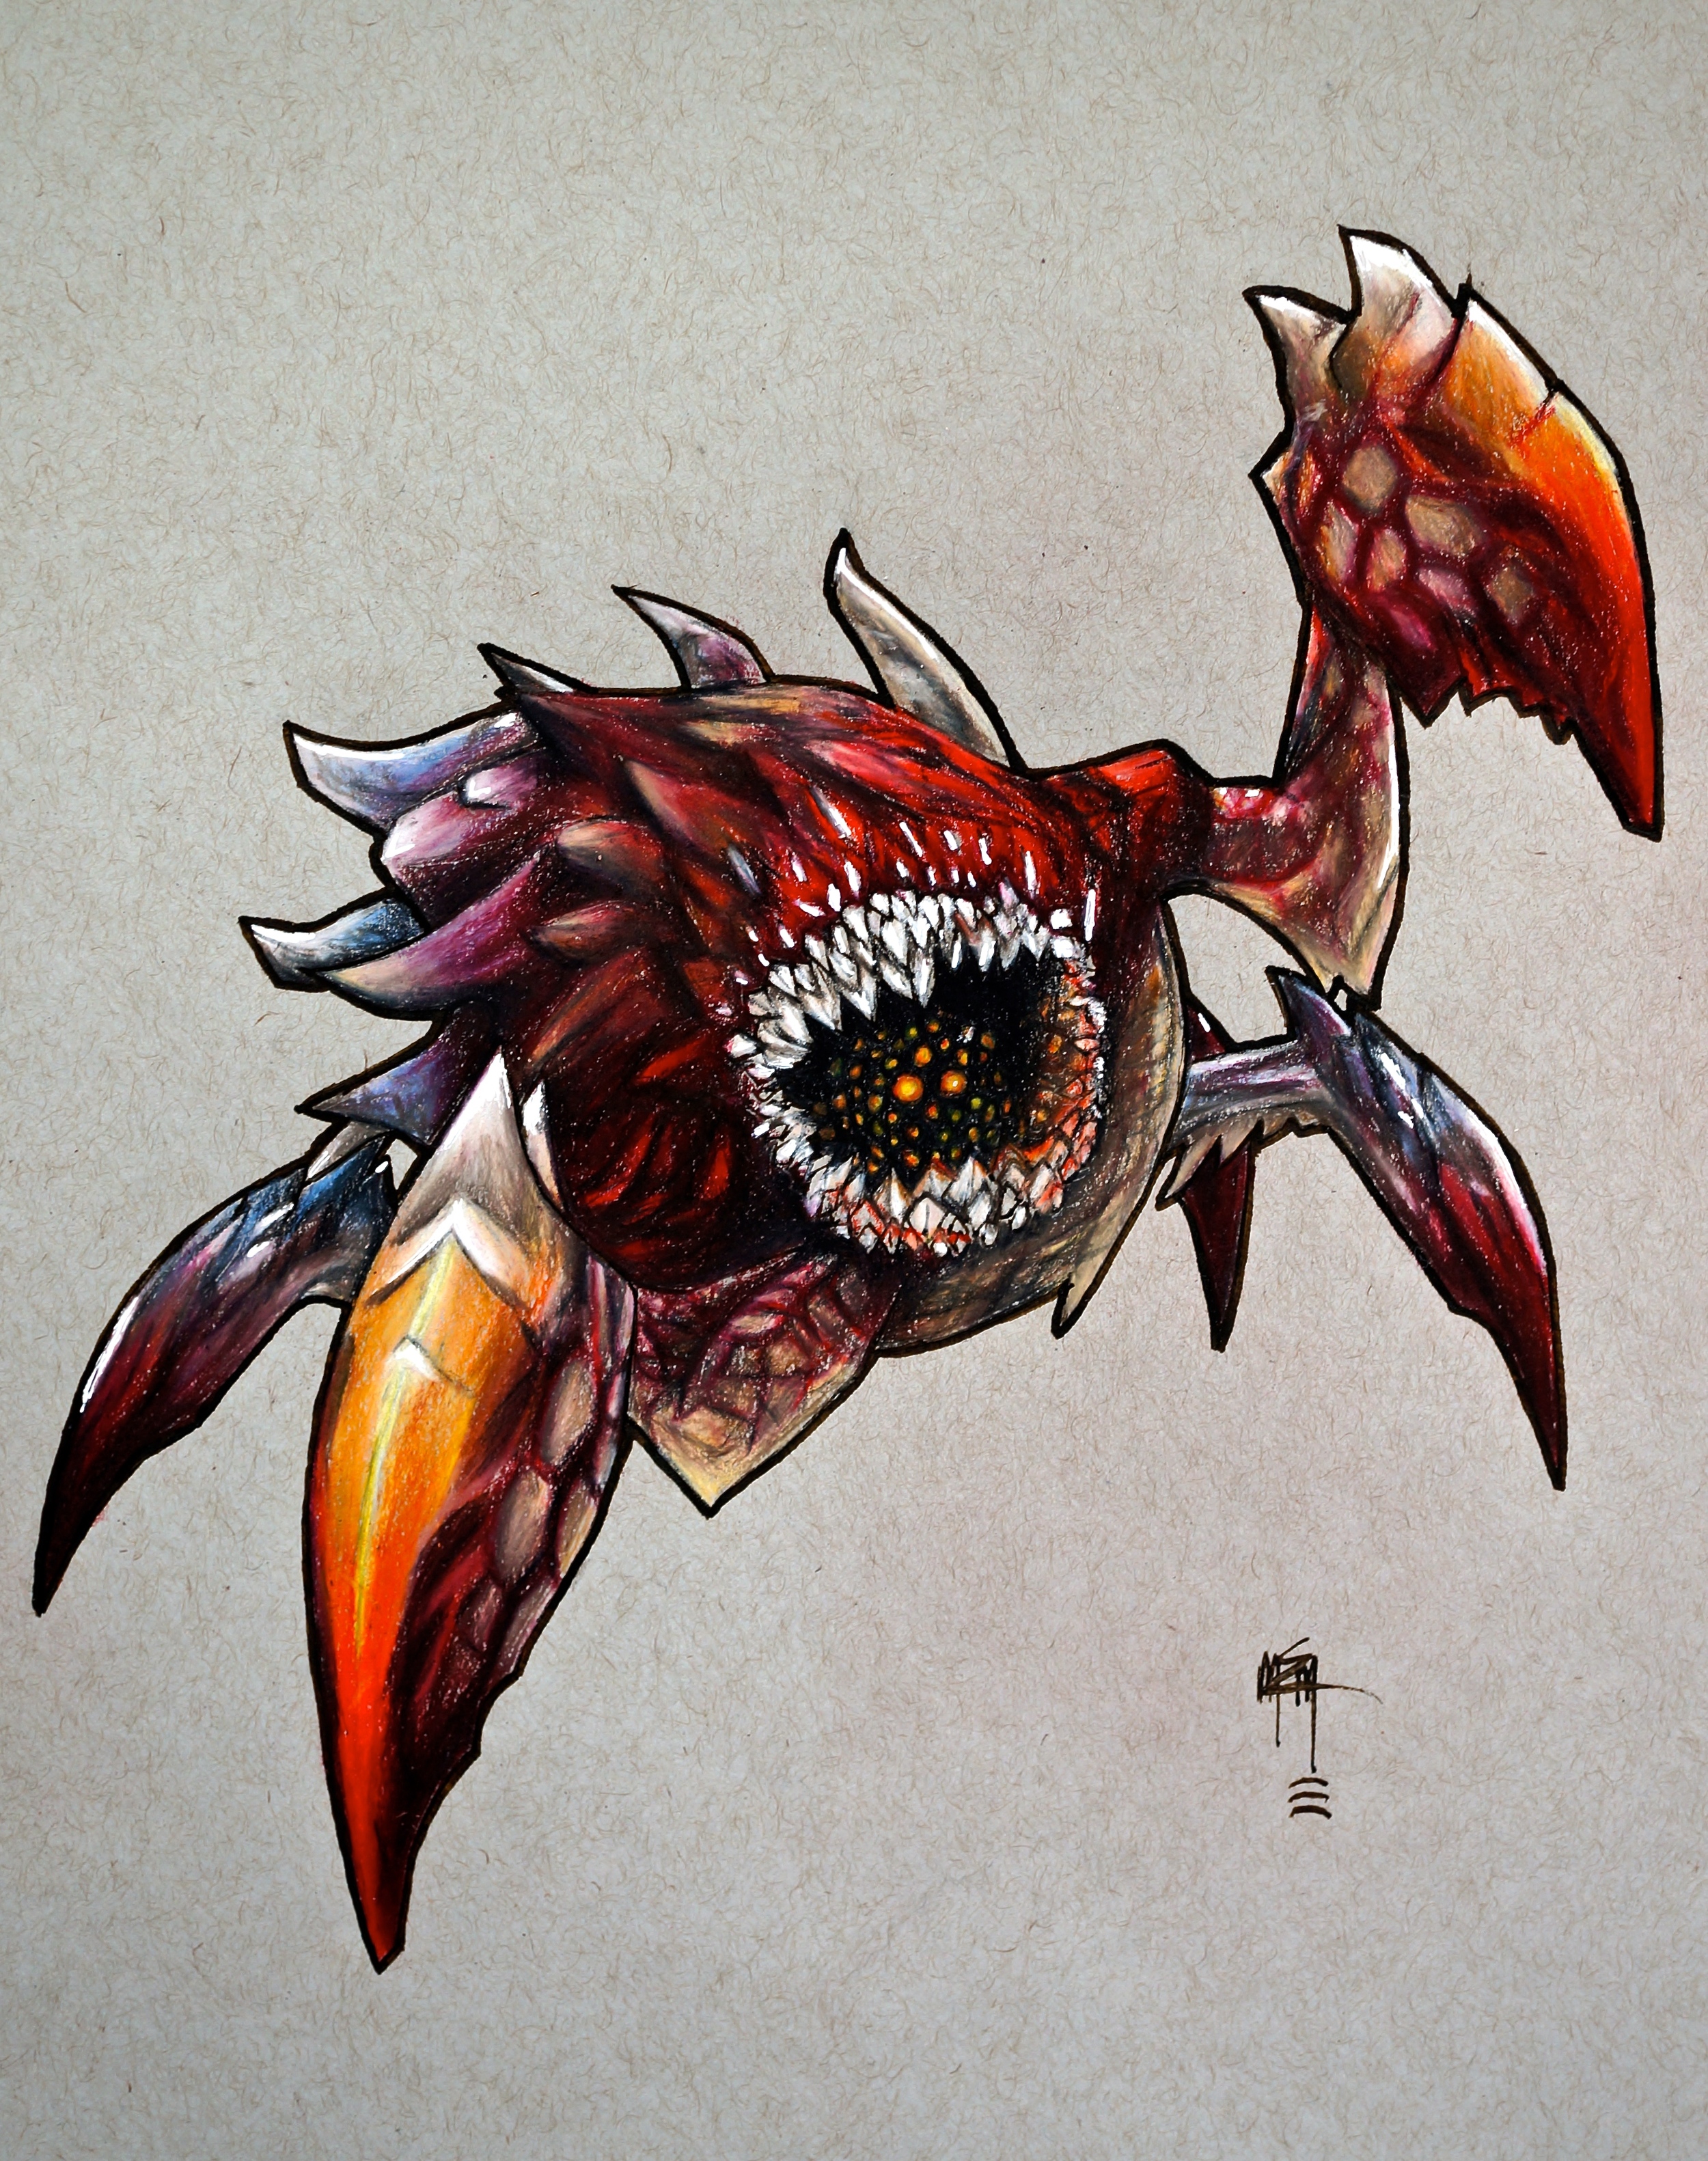
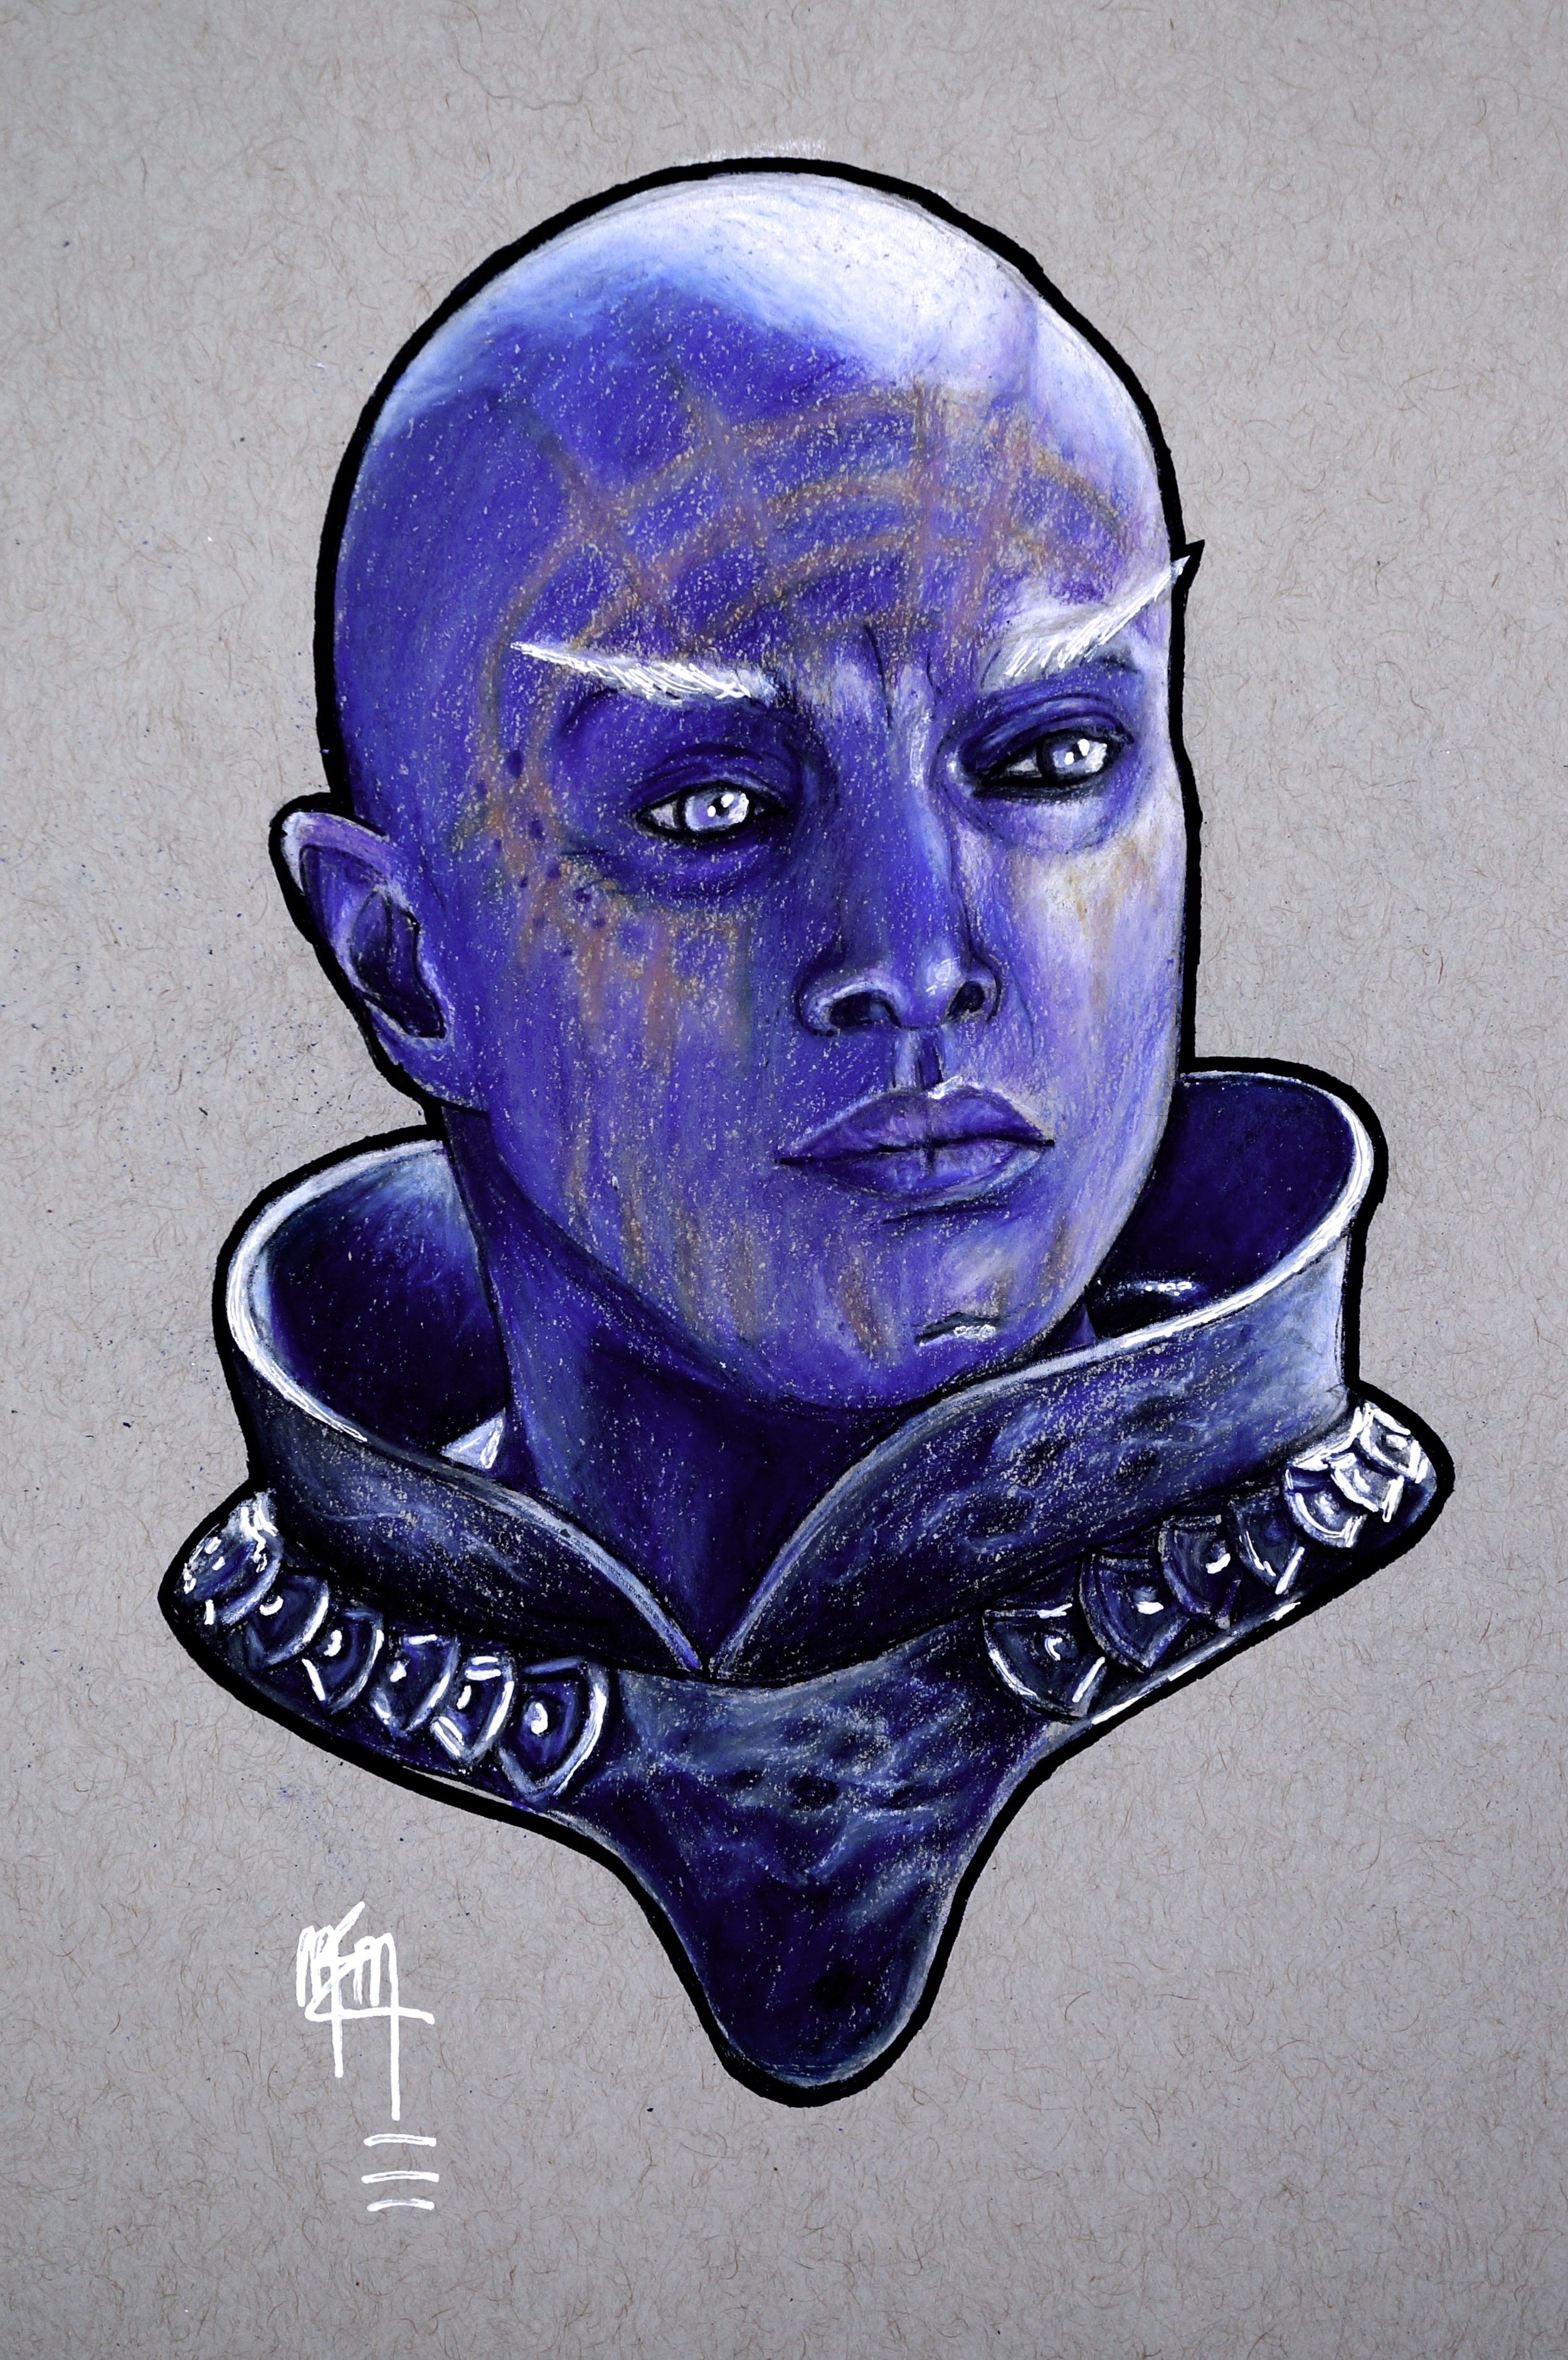
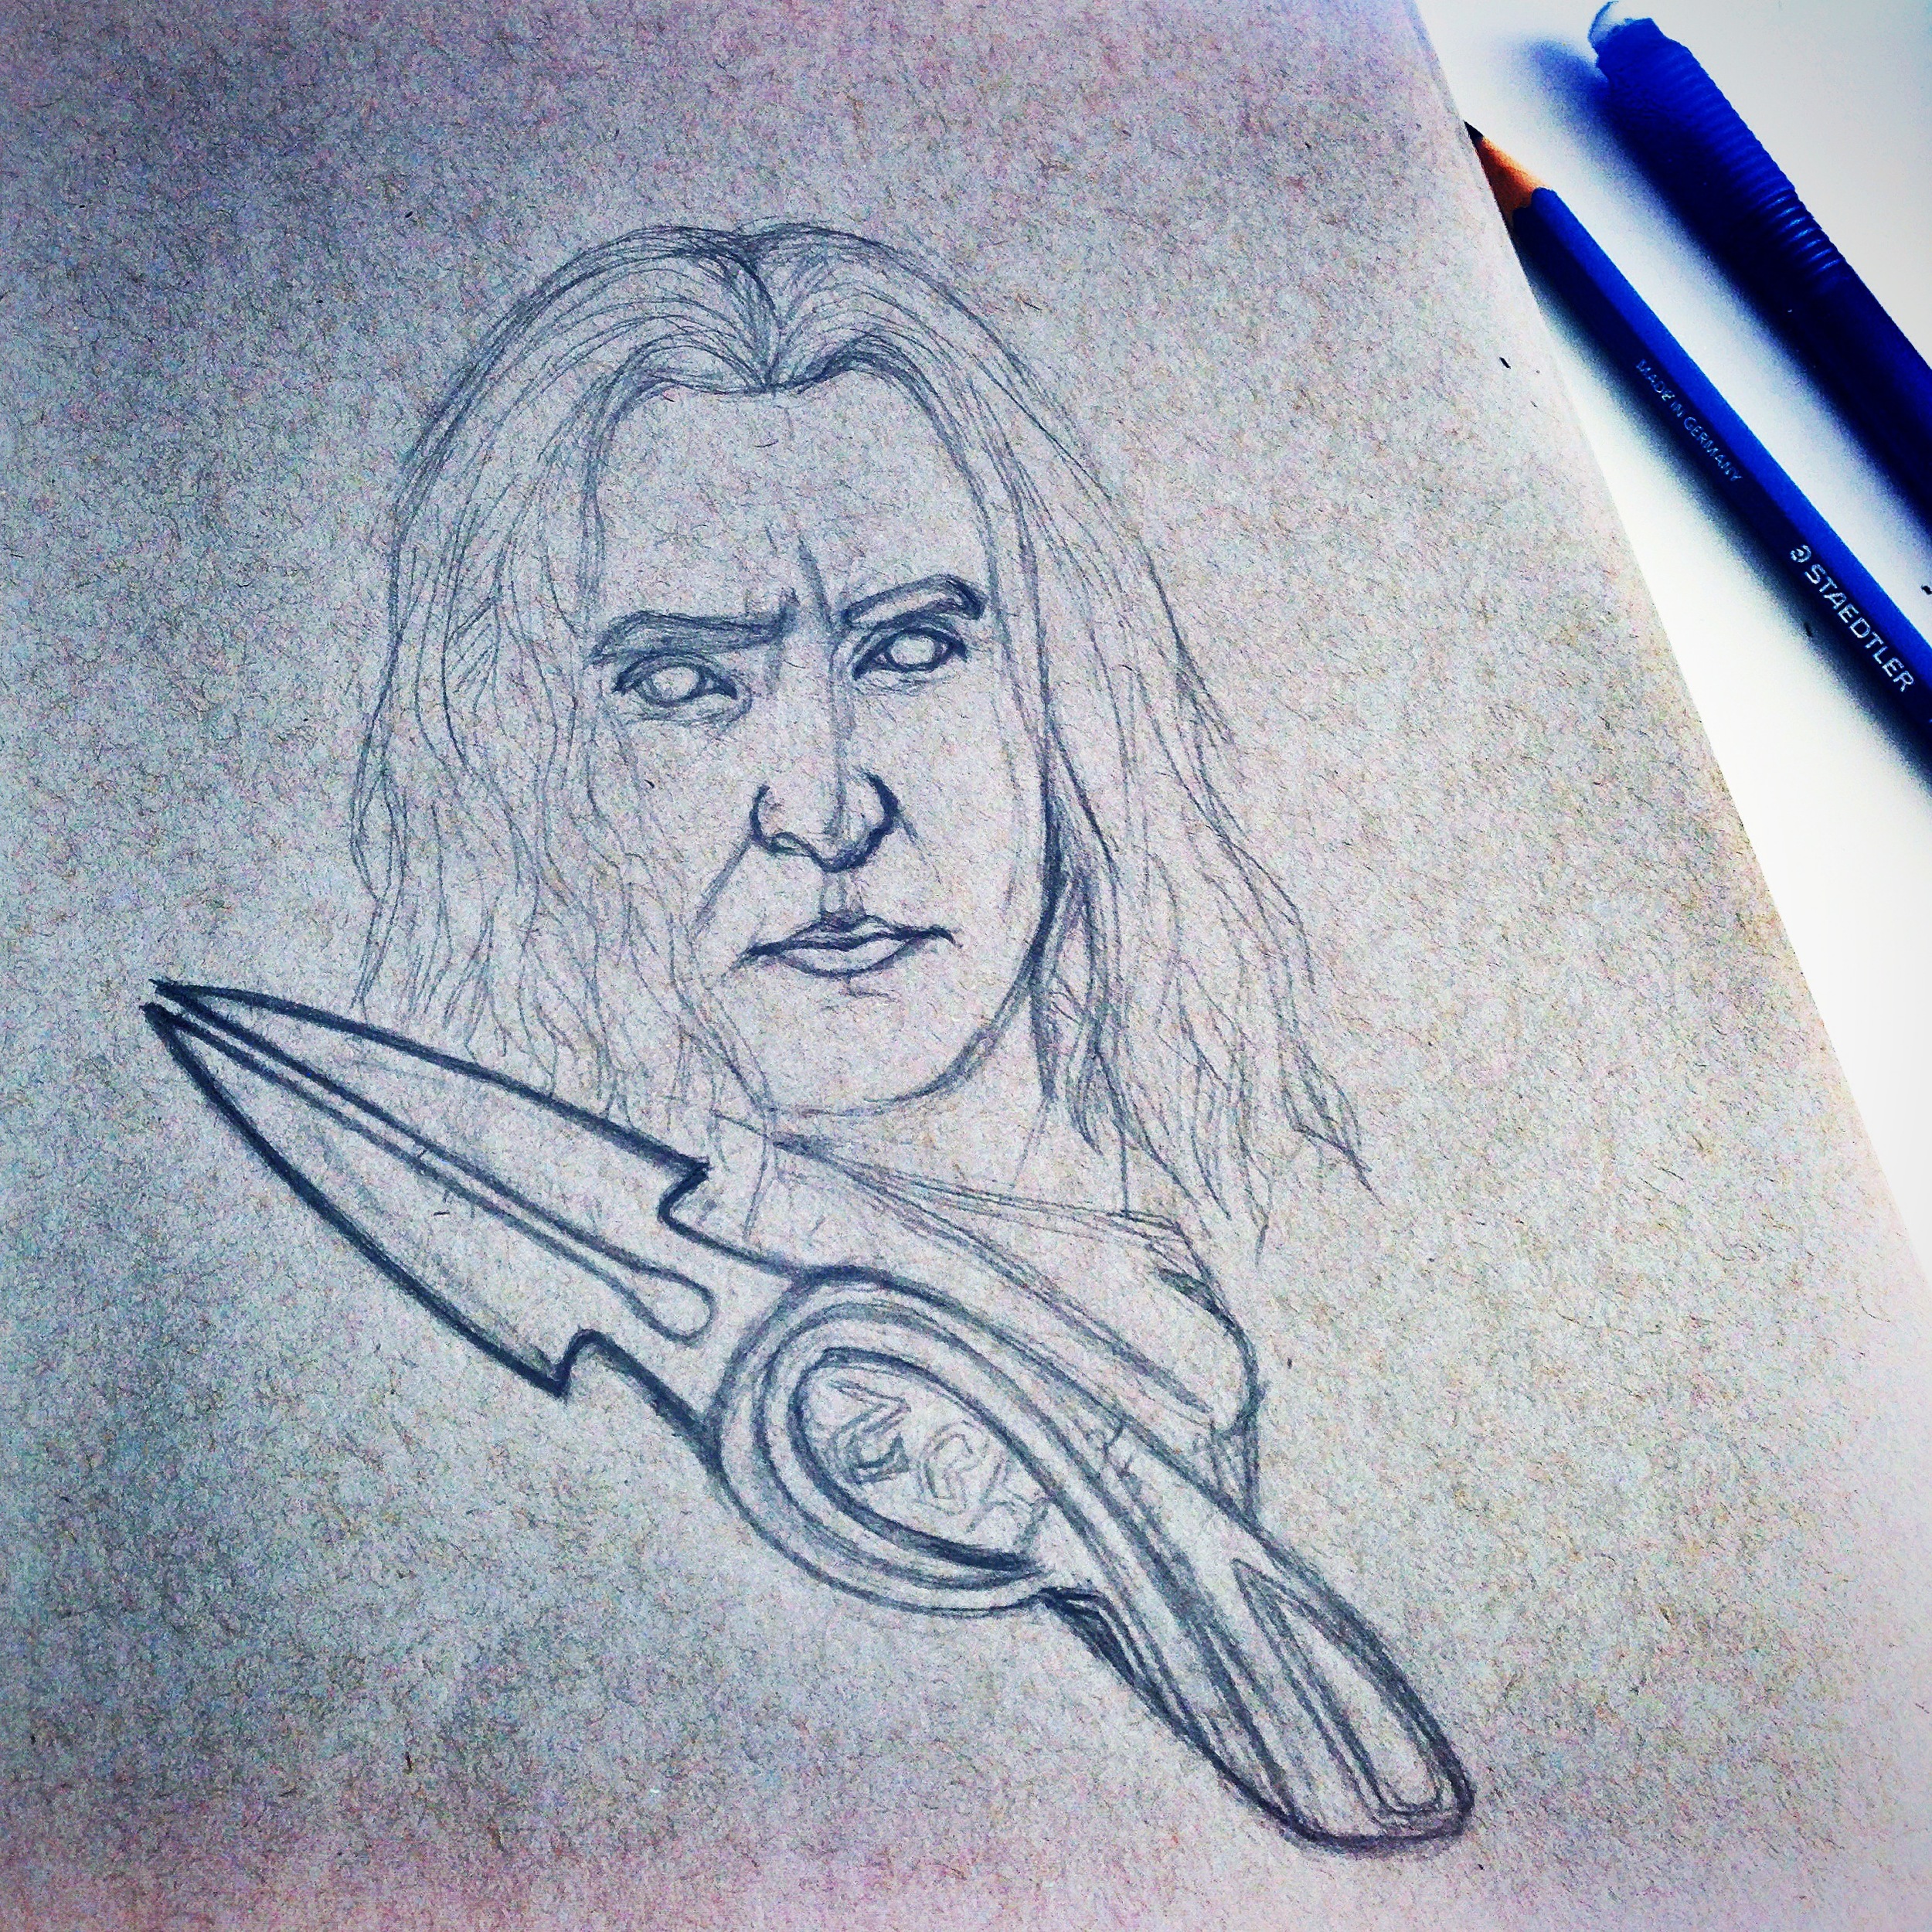
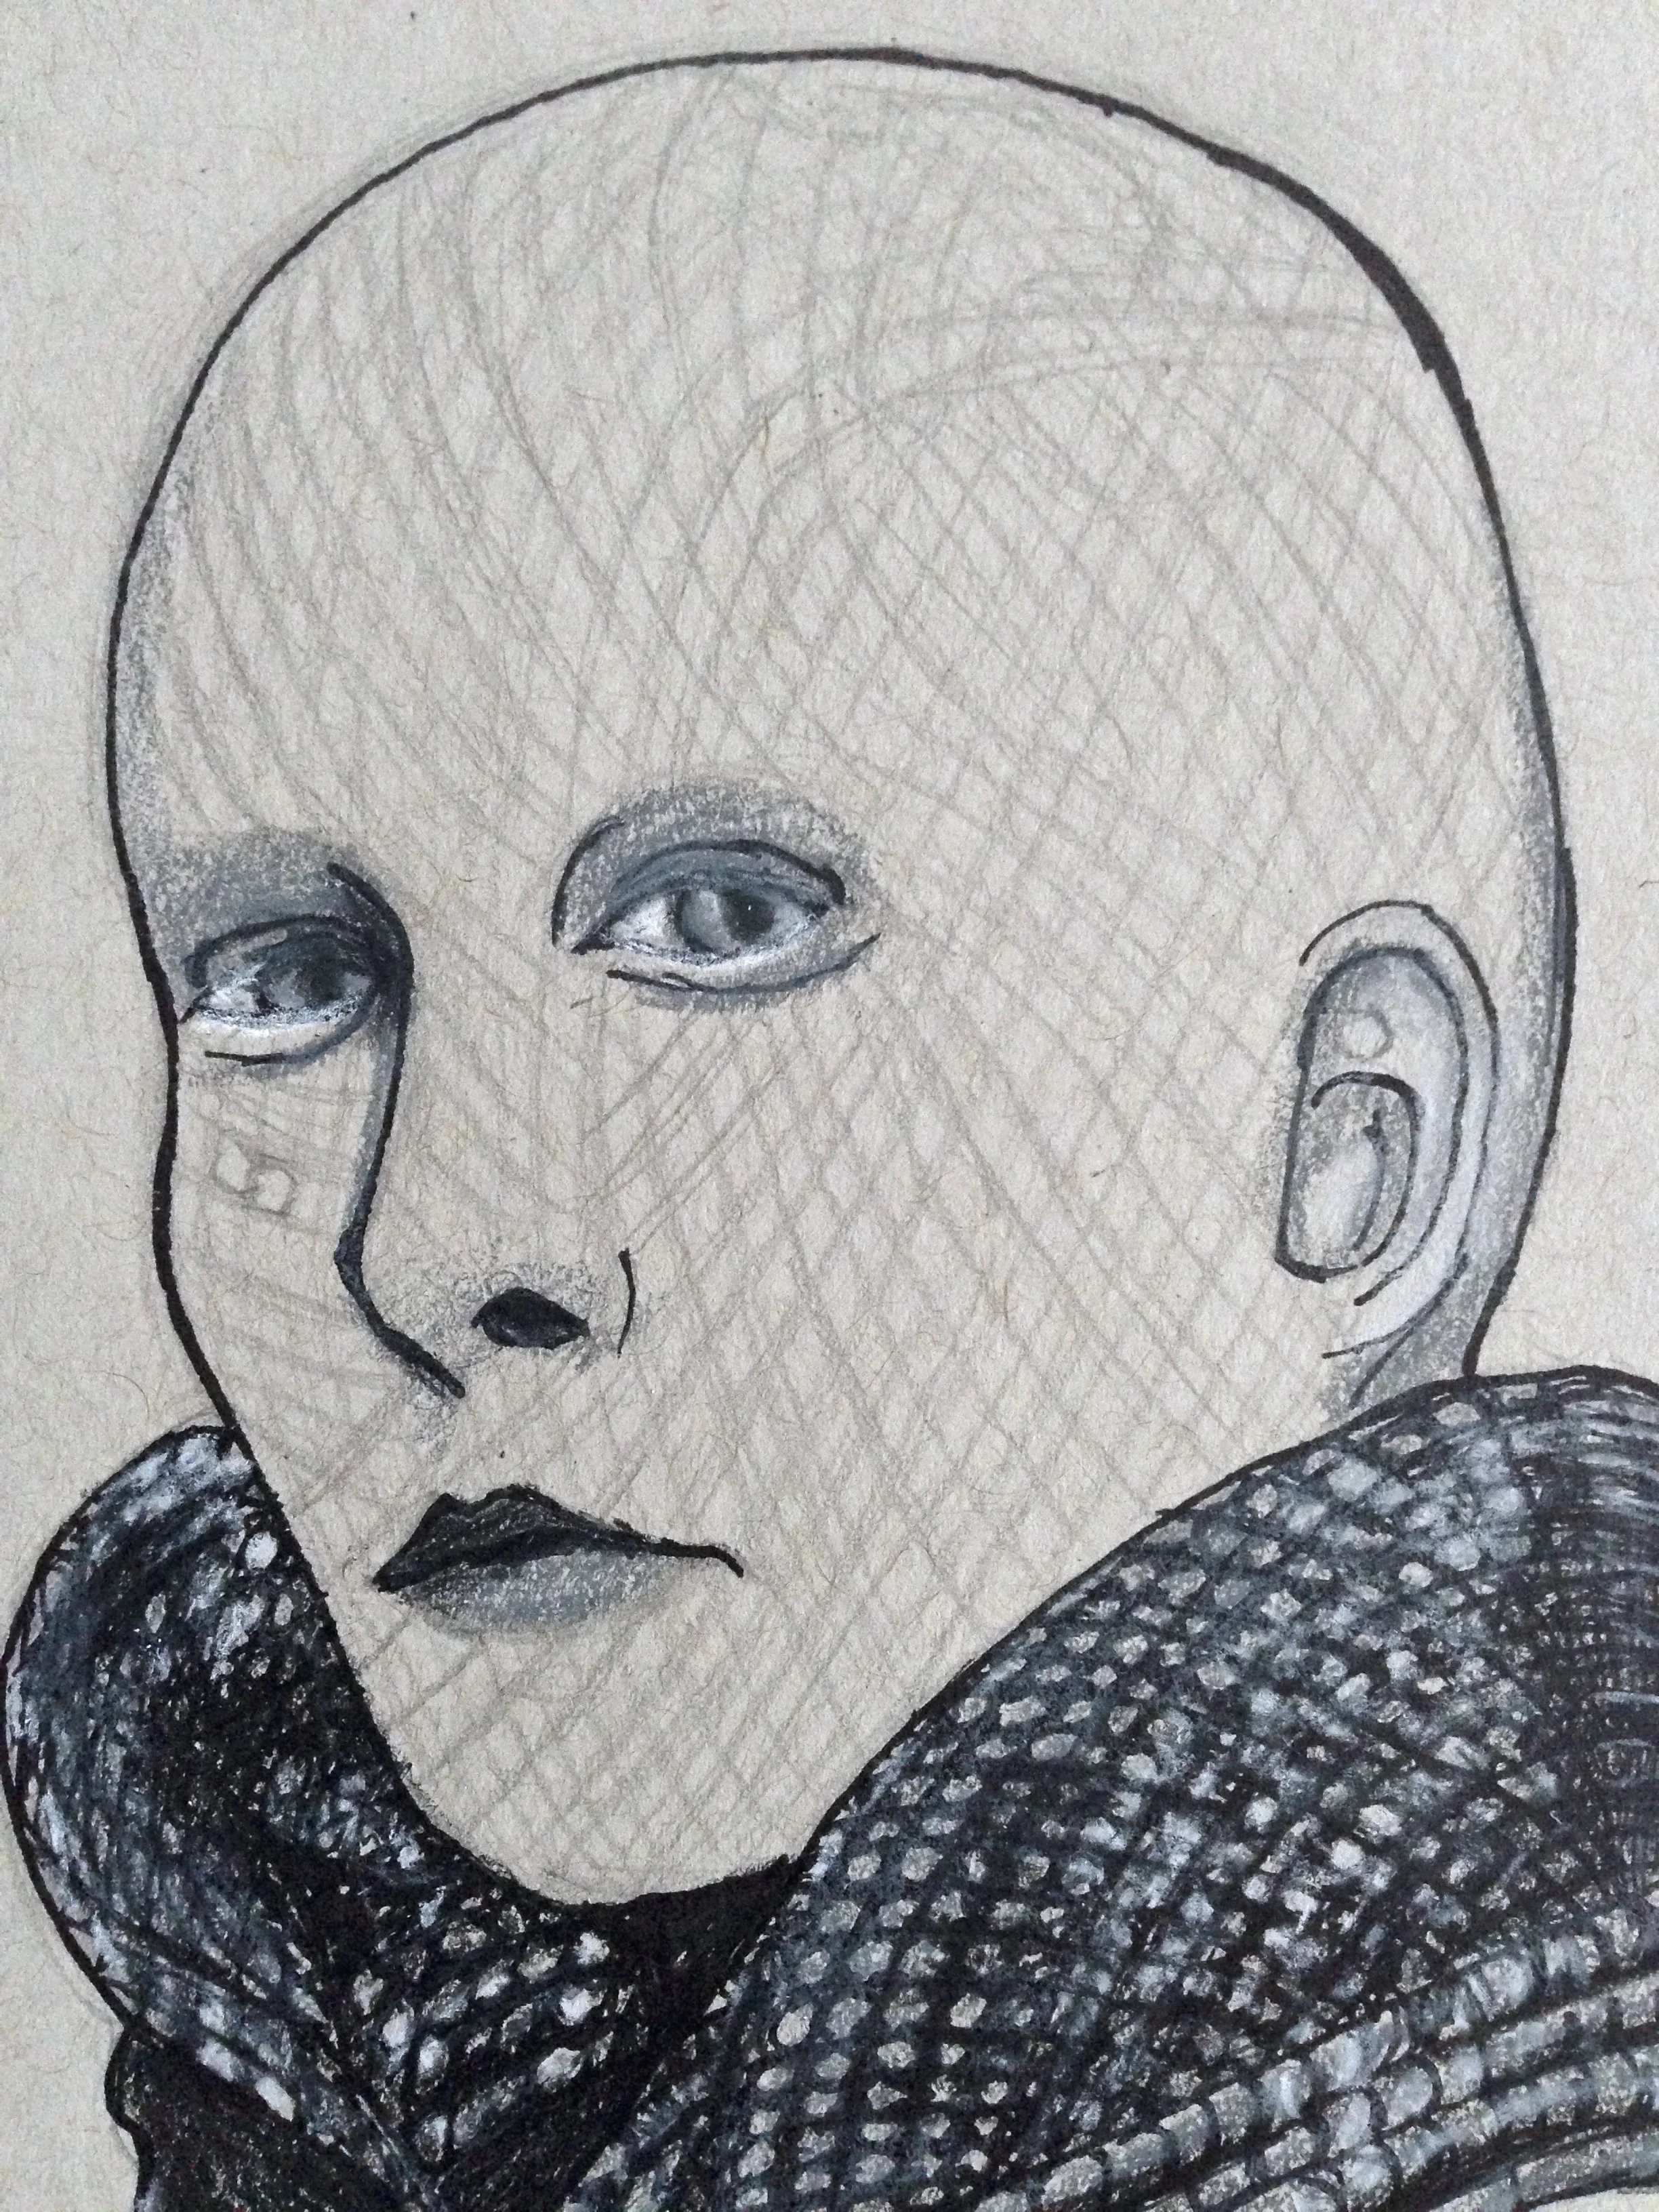
The Dangerous One Process


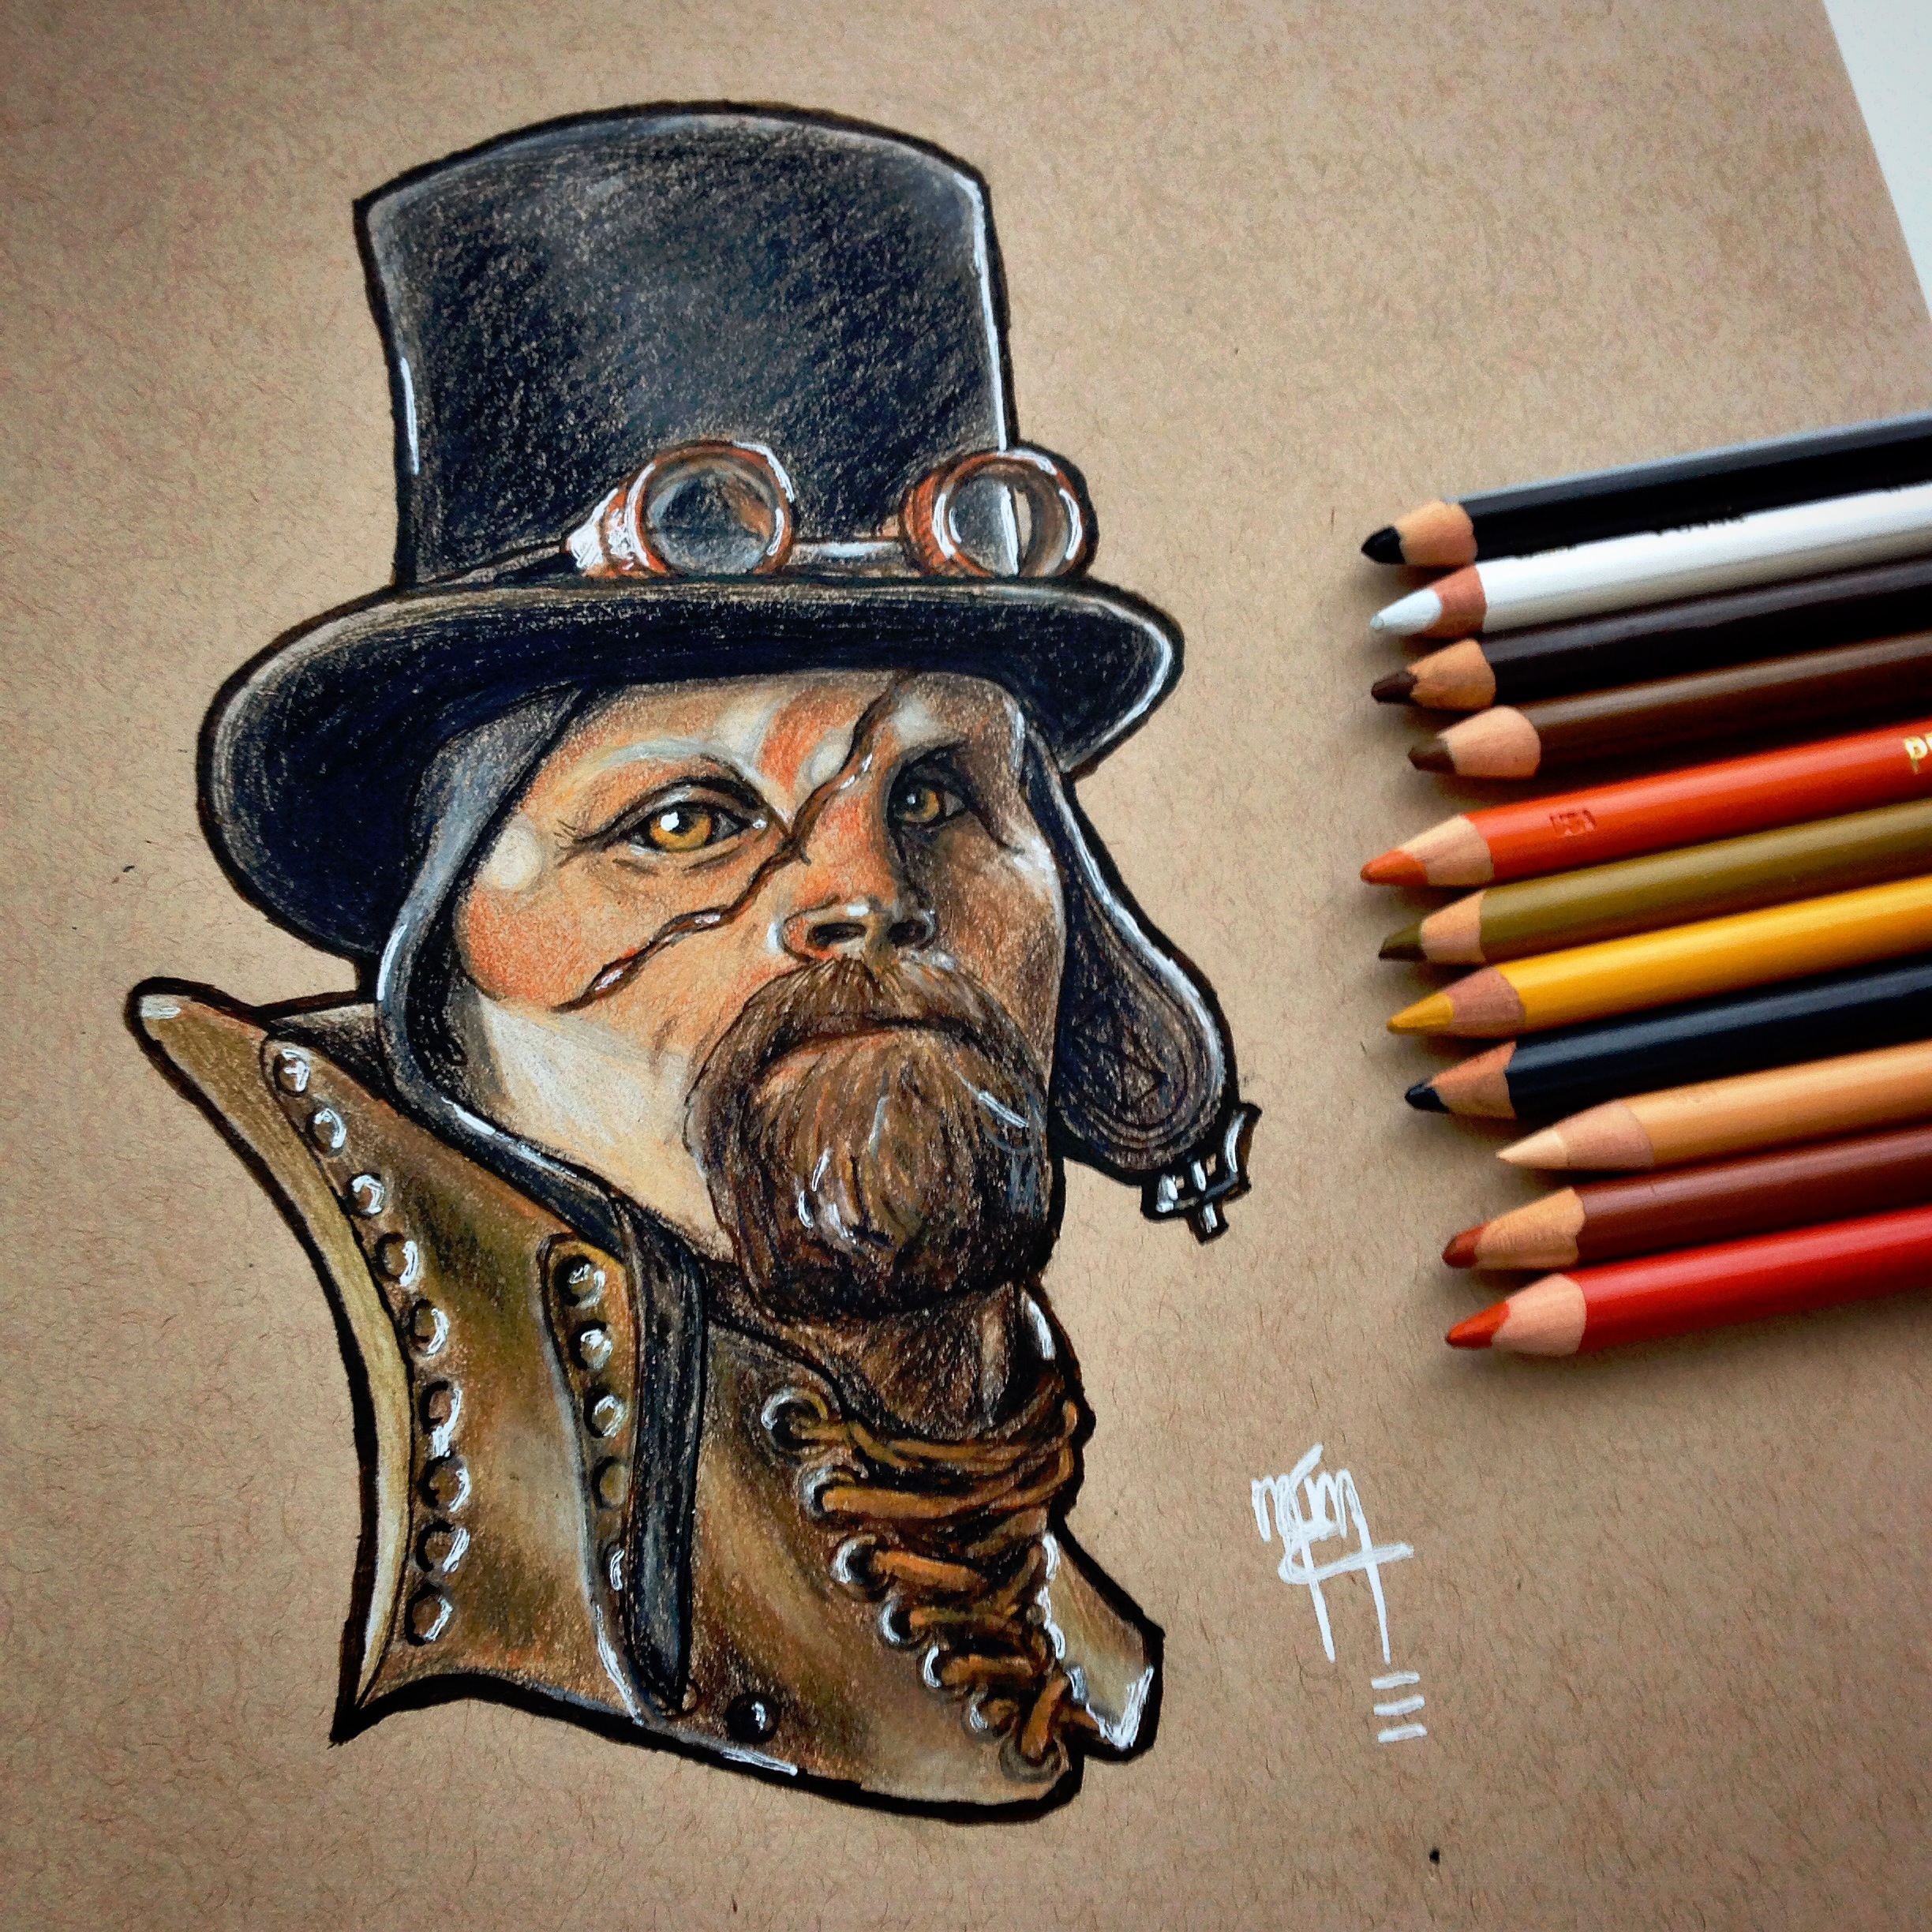
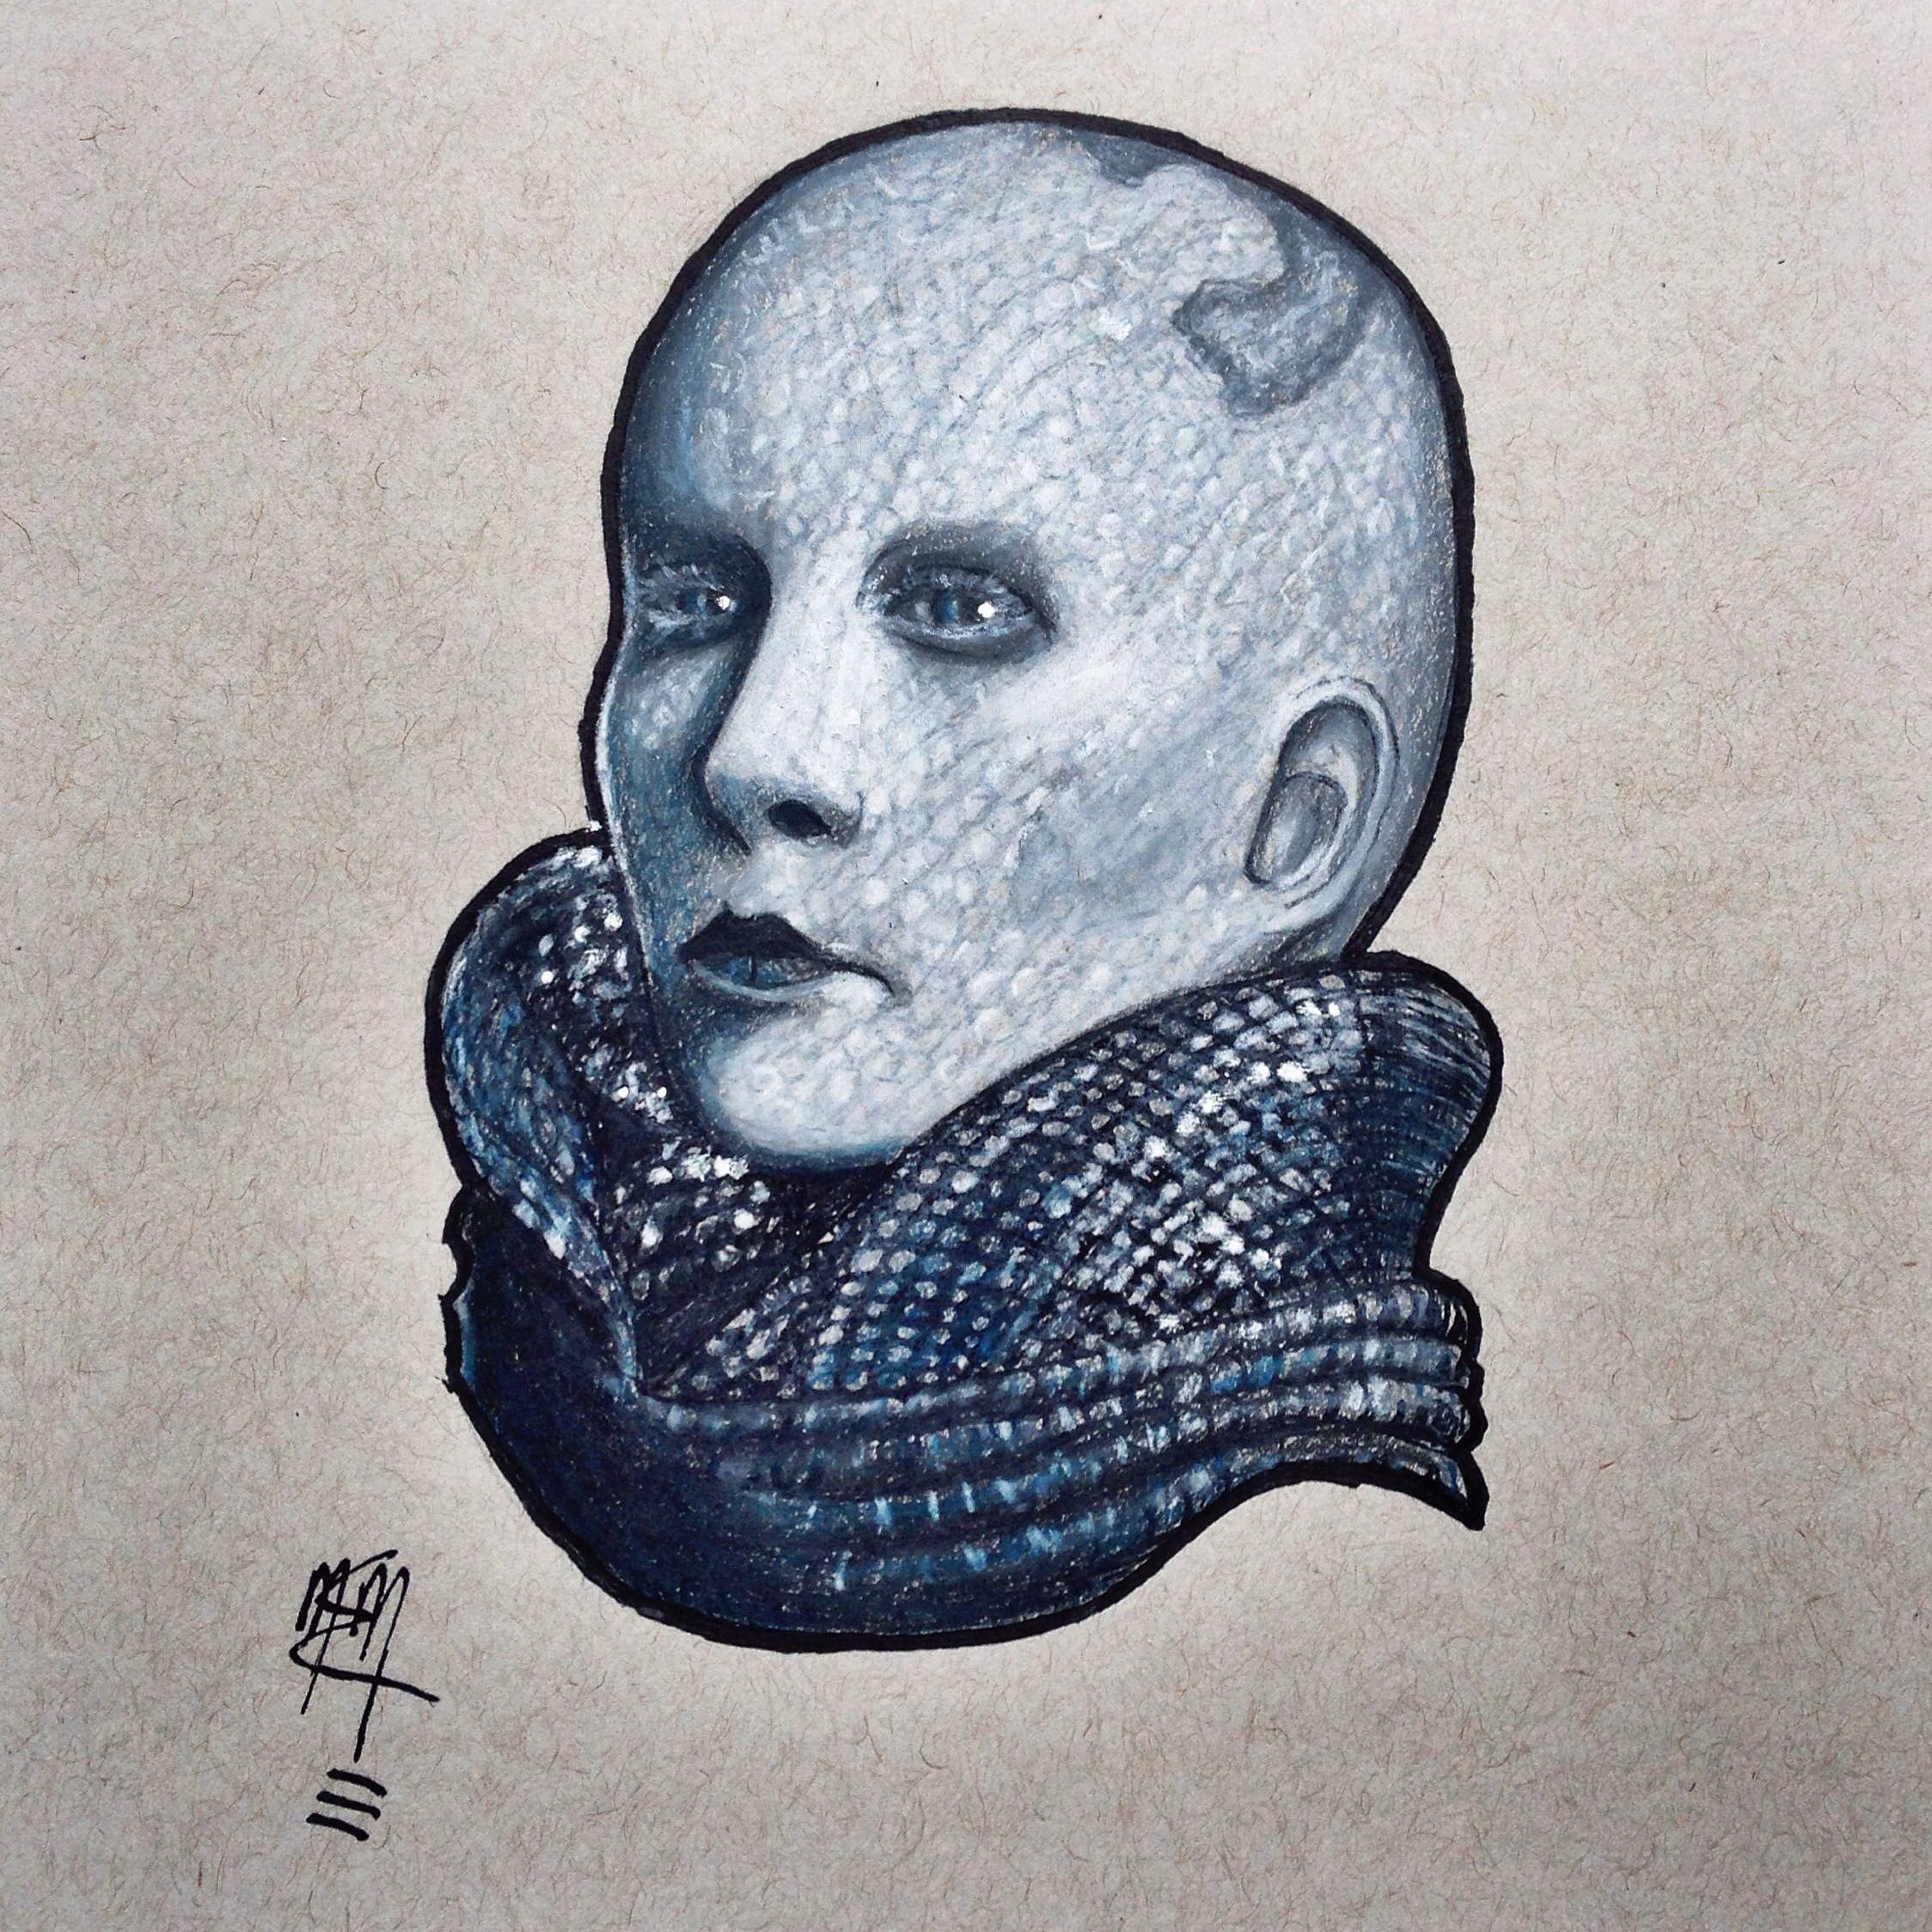
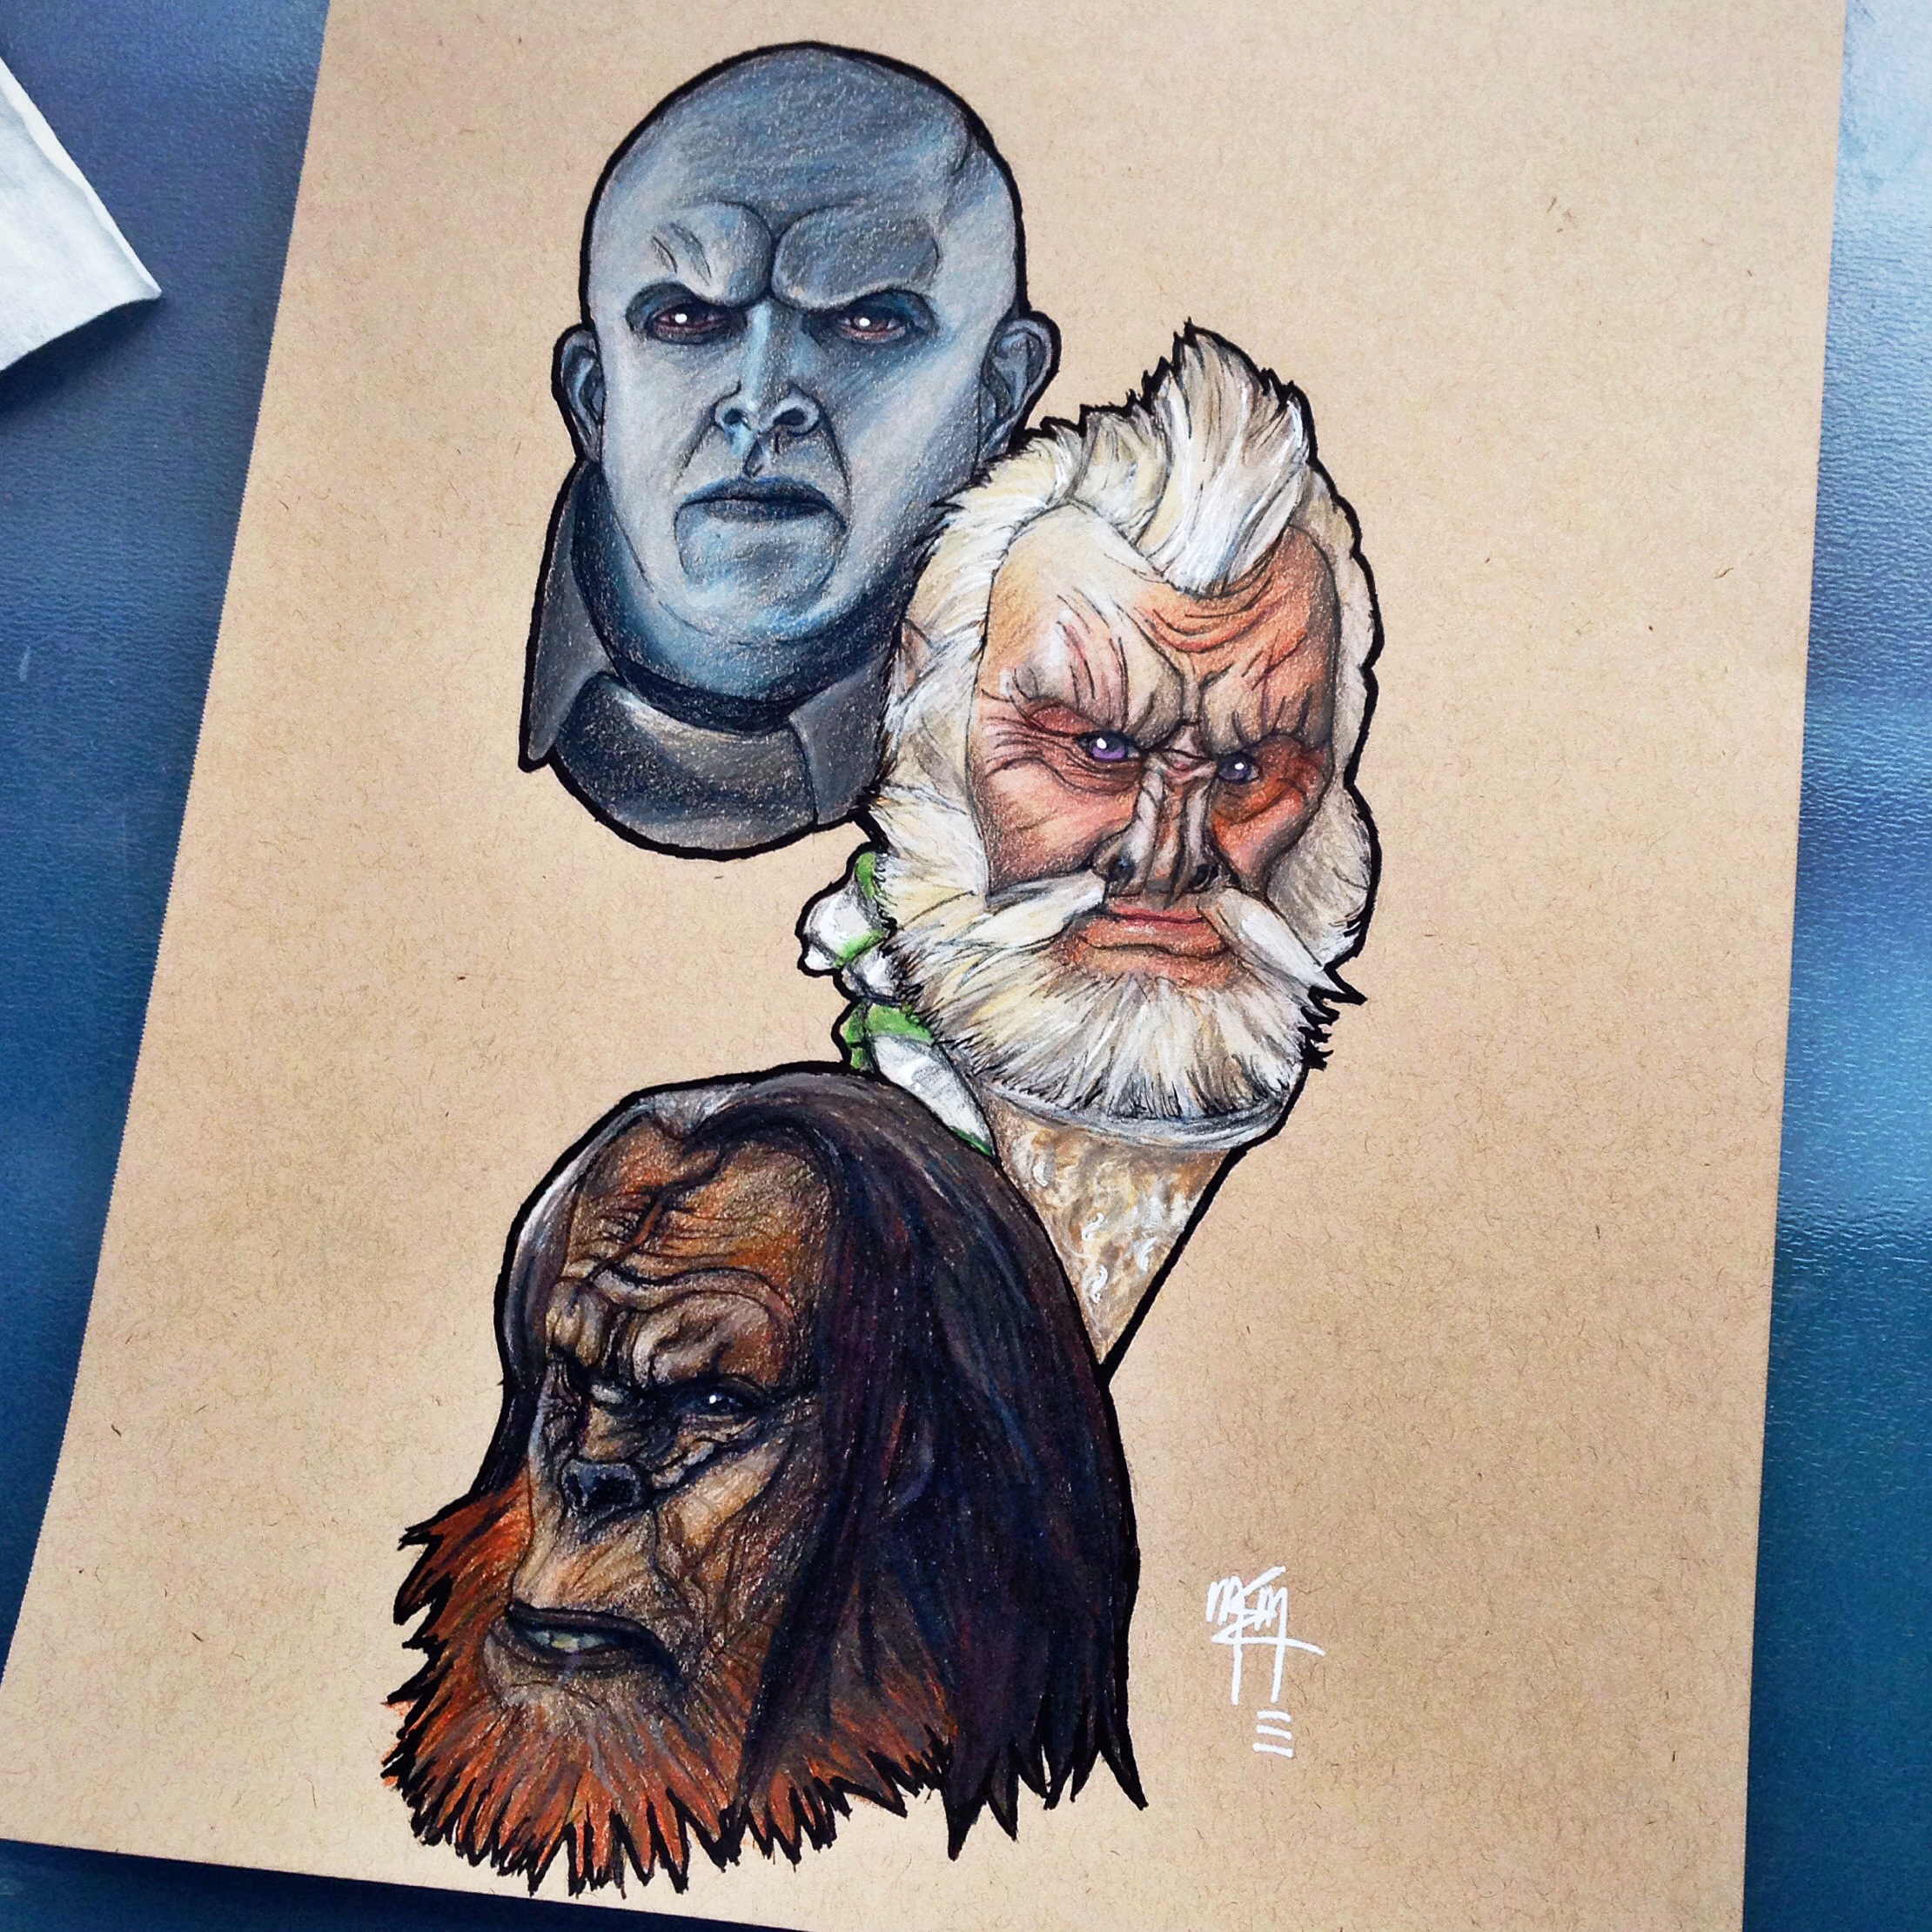
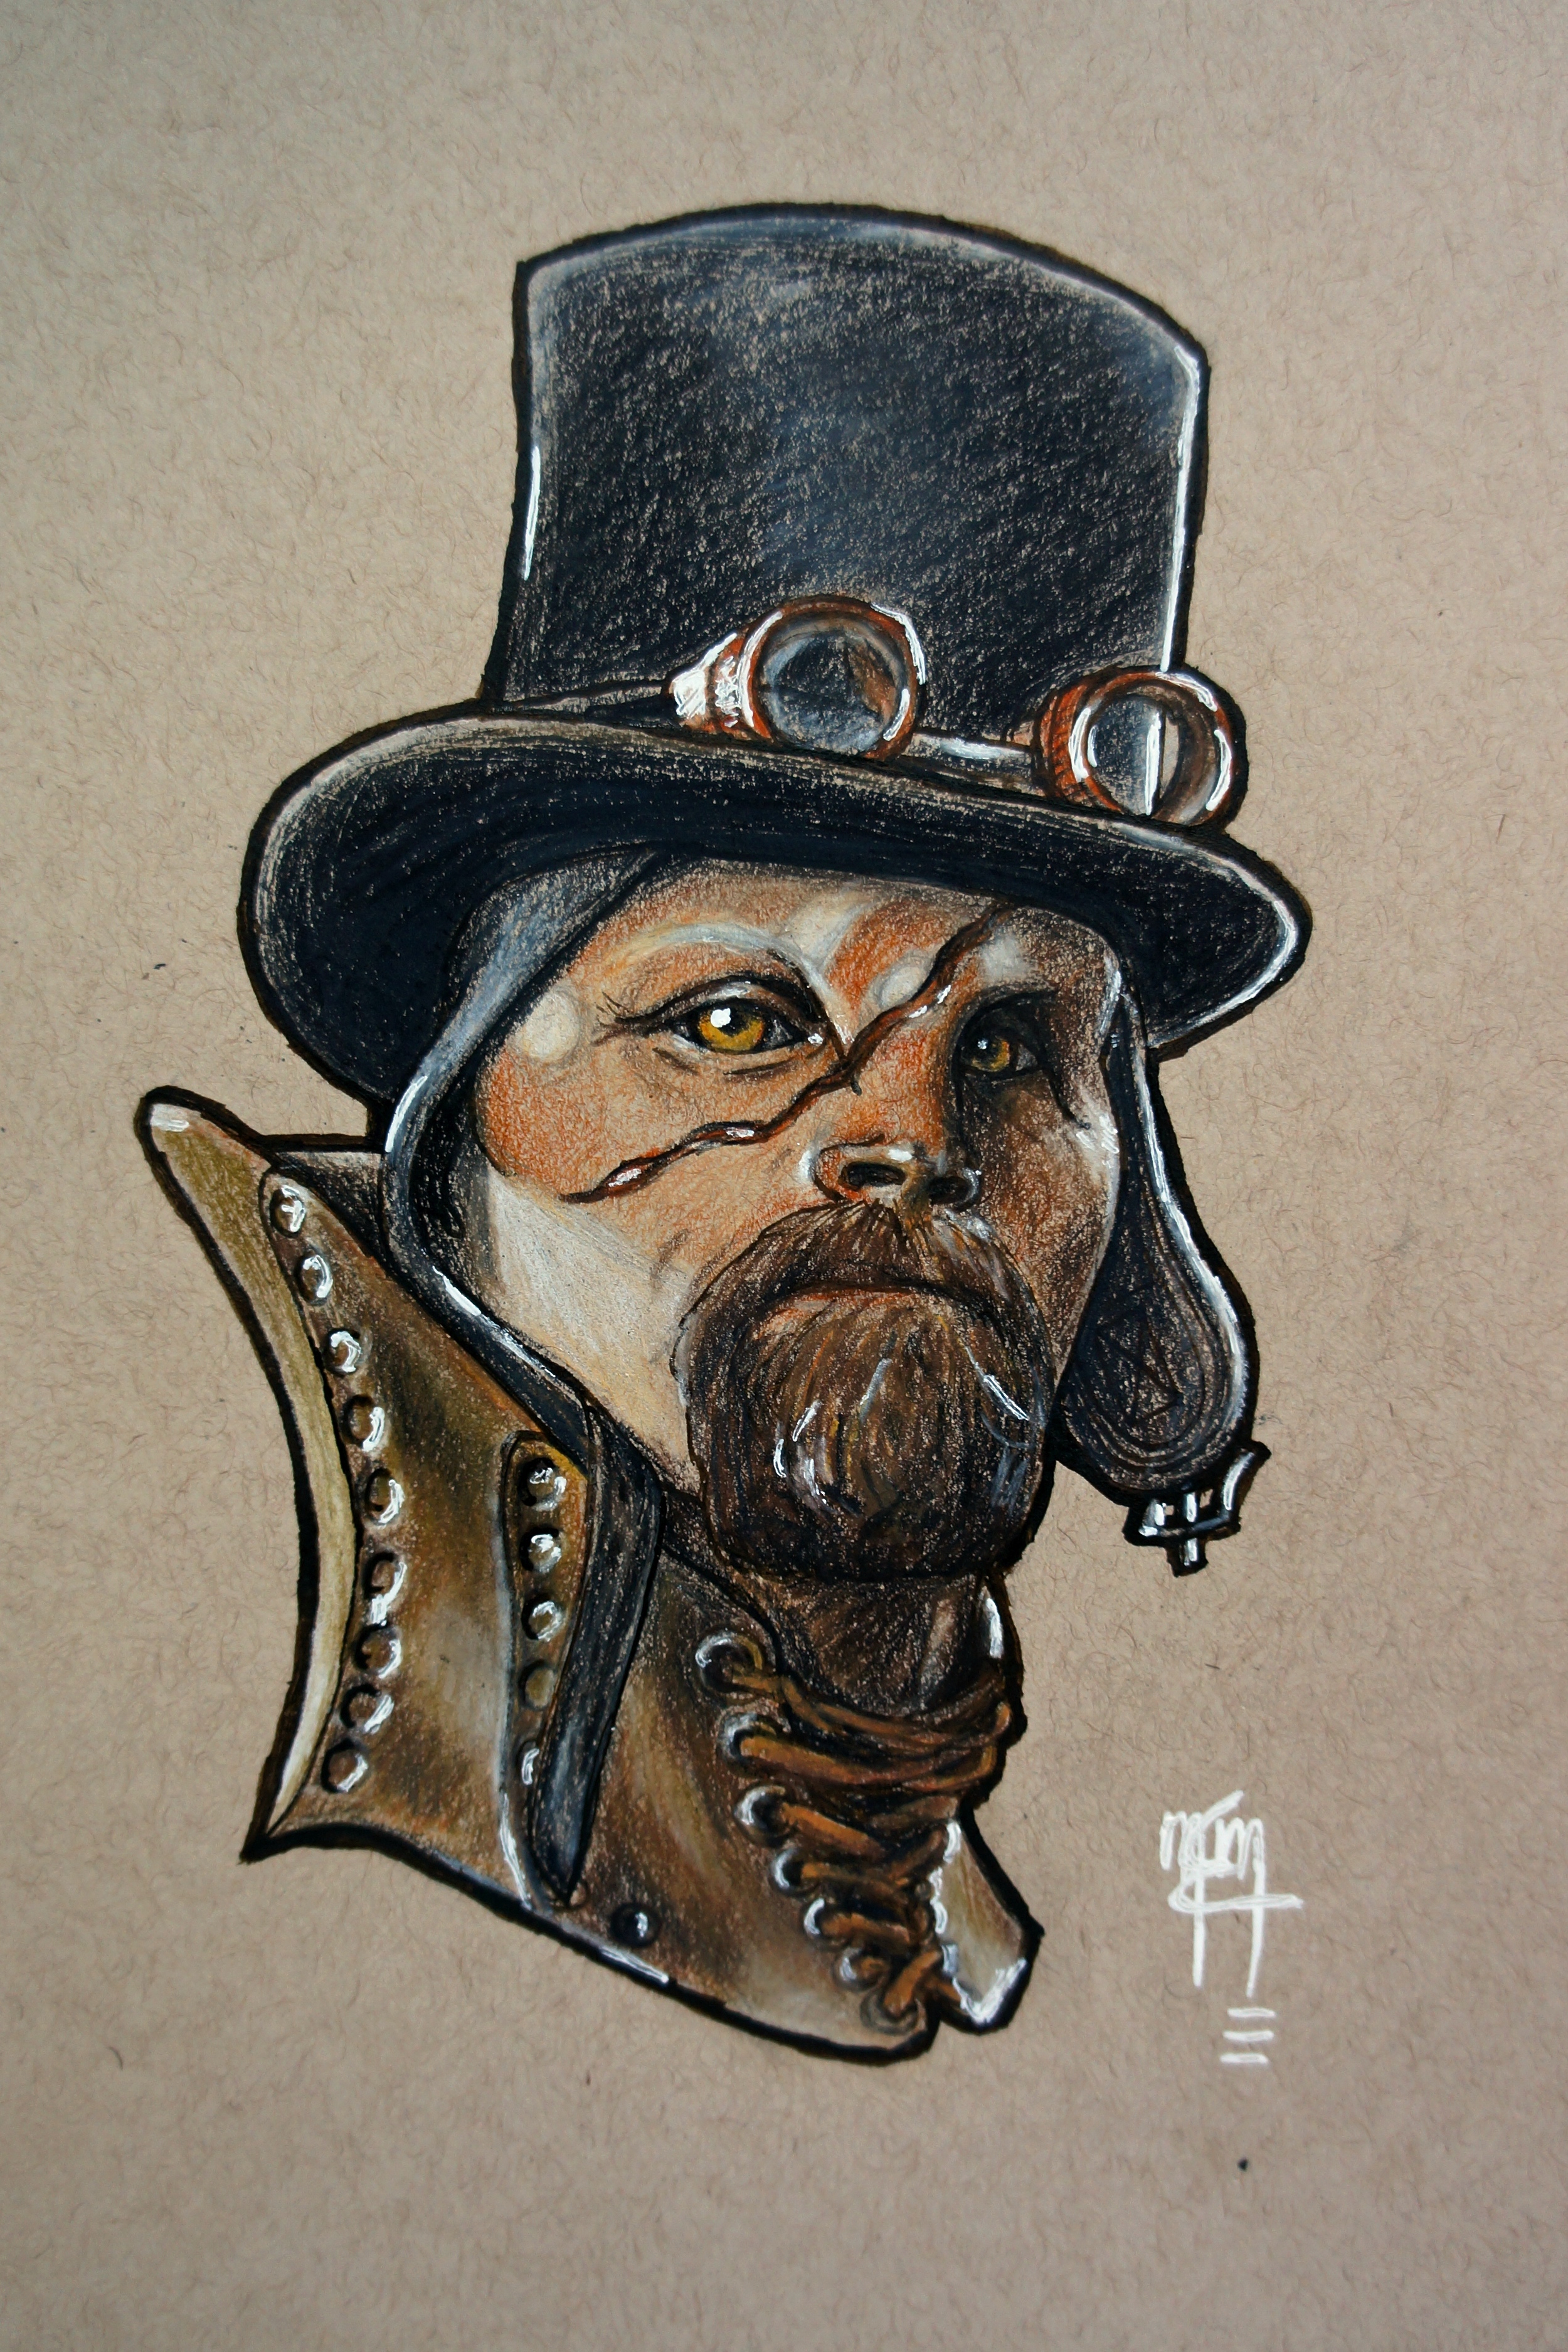
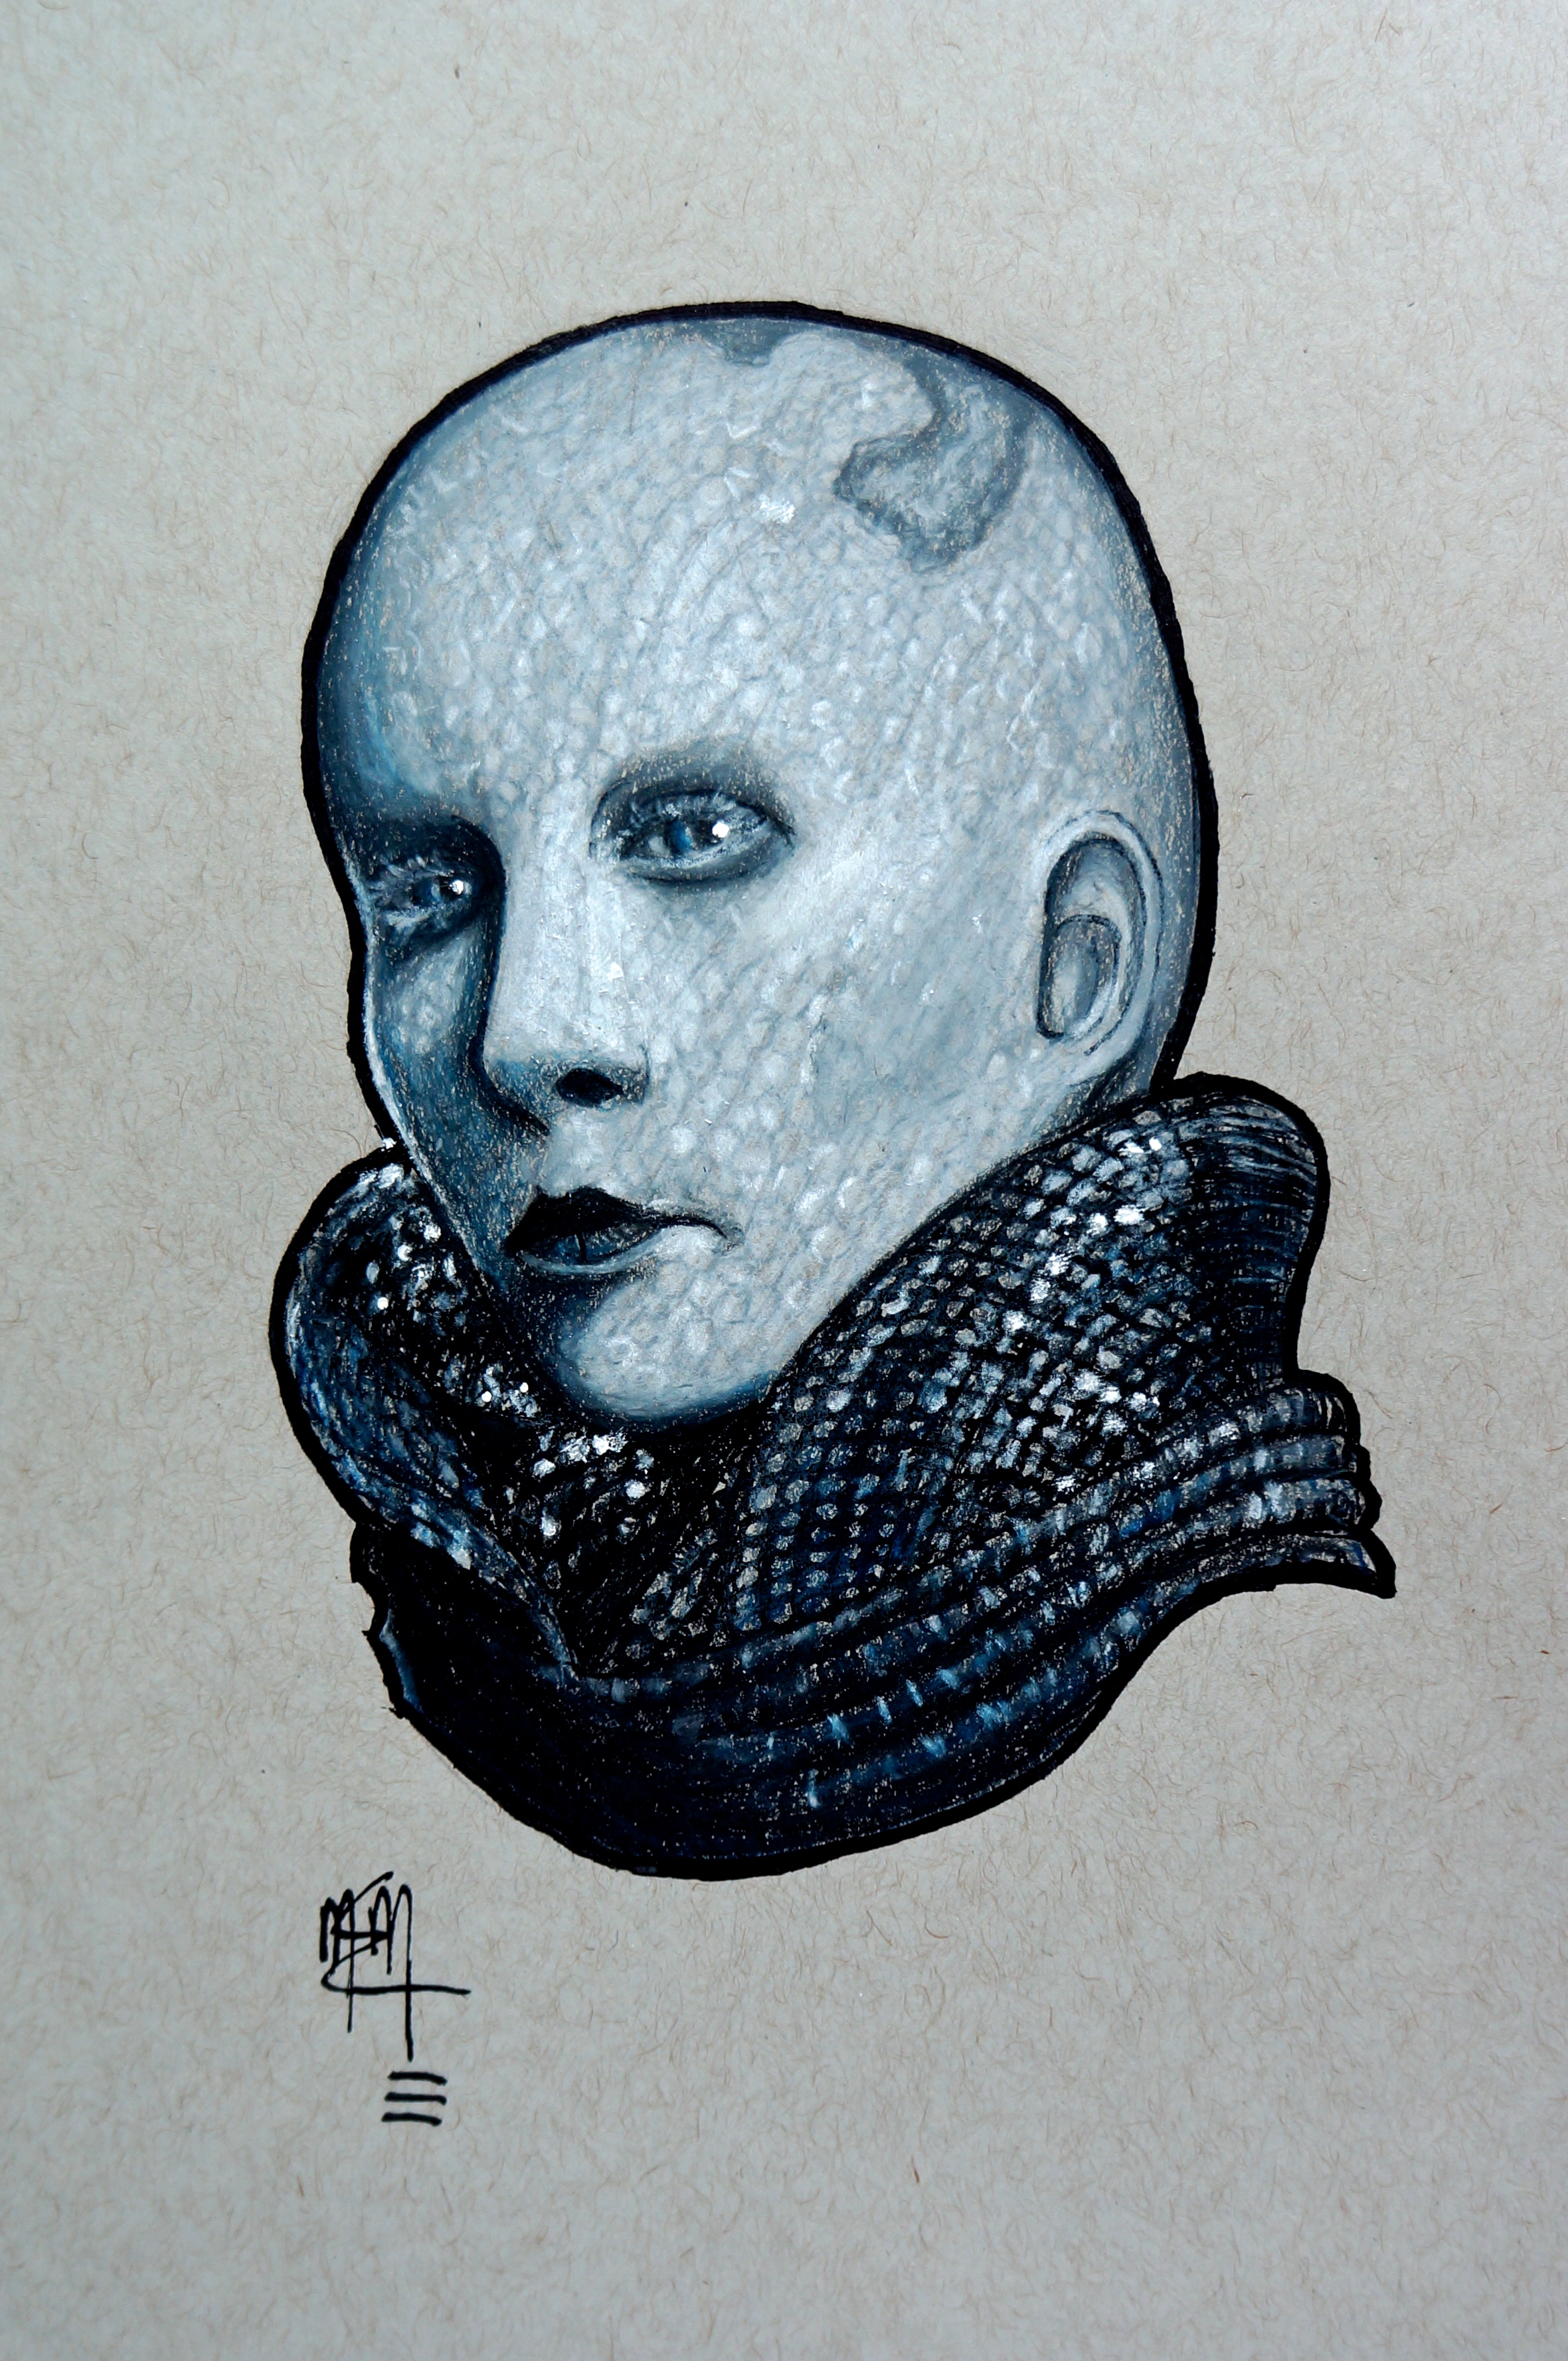
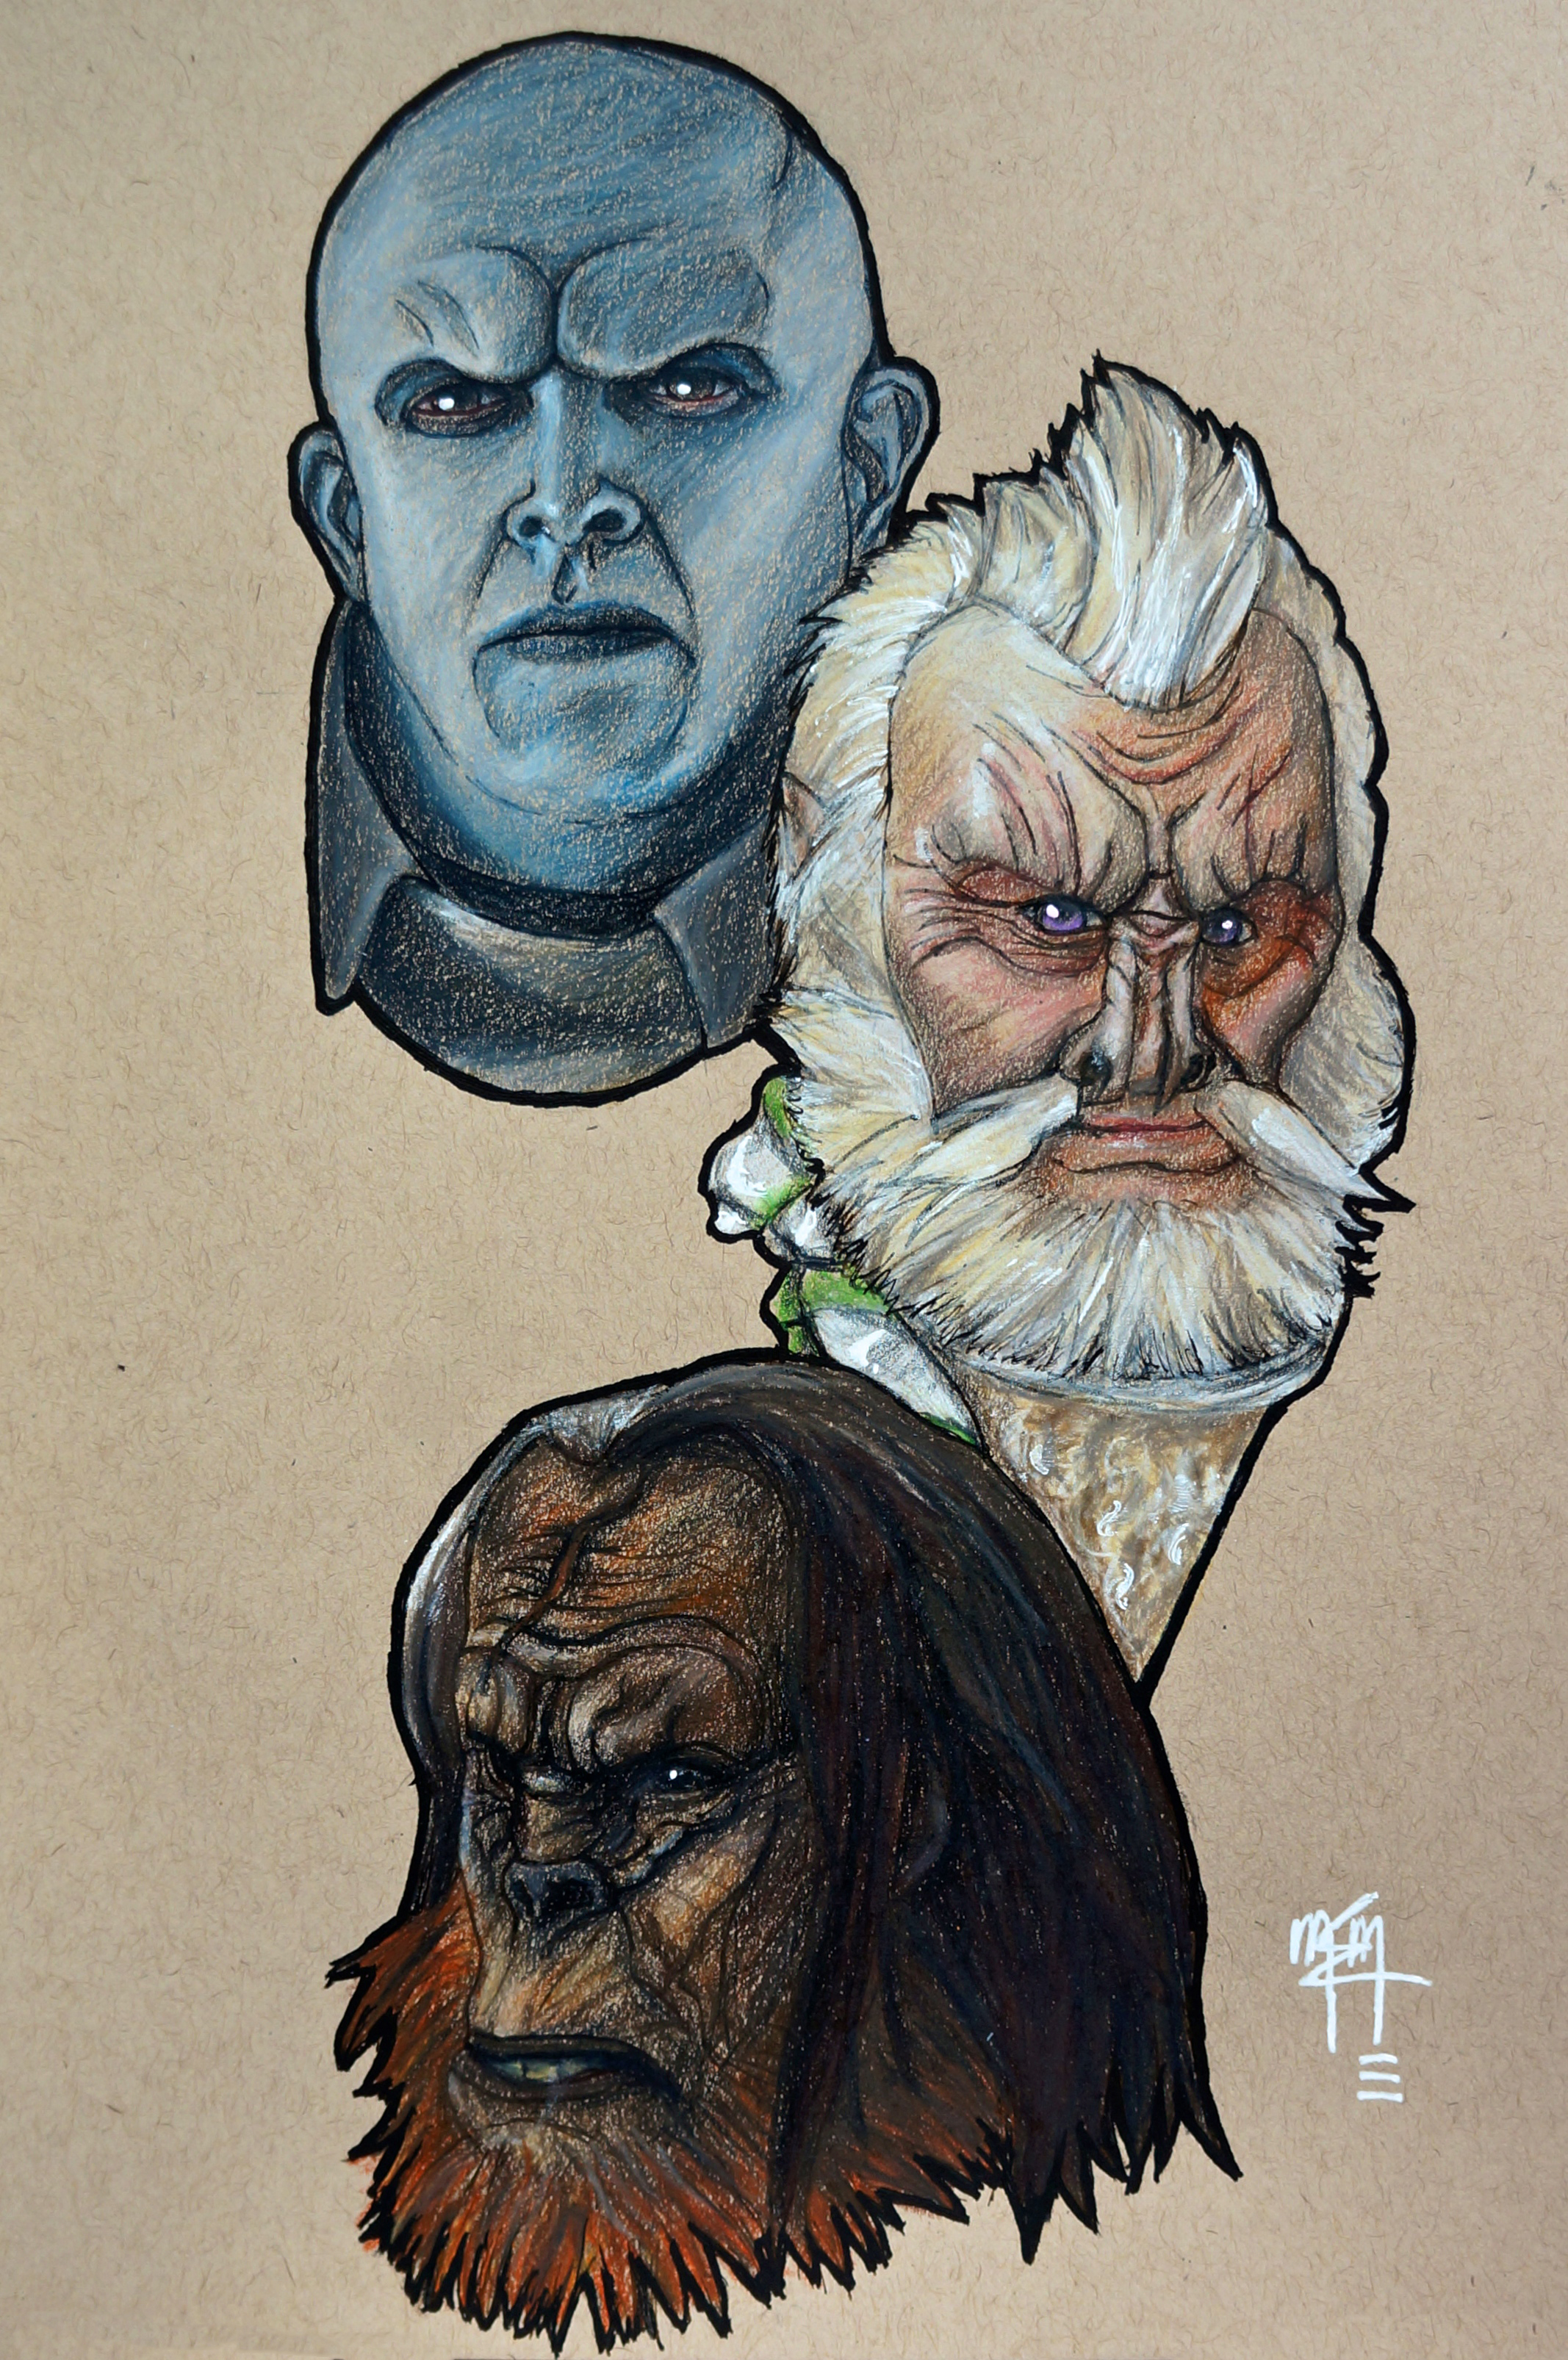
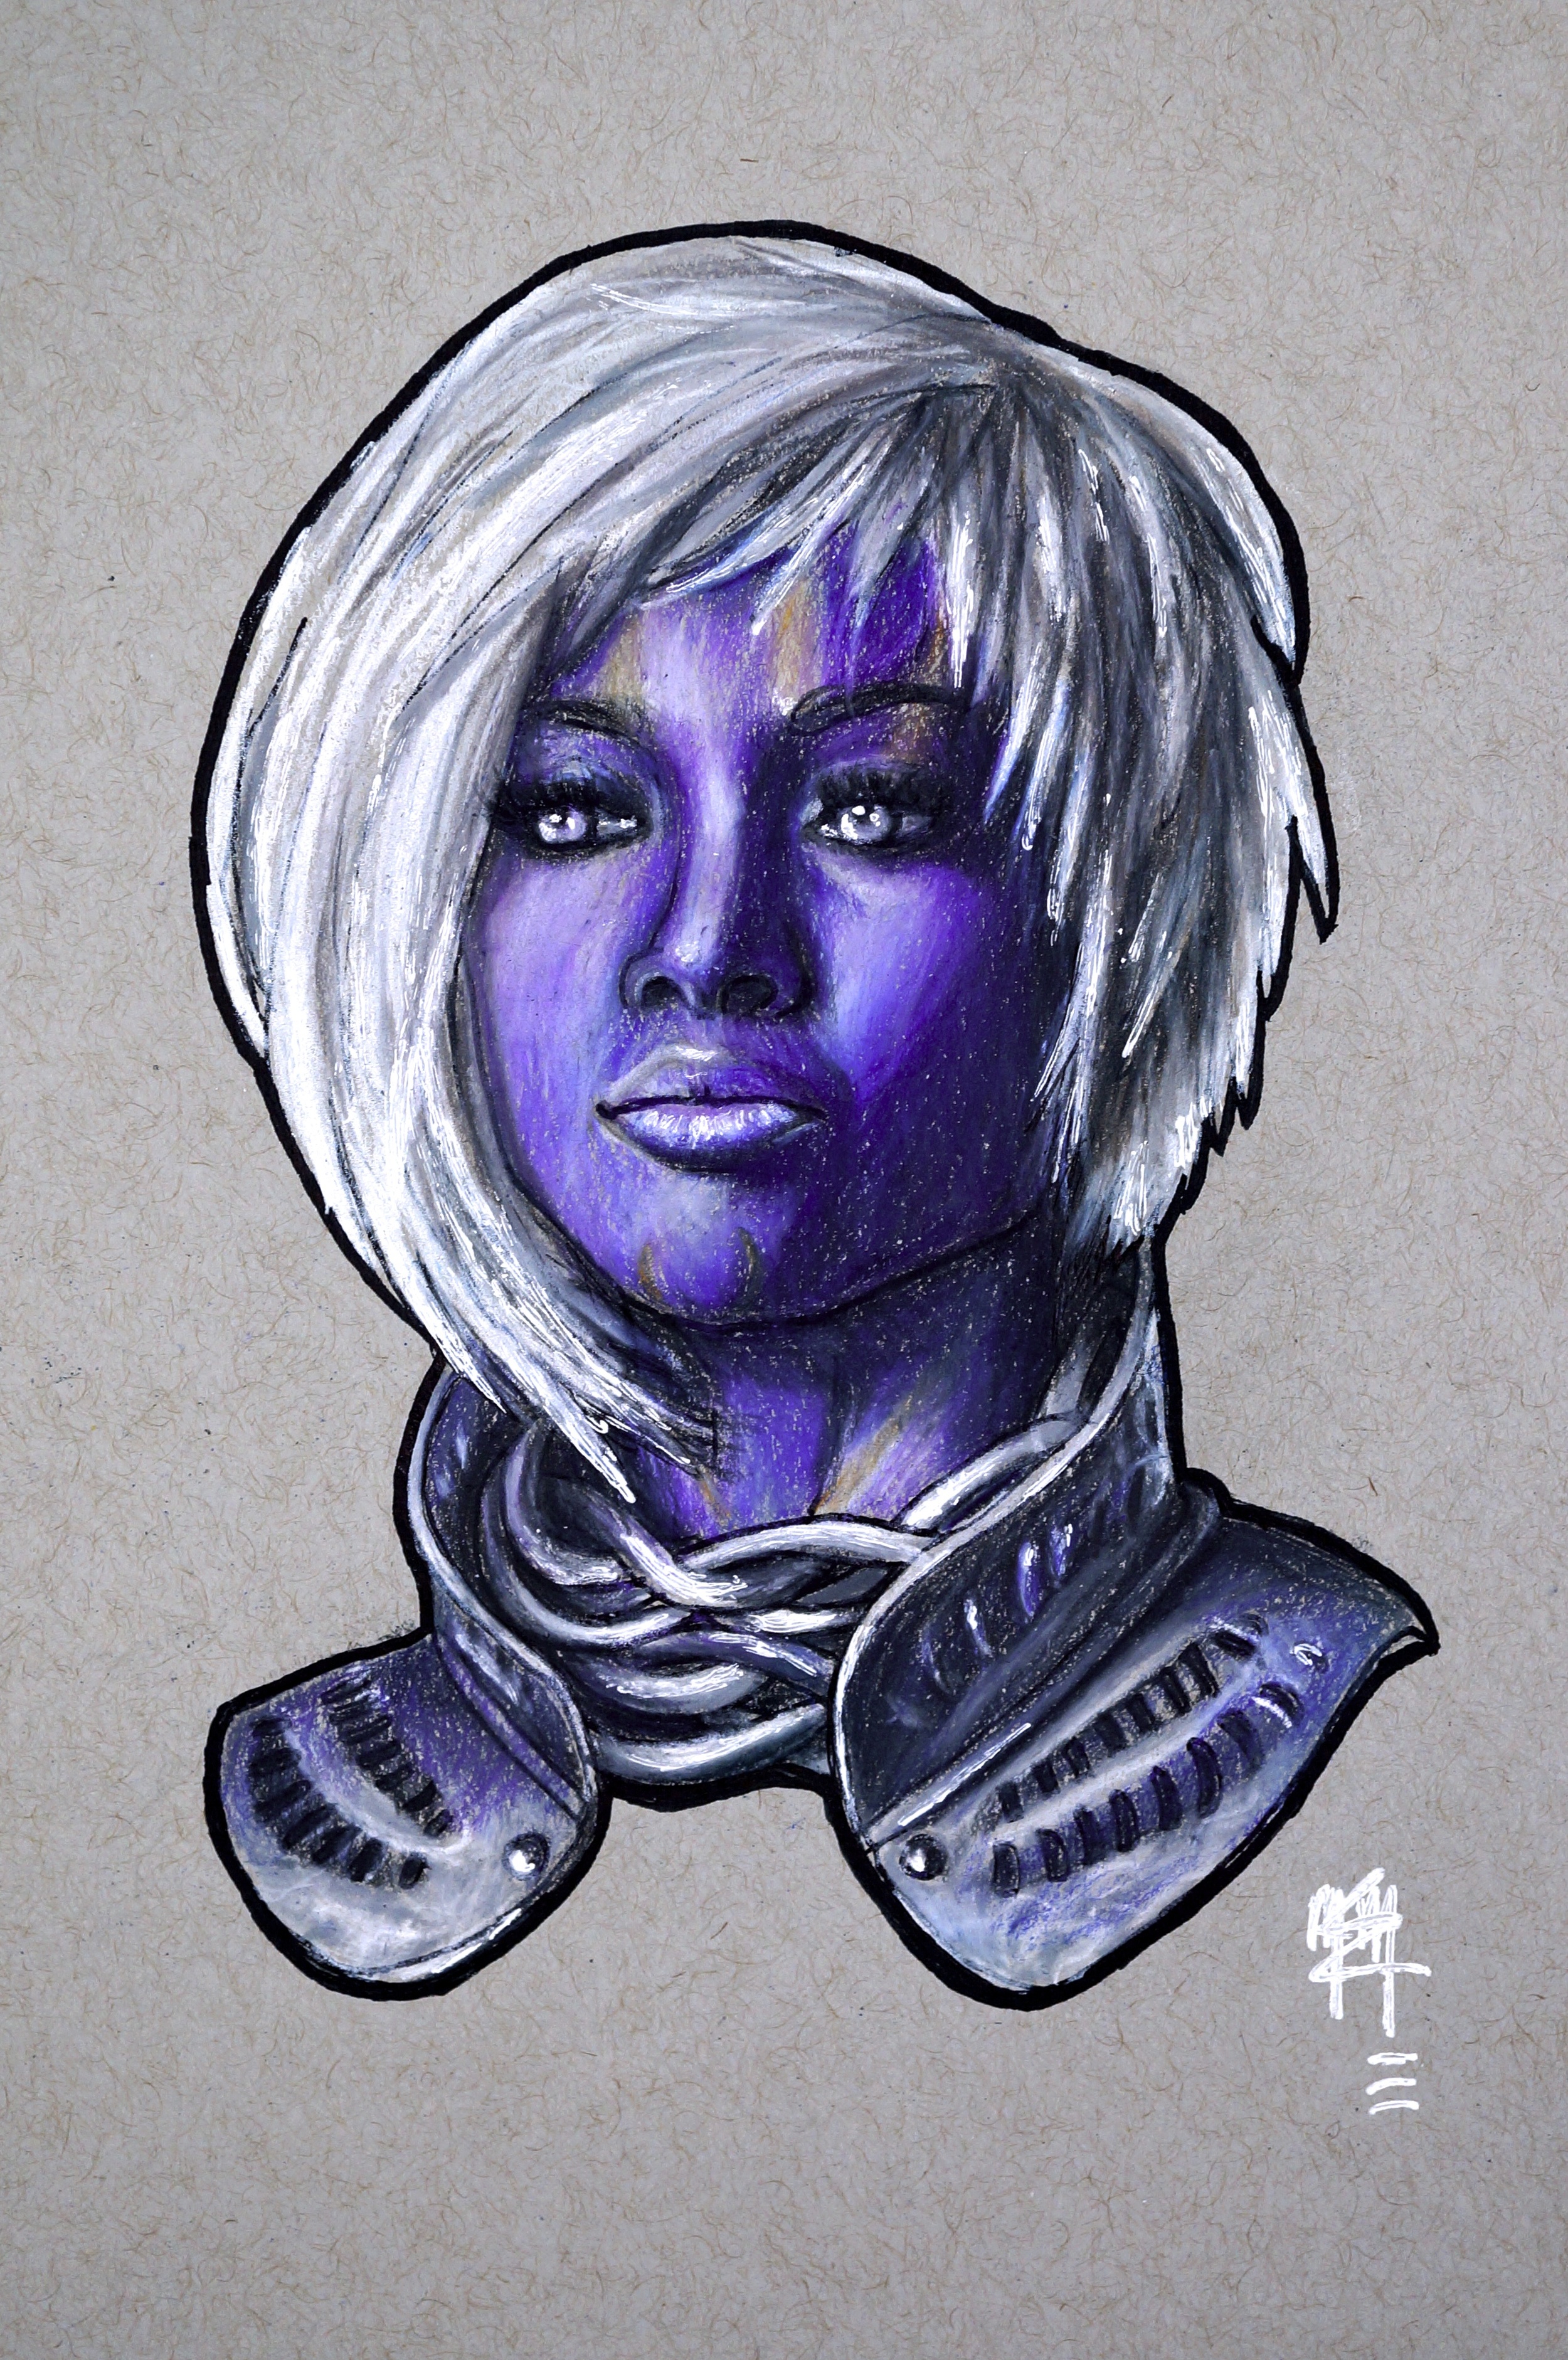
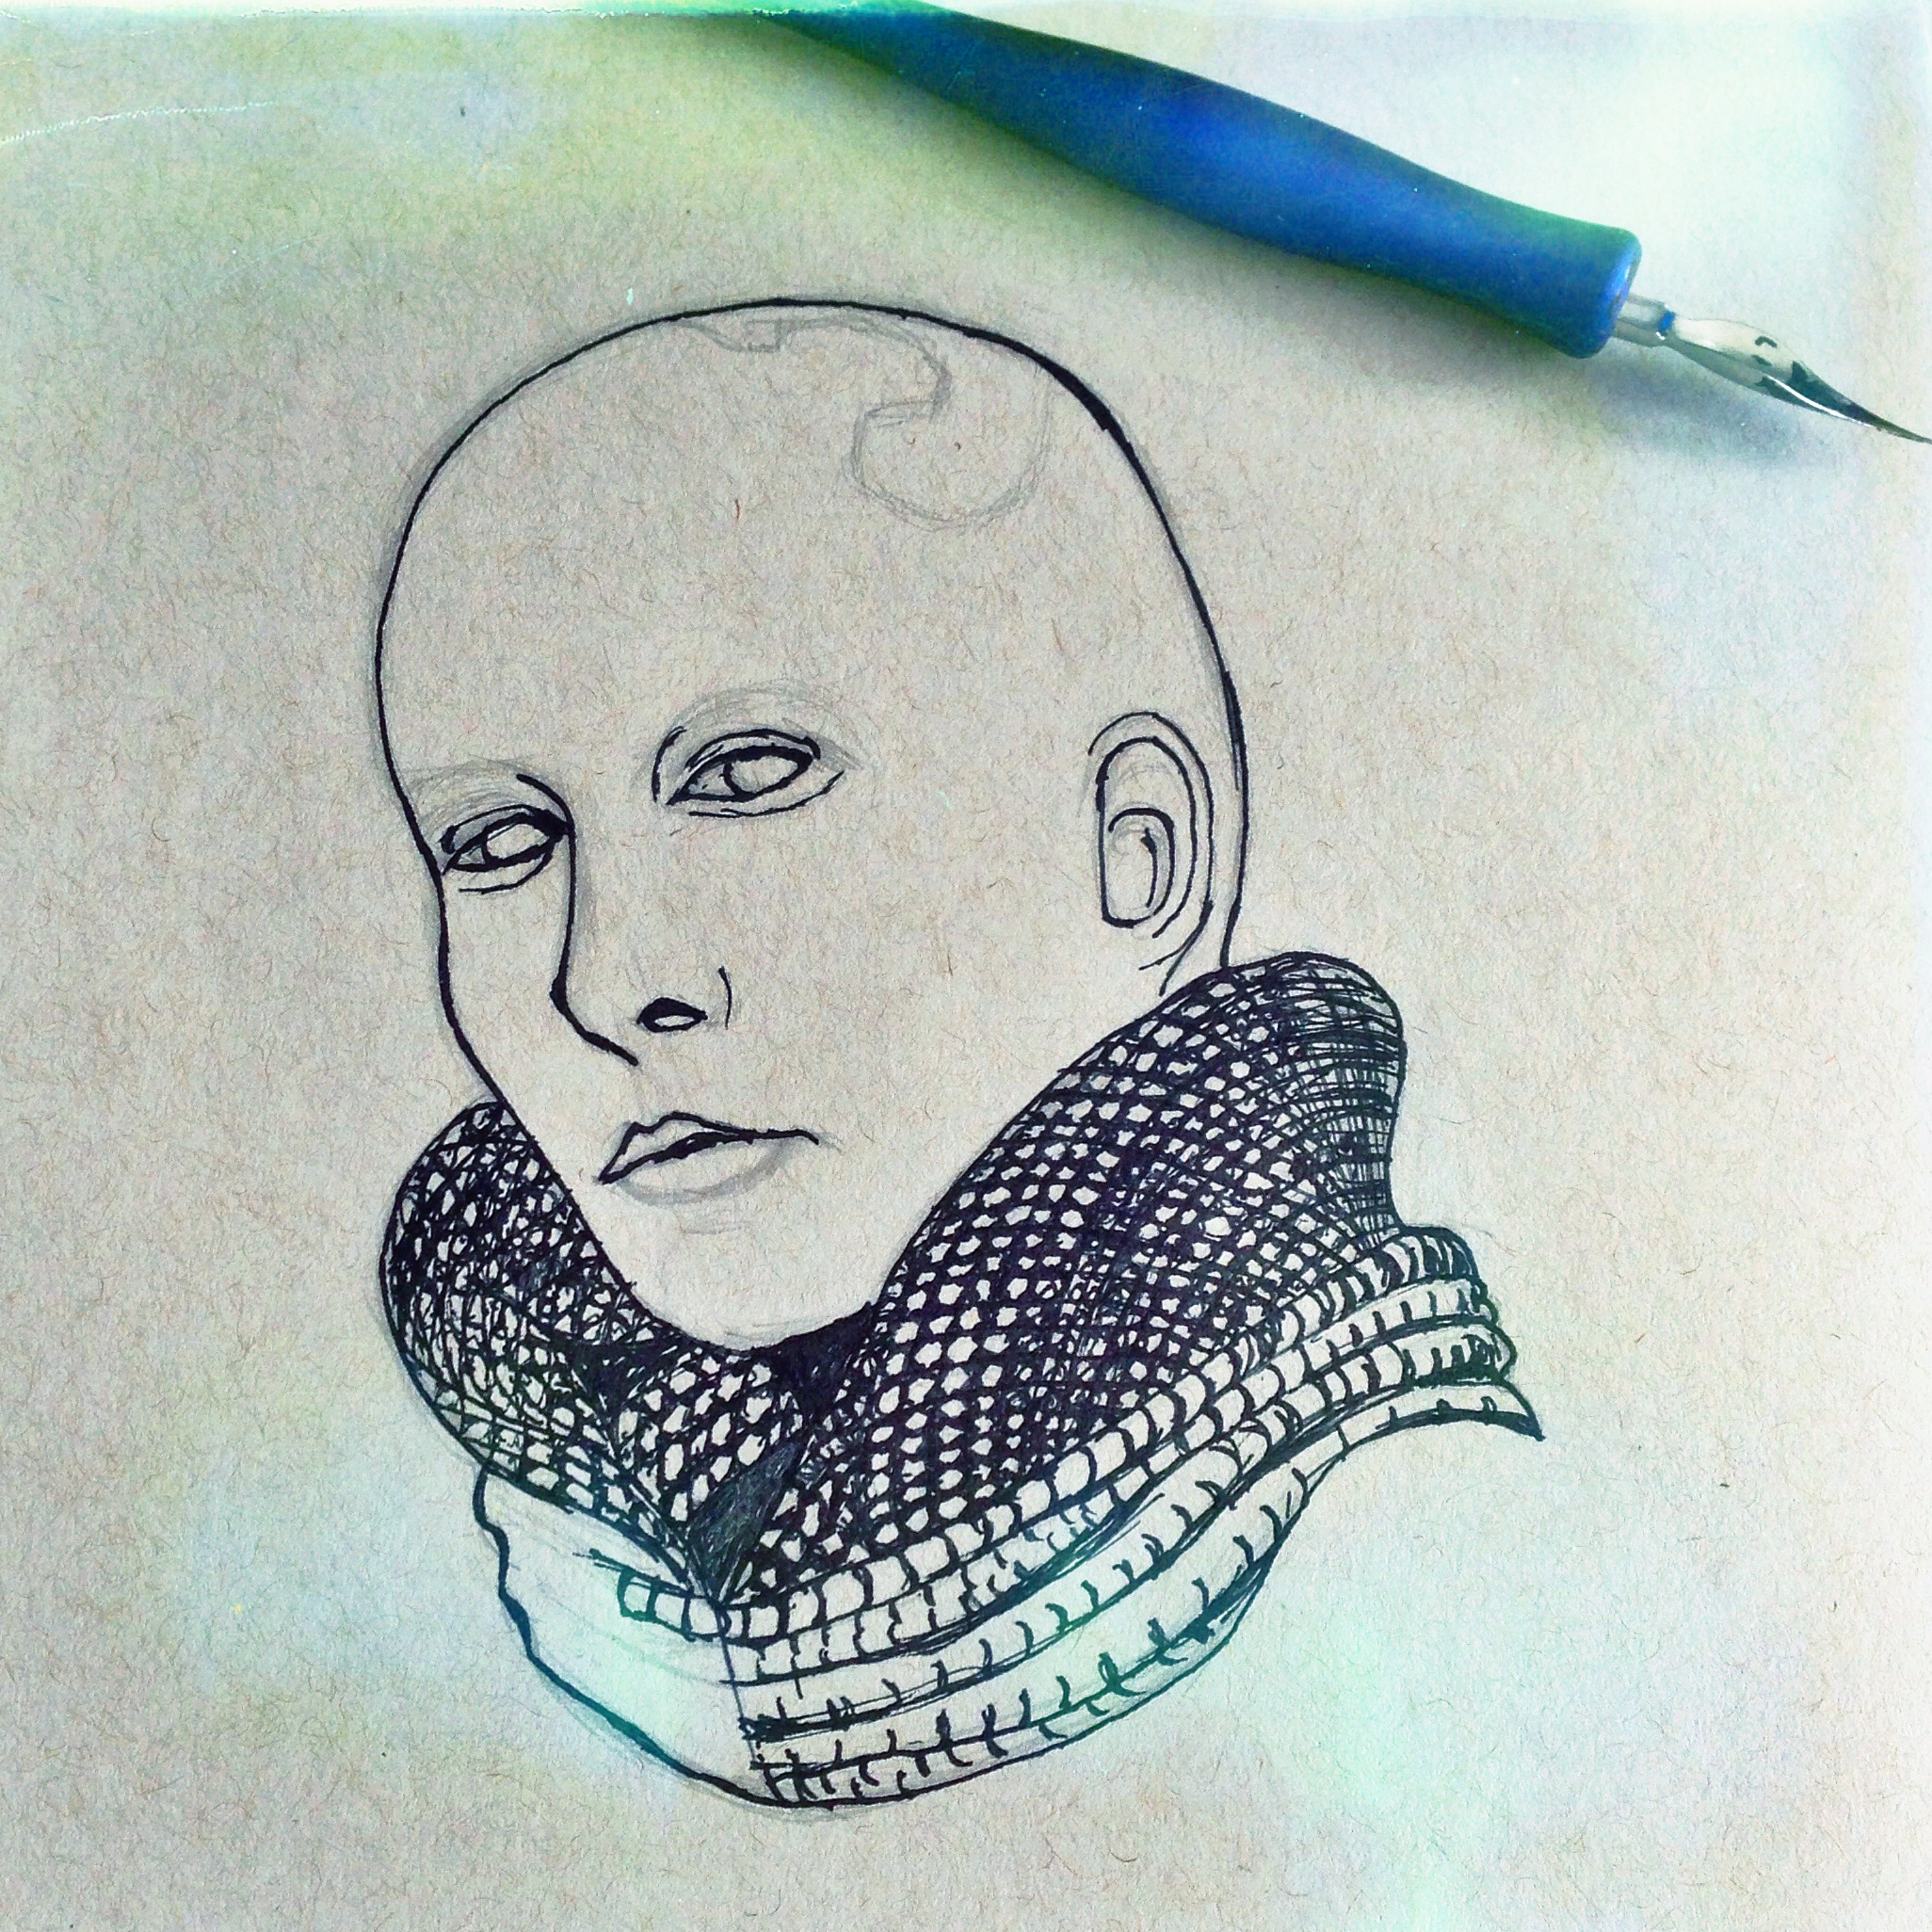
Doc's Skin Process
The definition and detail in Doc's skin was done by first lightly sketching in the direction of the scales, drawing in the hexagons (in a darker grey) following the directional lines, then colouring over the hexagons in a light grey so only some the the pattern showed through.


Video of the Process of The Enchantress
Other Work in Progress Pictures


Teaser Photos


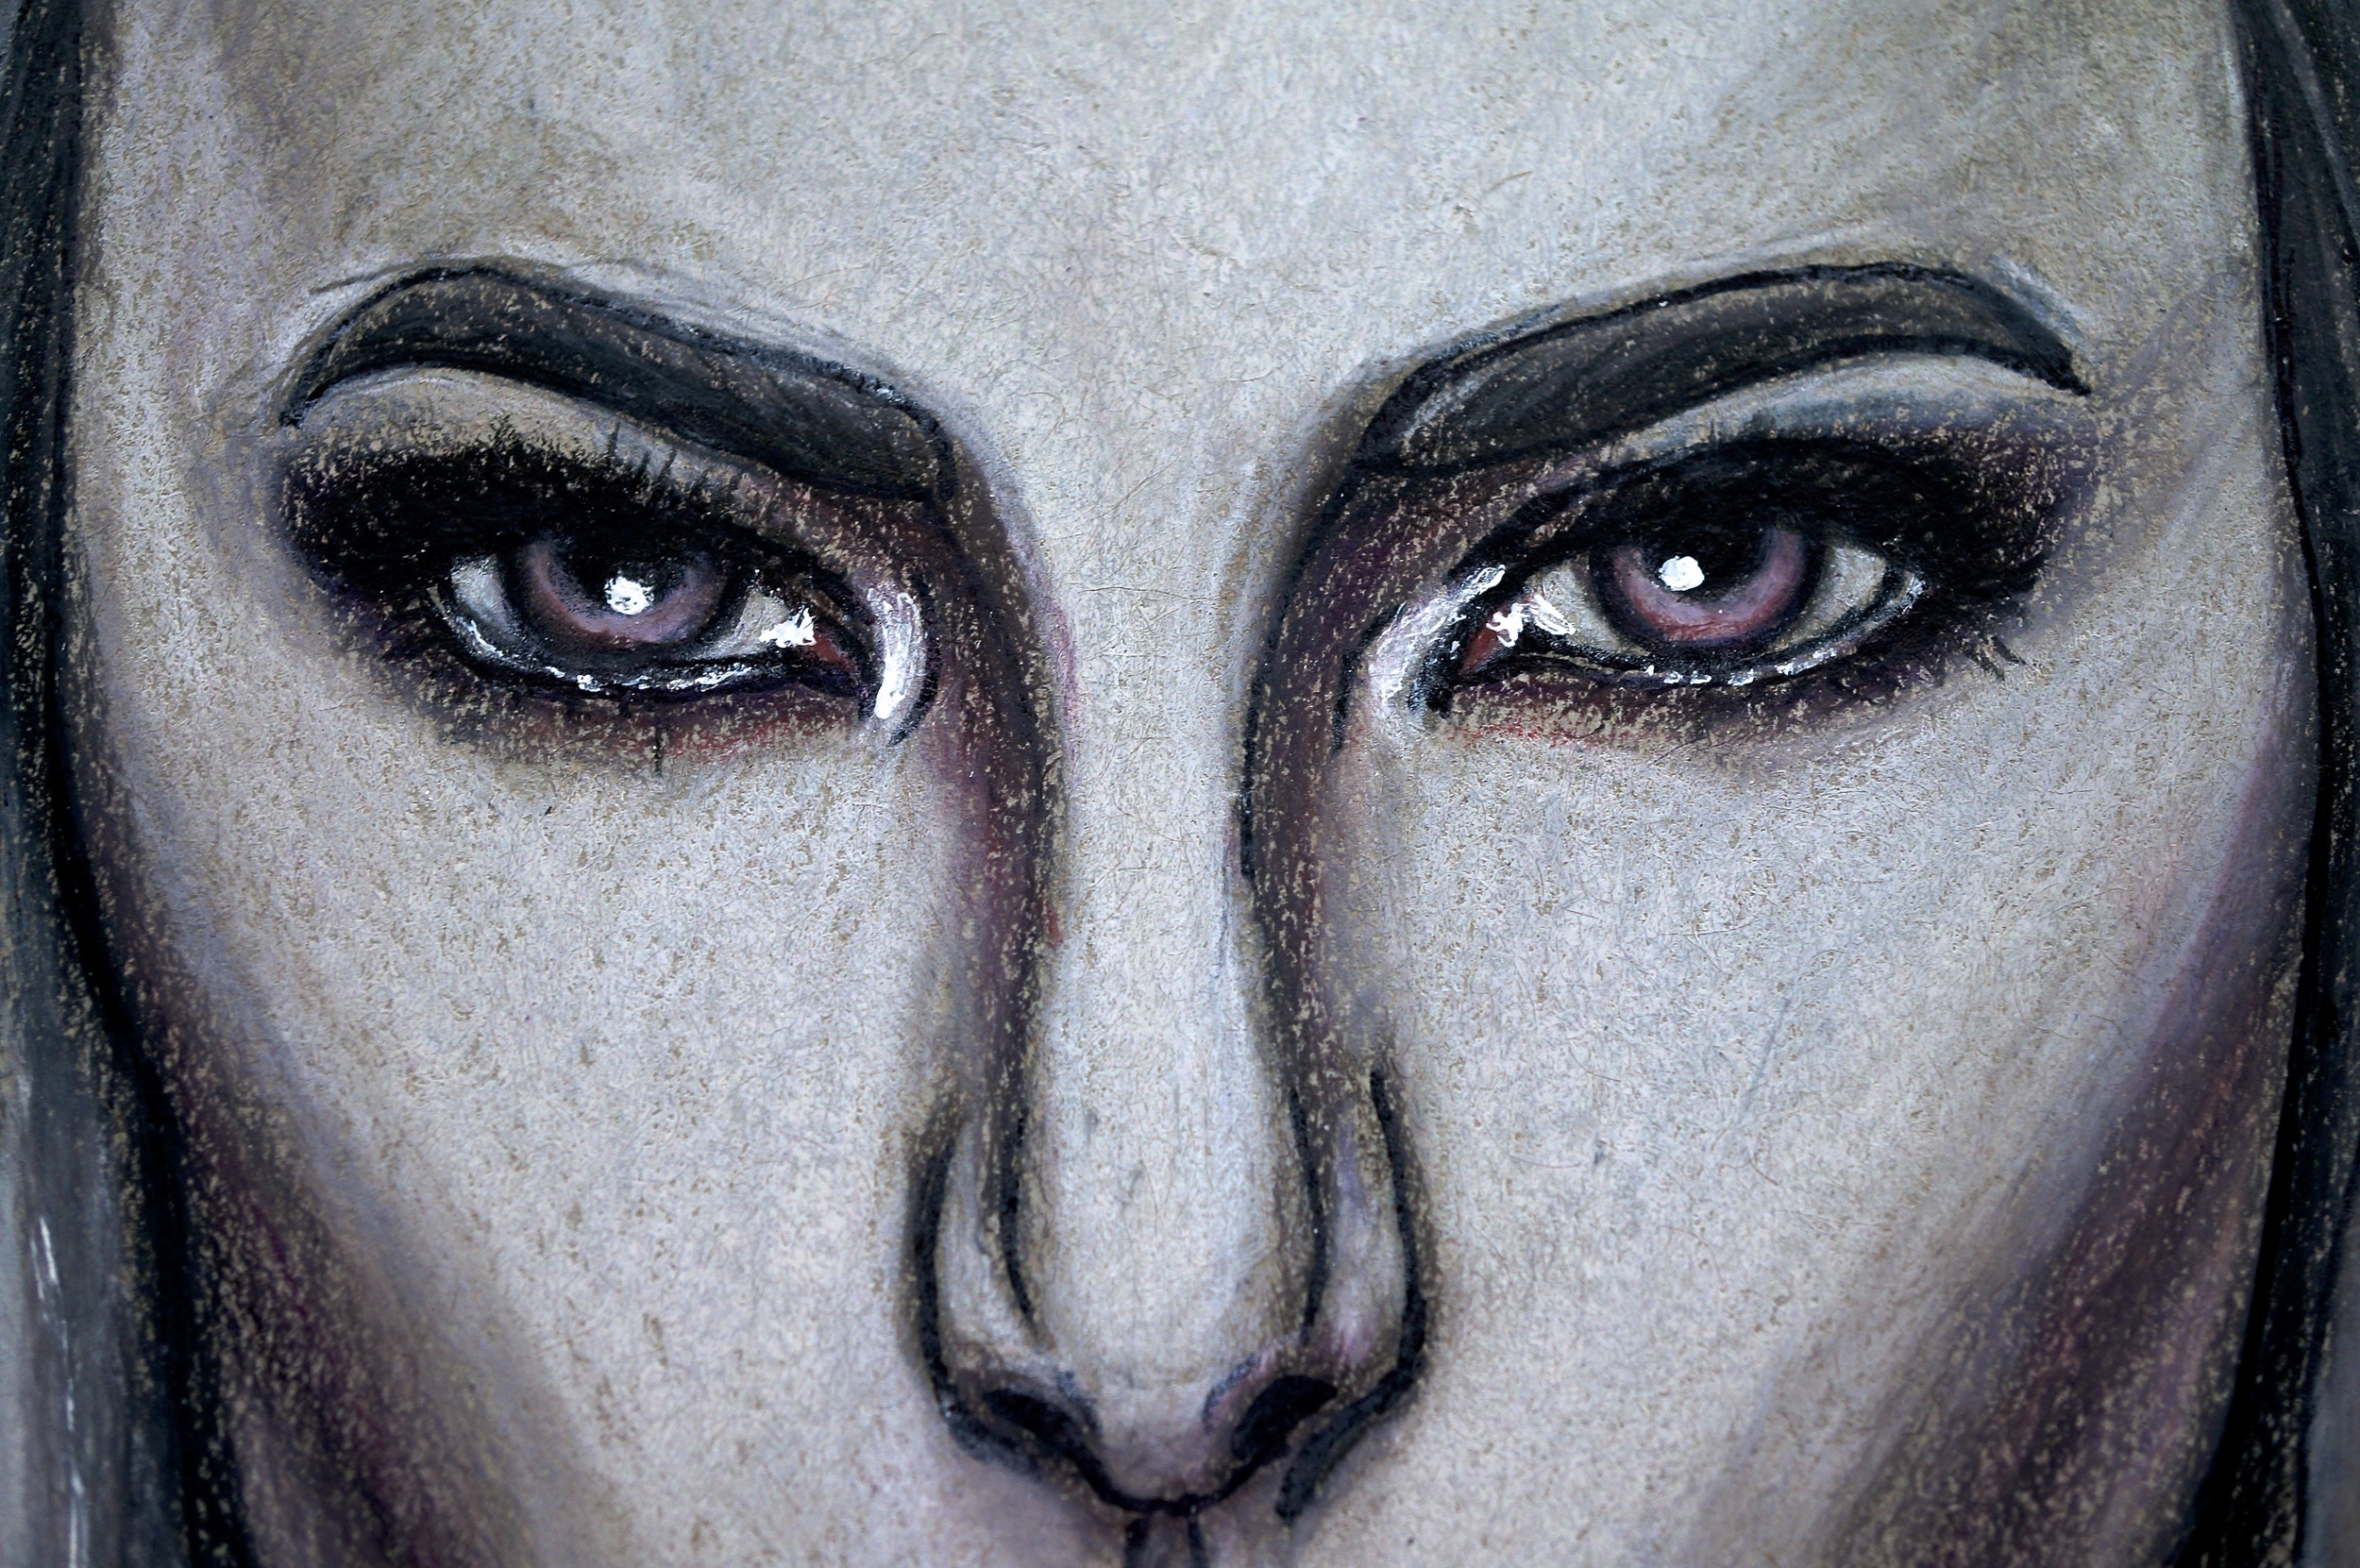
Details


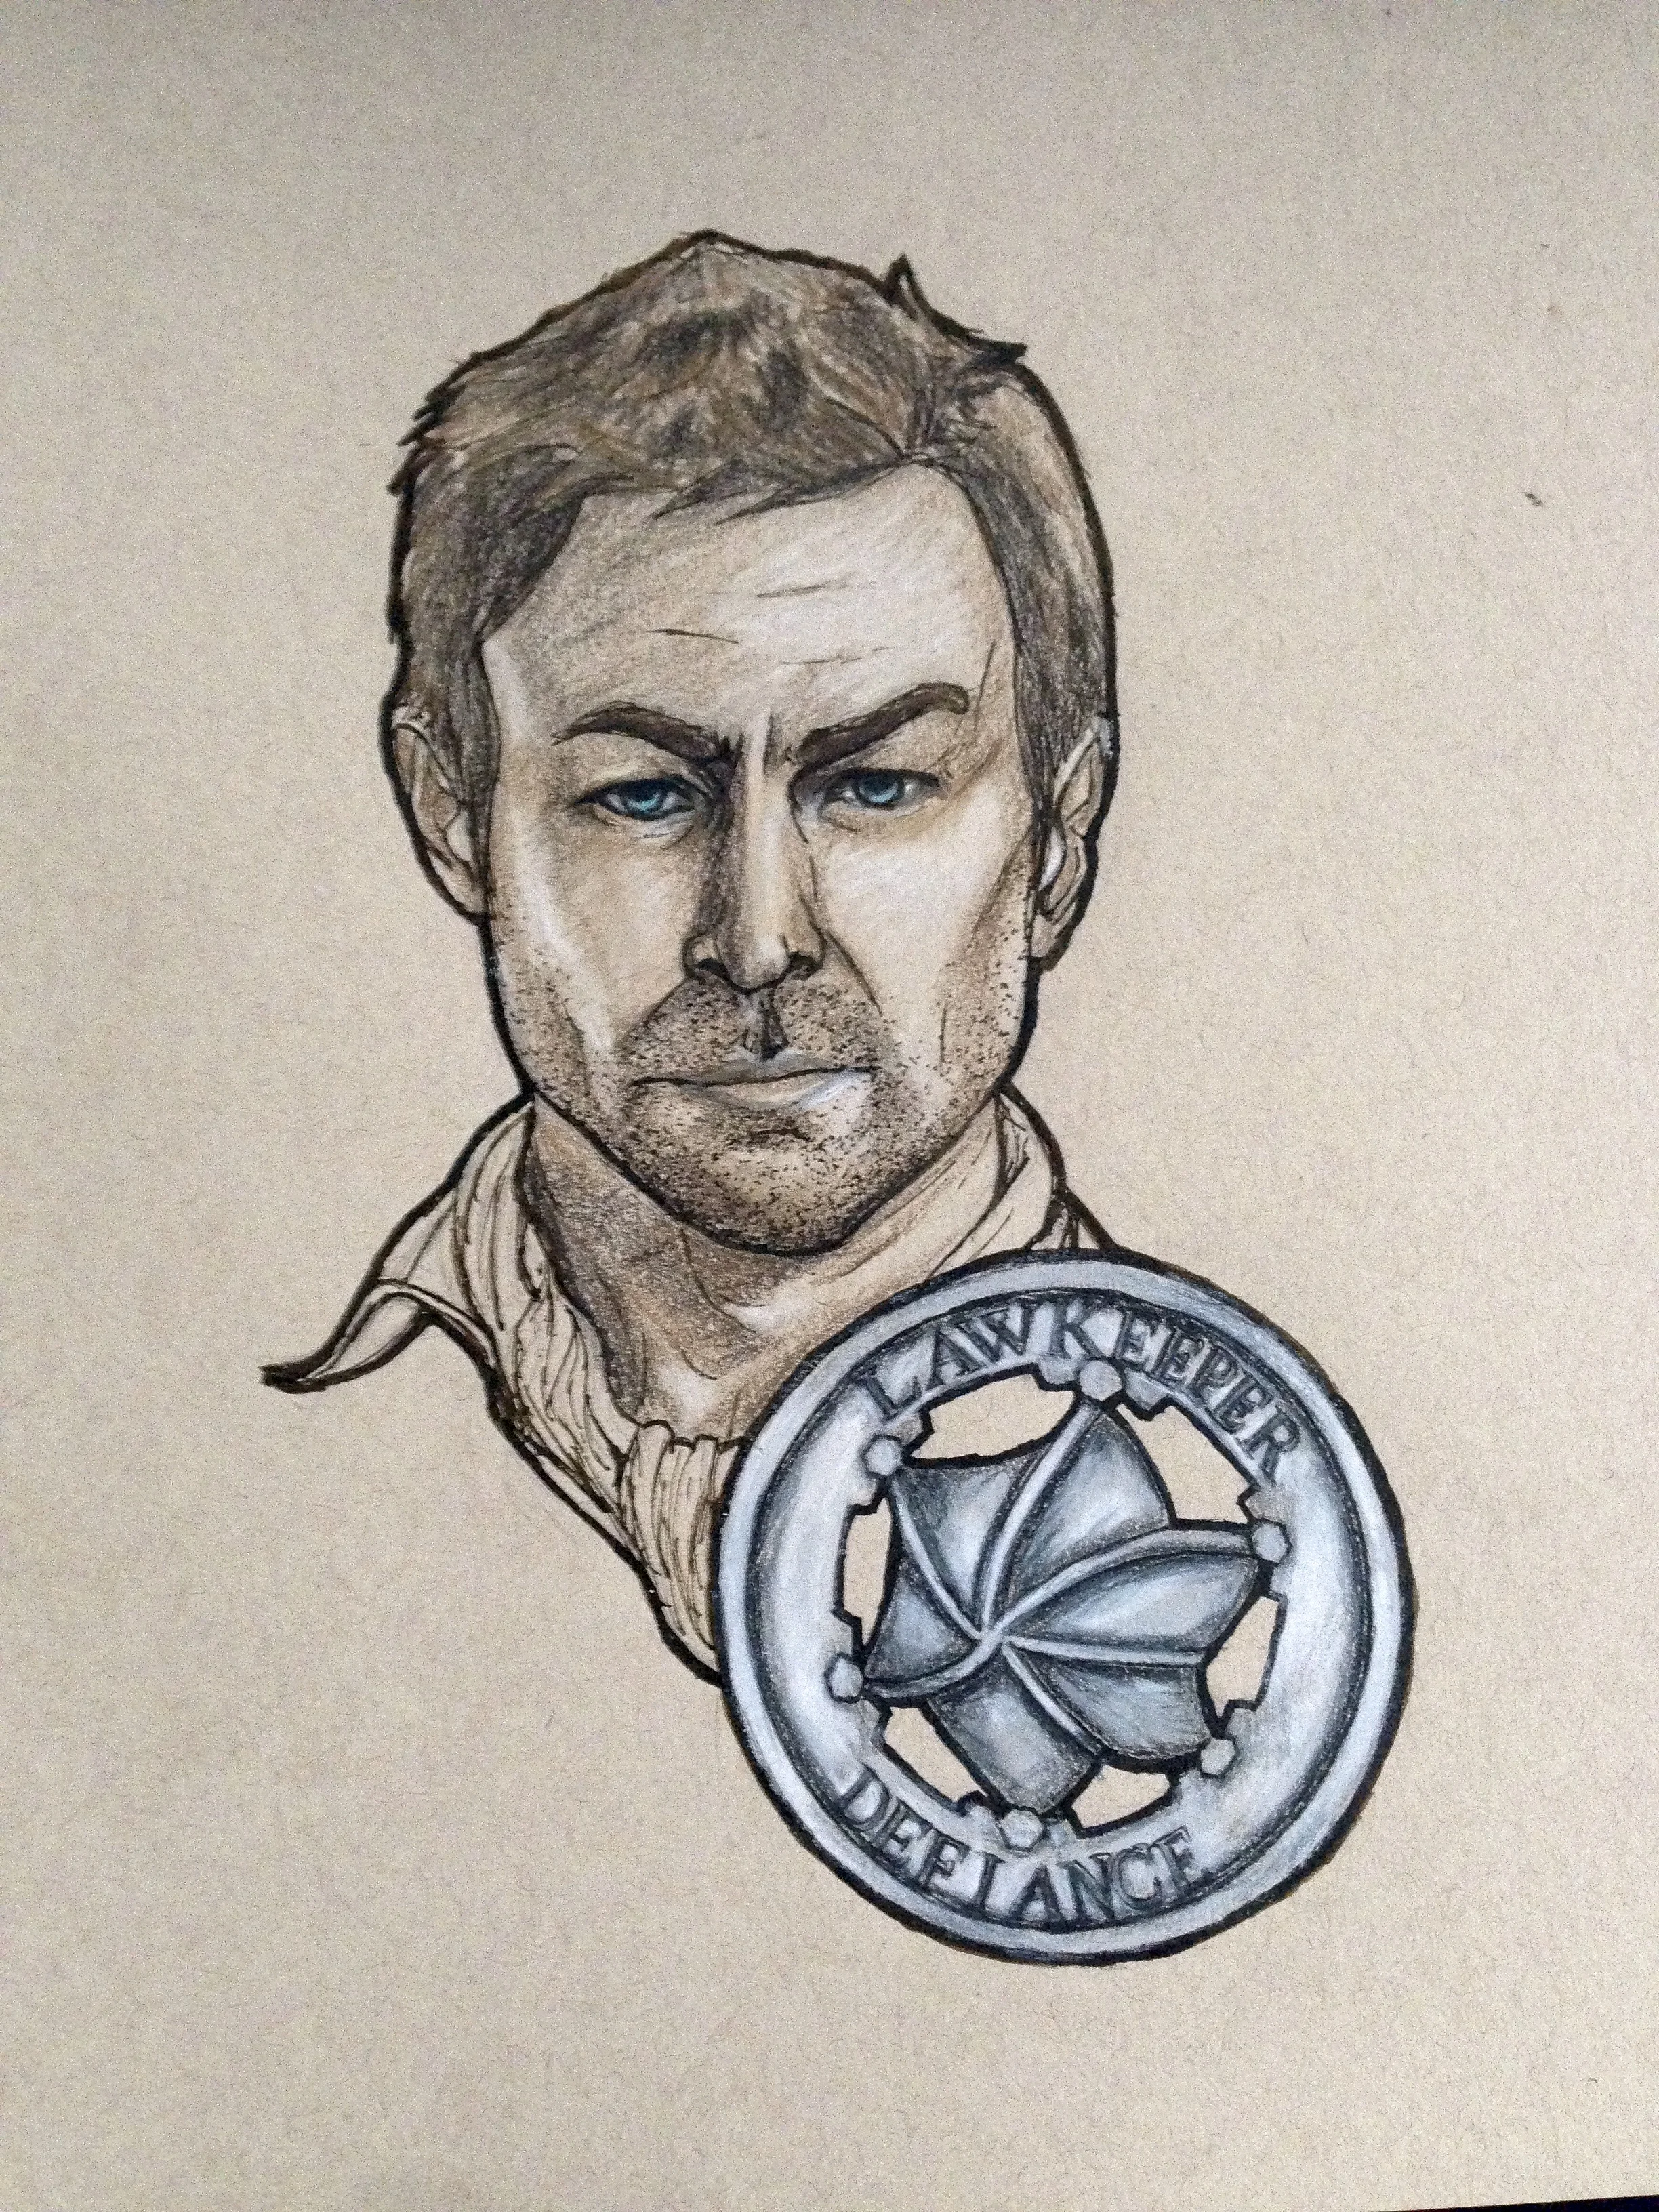
Finished Artworks (alternative photos)